Figuring out what hardware version of the Raspberry Pi you are using

So you are spending the night messing around with your Raspberry Pi’s and forgotten what version you are using, instead of having to take the cover of the RPi or walk over to the closet, to see what version it is, you can do this remote from the command line.

From the command line issue the following command:

cat /proc/cpuinfo

output should be something like this:

processor       : 3
model name      : ARMv7 Processor rev 4 (v7l)
BogoMIPS        : 38.40
Features        : half thumb fastmult vfp edsp neon vfpv3 tls vfpv4 
CPU implementer : 0x41
CPU architecture: 7
CPU variant     : 0x0
CPU part        : 0xd03
CPU revision    : 4

Hardware        : BCM2835
Revision        : a02082
Serial          : 0000000000000000
pi@bifrost:~ $

look for the part in the bottom saying Revision (in my case it’s a02082)

now use the following list to fire out what hardware it is.:

Code Model Revision RAM Manufacturer

900021

A+

1.1

512MB

Sony UK

900032

B+

1.2

512MB

Sony UK

900092

Zero

1.2

512MB

Sony UK

900093

Zero

1.3

512MB

Sony UK

9000c1

Zero W

1.1

512MB

Sony UK

9020e0

3A+

1.0

512MB

Sony UK

920092

Zero

1.2

512MB

Embest

920093

Zero

1.3

512MB

Embest

900061

CM

1.1

512MB

Sony UK

a01040

2B

1.0

1GB

Sony UK

a01041

2B

1.1

1GB

Sony UK

a02082

3B

1.2

1GB

Sony UK

a020a0

CM3

1.0

1GB

Sony UK

a020d3

3B+

1.3

1GB

Sony UK

a02042

2B (with BCM2837)

1.2

1GB

Sony UK

a21041

2B

1.1

1GB

Embest

a22042

2B (with BCM2837)

1.2

1GB

Embest

a22082

3B

1.2

1GB

Embest

a220a0

CM3

1.0

1GB

Embest

a32082

3B

1.2

1GB

Sony Japan

a52082

3B

1.2

1GB

Stadium

a22083

3B

1.3

1GB

Embest

a02100

CM3+

1.0

1GB

Sony UK

a03111

4B

1.1

1GB

Sony UK

b03111

4B

1.1

2GB

Sony UK

b03112

4B

1.2

2GB

Sony UK

b03114

4B

1.4

2GB

Sony UK

c03111

4B

1.1

4GB

Sony UK

c03112

4B

1.2

4GB

Sony UK

c03114

4B

1.4

4GB

Sony UK

d03114

4B

1.4

8GB

Sony UK

c03130

Pi 400

1.0

4GB

Sony UK

a03140

CM4

1.0

1GB

Sony UK

b03140

CM4

1.0

2GB

Sony UK

c03140

CM4

1.0

4GB

Sony UK

d03140

CM4

1.0

8GB

Sony UK

See More here:

https://www.raspberrypi.org/documentation/hardware/raspberrypi/revision-codes/README.md

Servicing an MindrayPM-8000 Patient Monitor

So this patient monitor was complaining about the clock was off every time it was started, the most obvious problem would be the RTC backup battery for the unit.

I started out by removing the panels that i could find but properly by design they choose not to make this user exchangeable.

The battery neede for the job is an CR1220 3V lithium cell (i always choose batteries from Panasonic for such an task)

First of all Sorry for the crappy picture quality

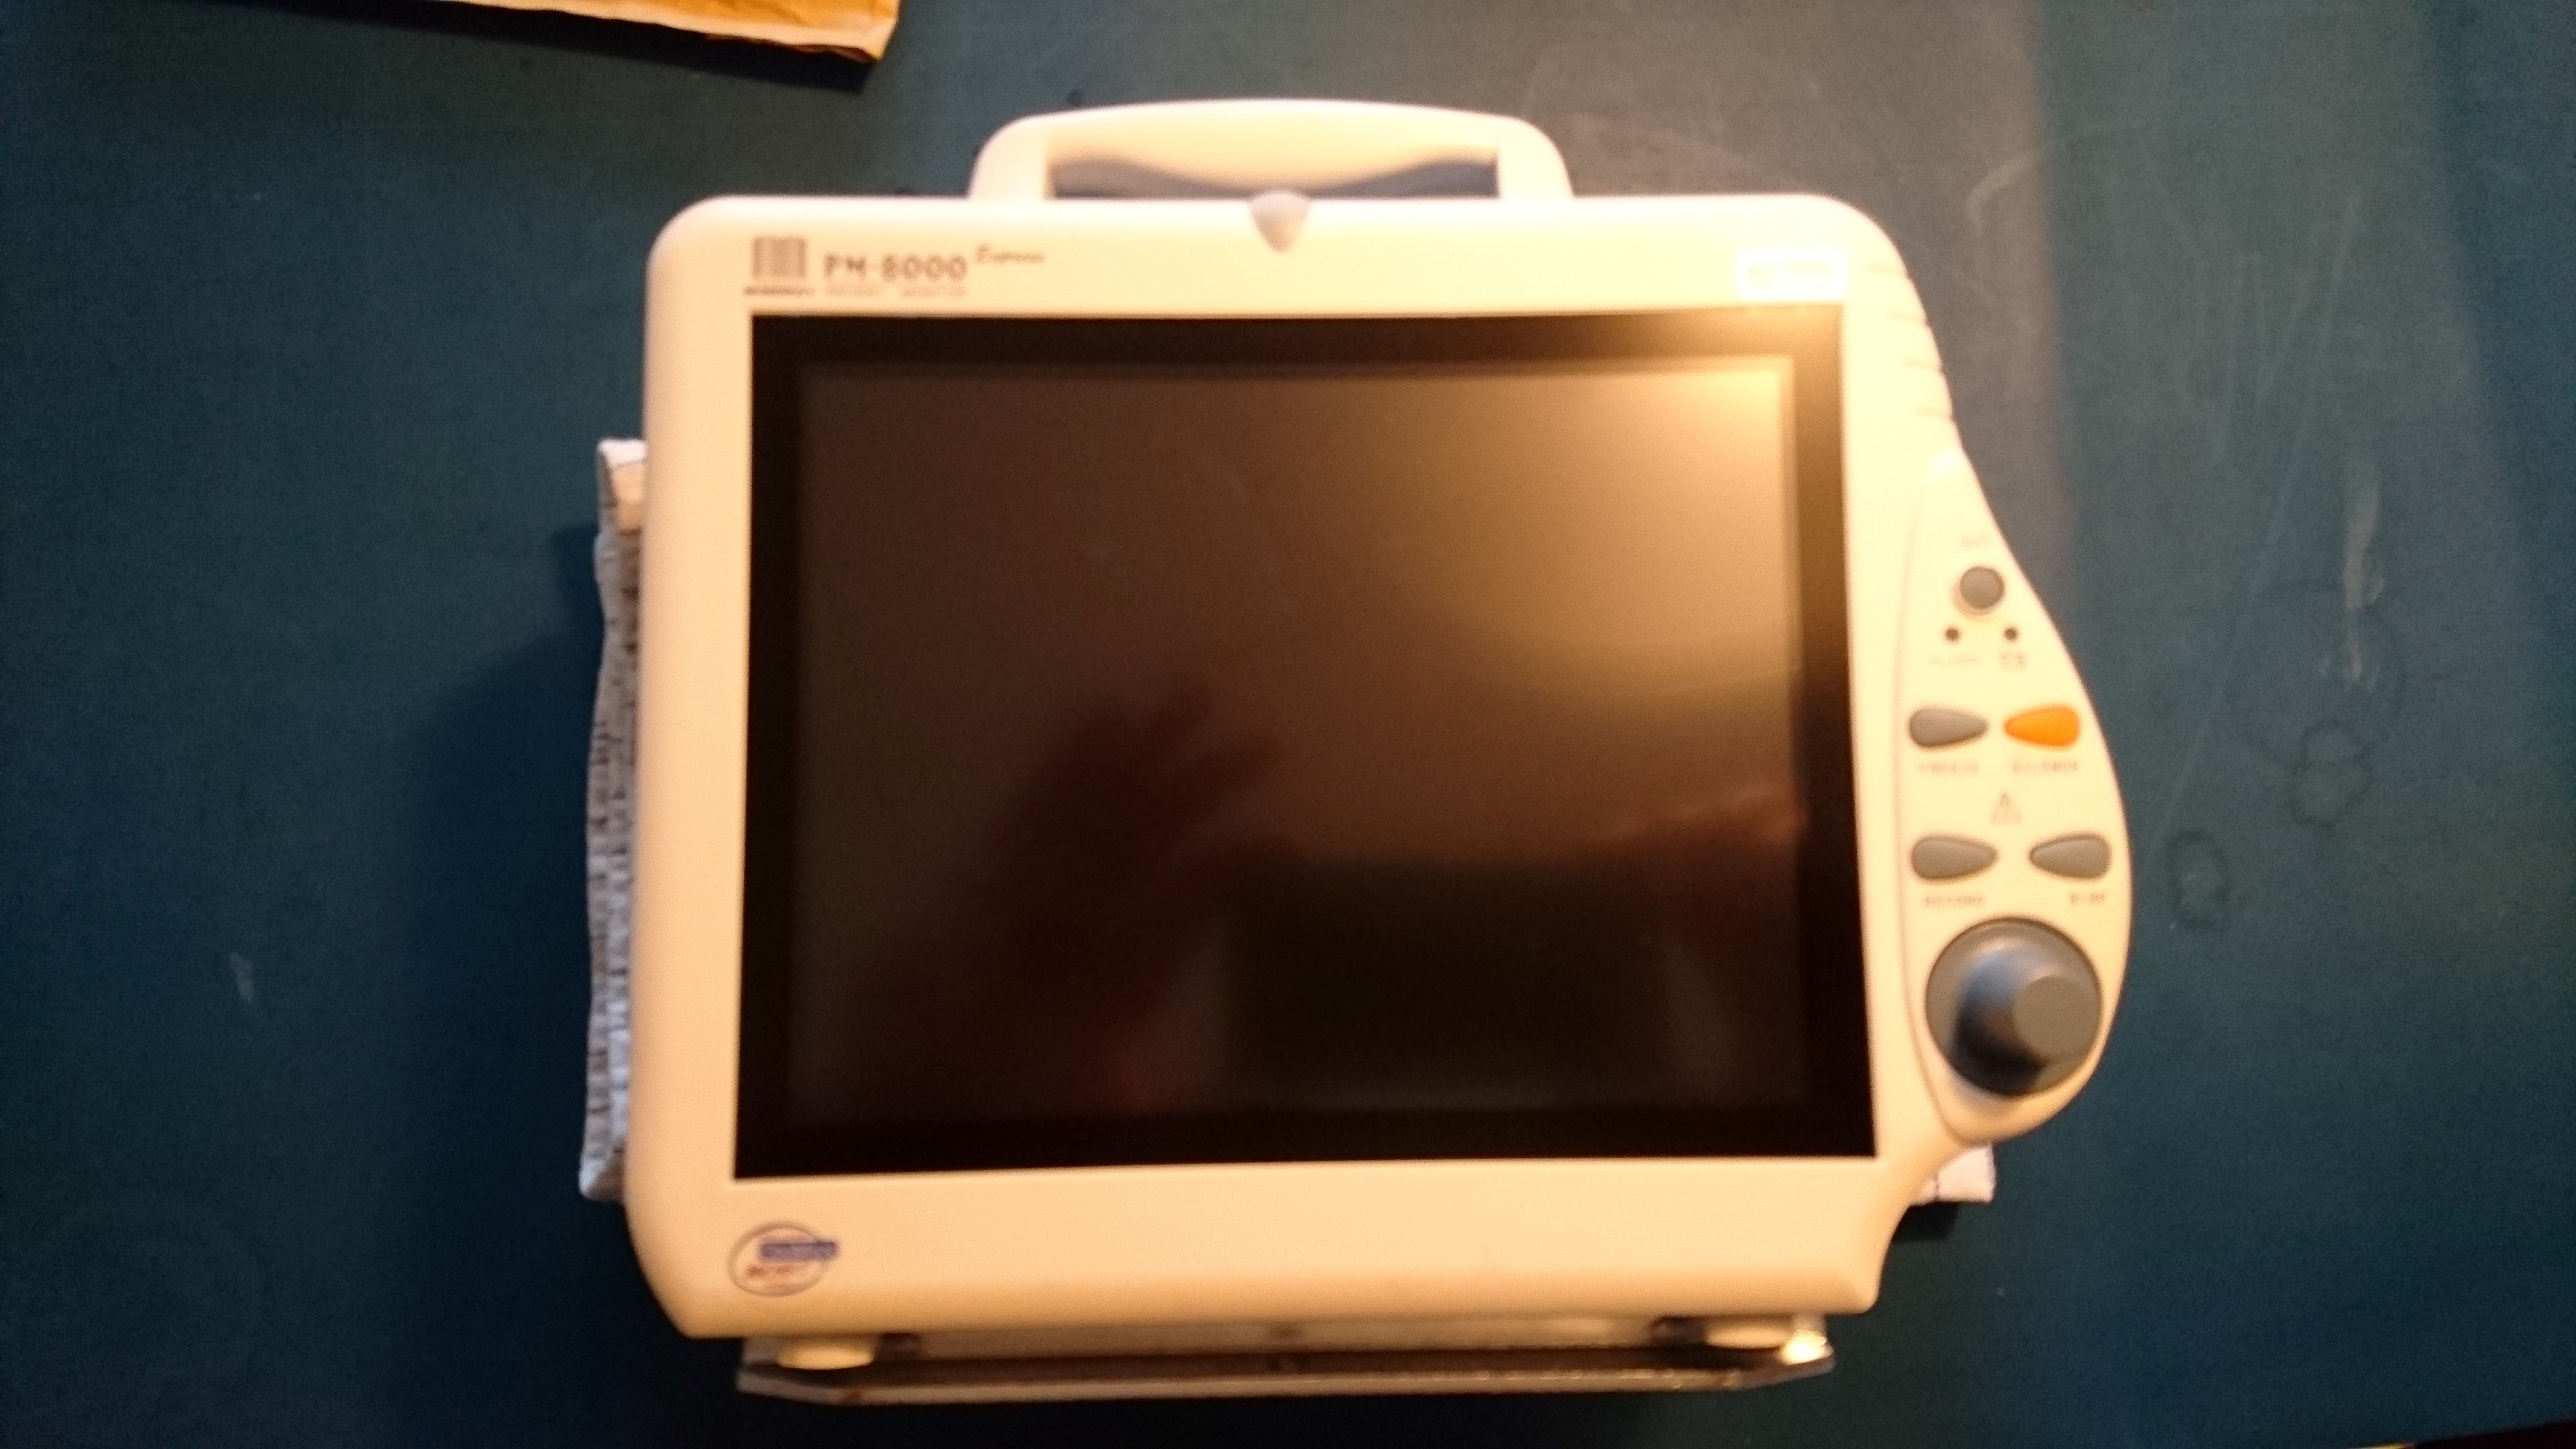
Unit from the front

From the back (yes i removed the serial number on the unit)
You will need to to remove the screws on the back from peel of the front of the unit.

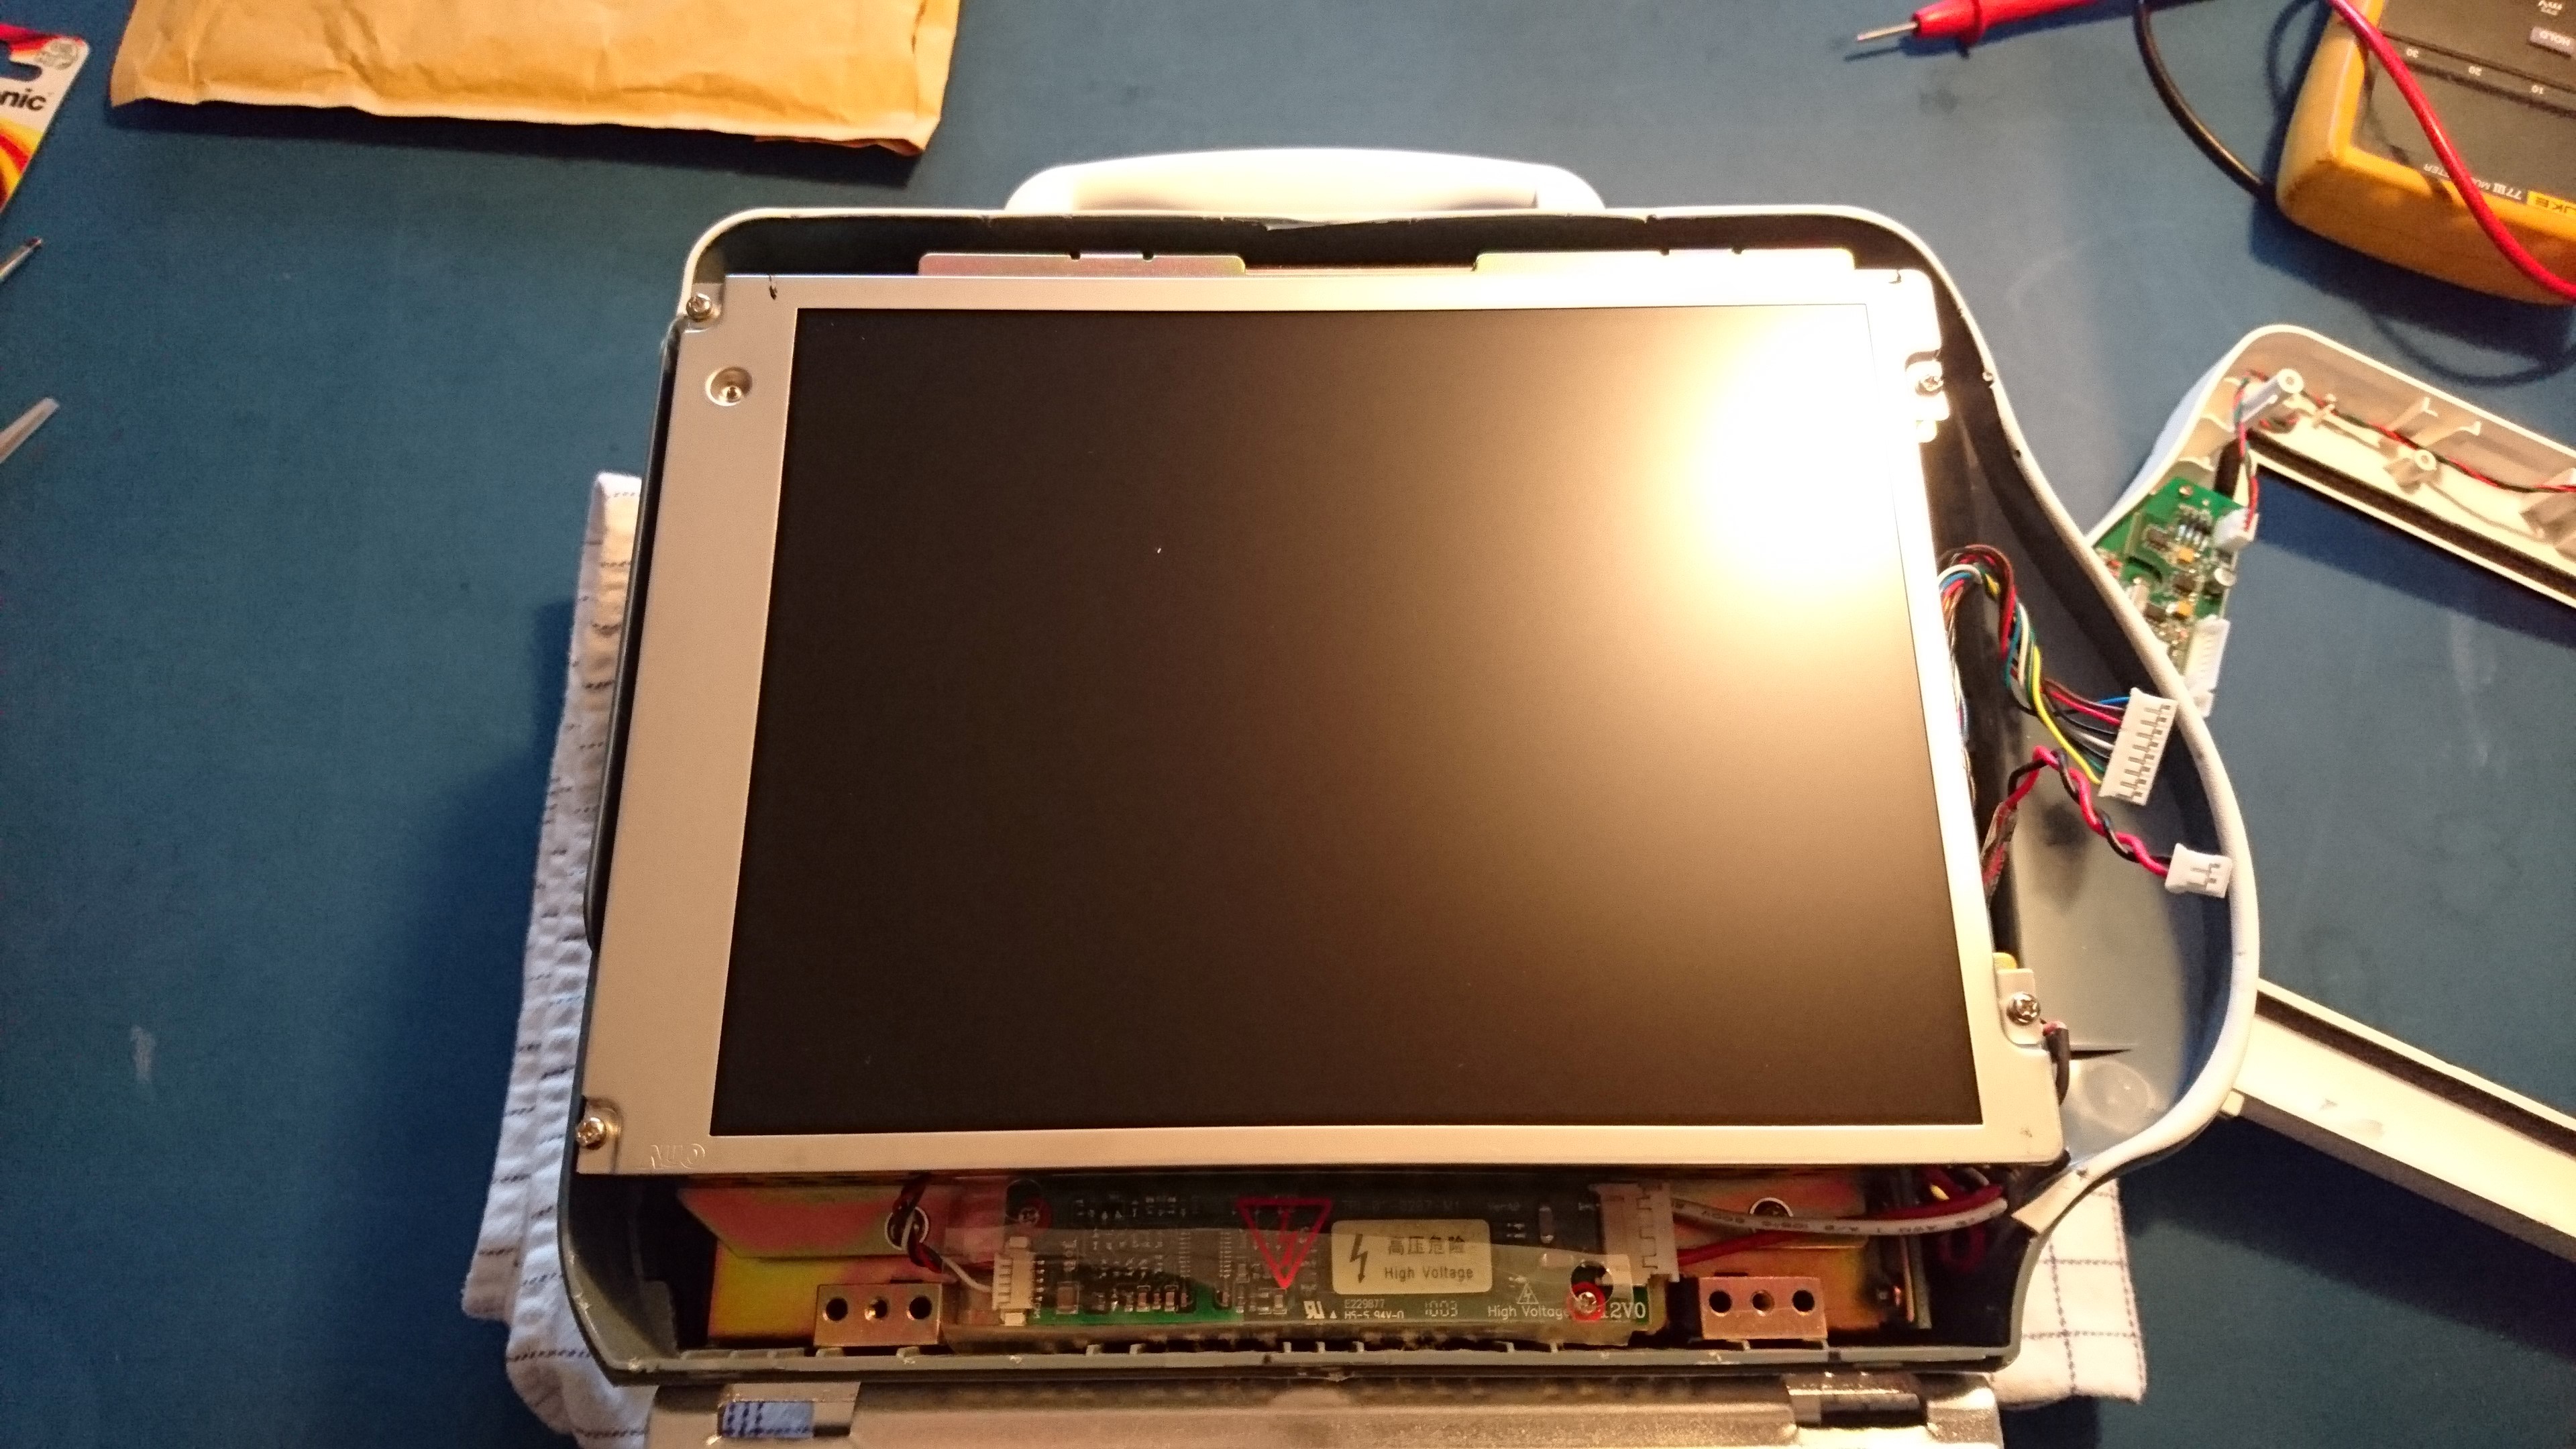
Gently remove the front panel, be careful with the cables, they can be disconnected with ease.

View of the panel.

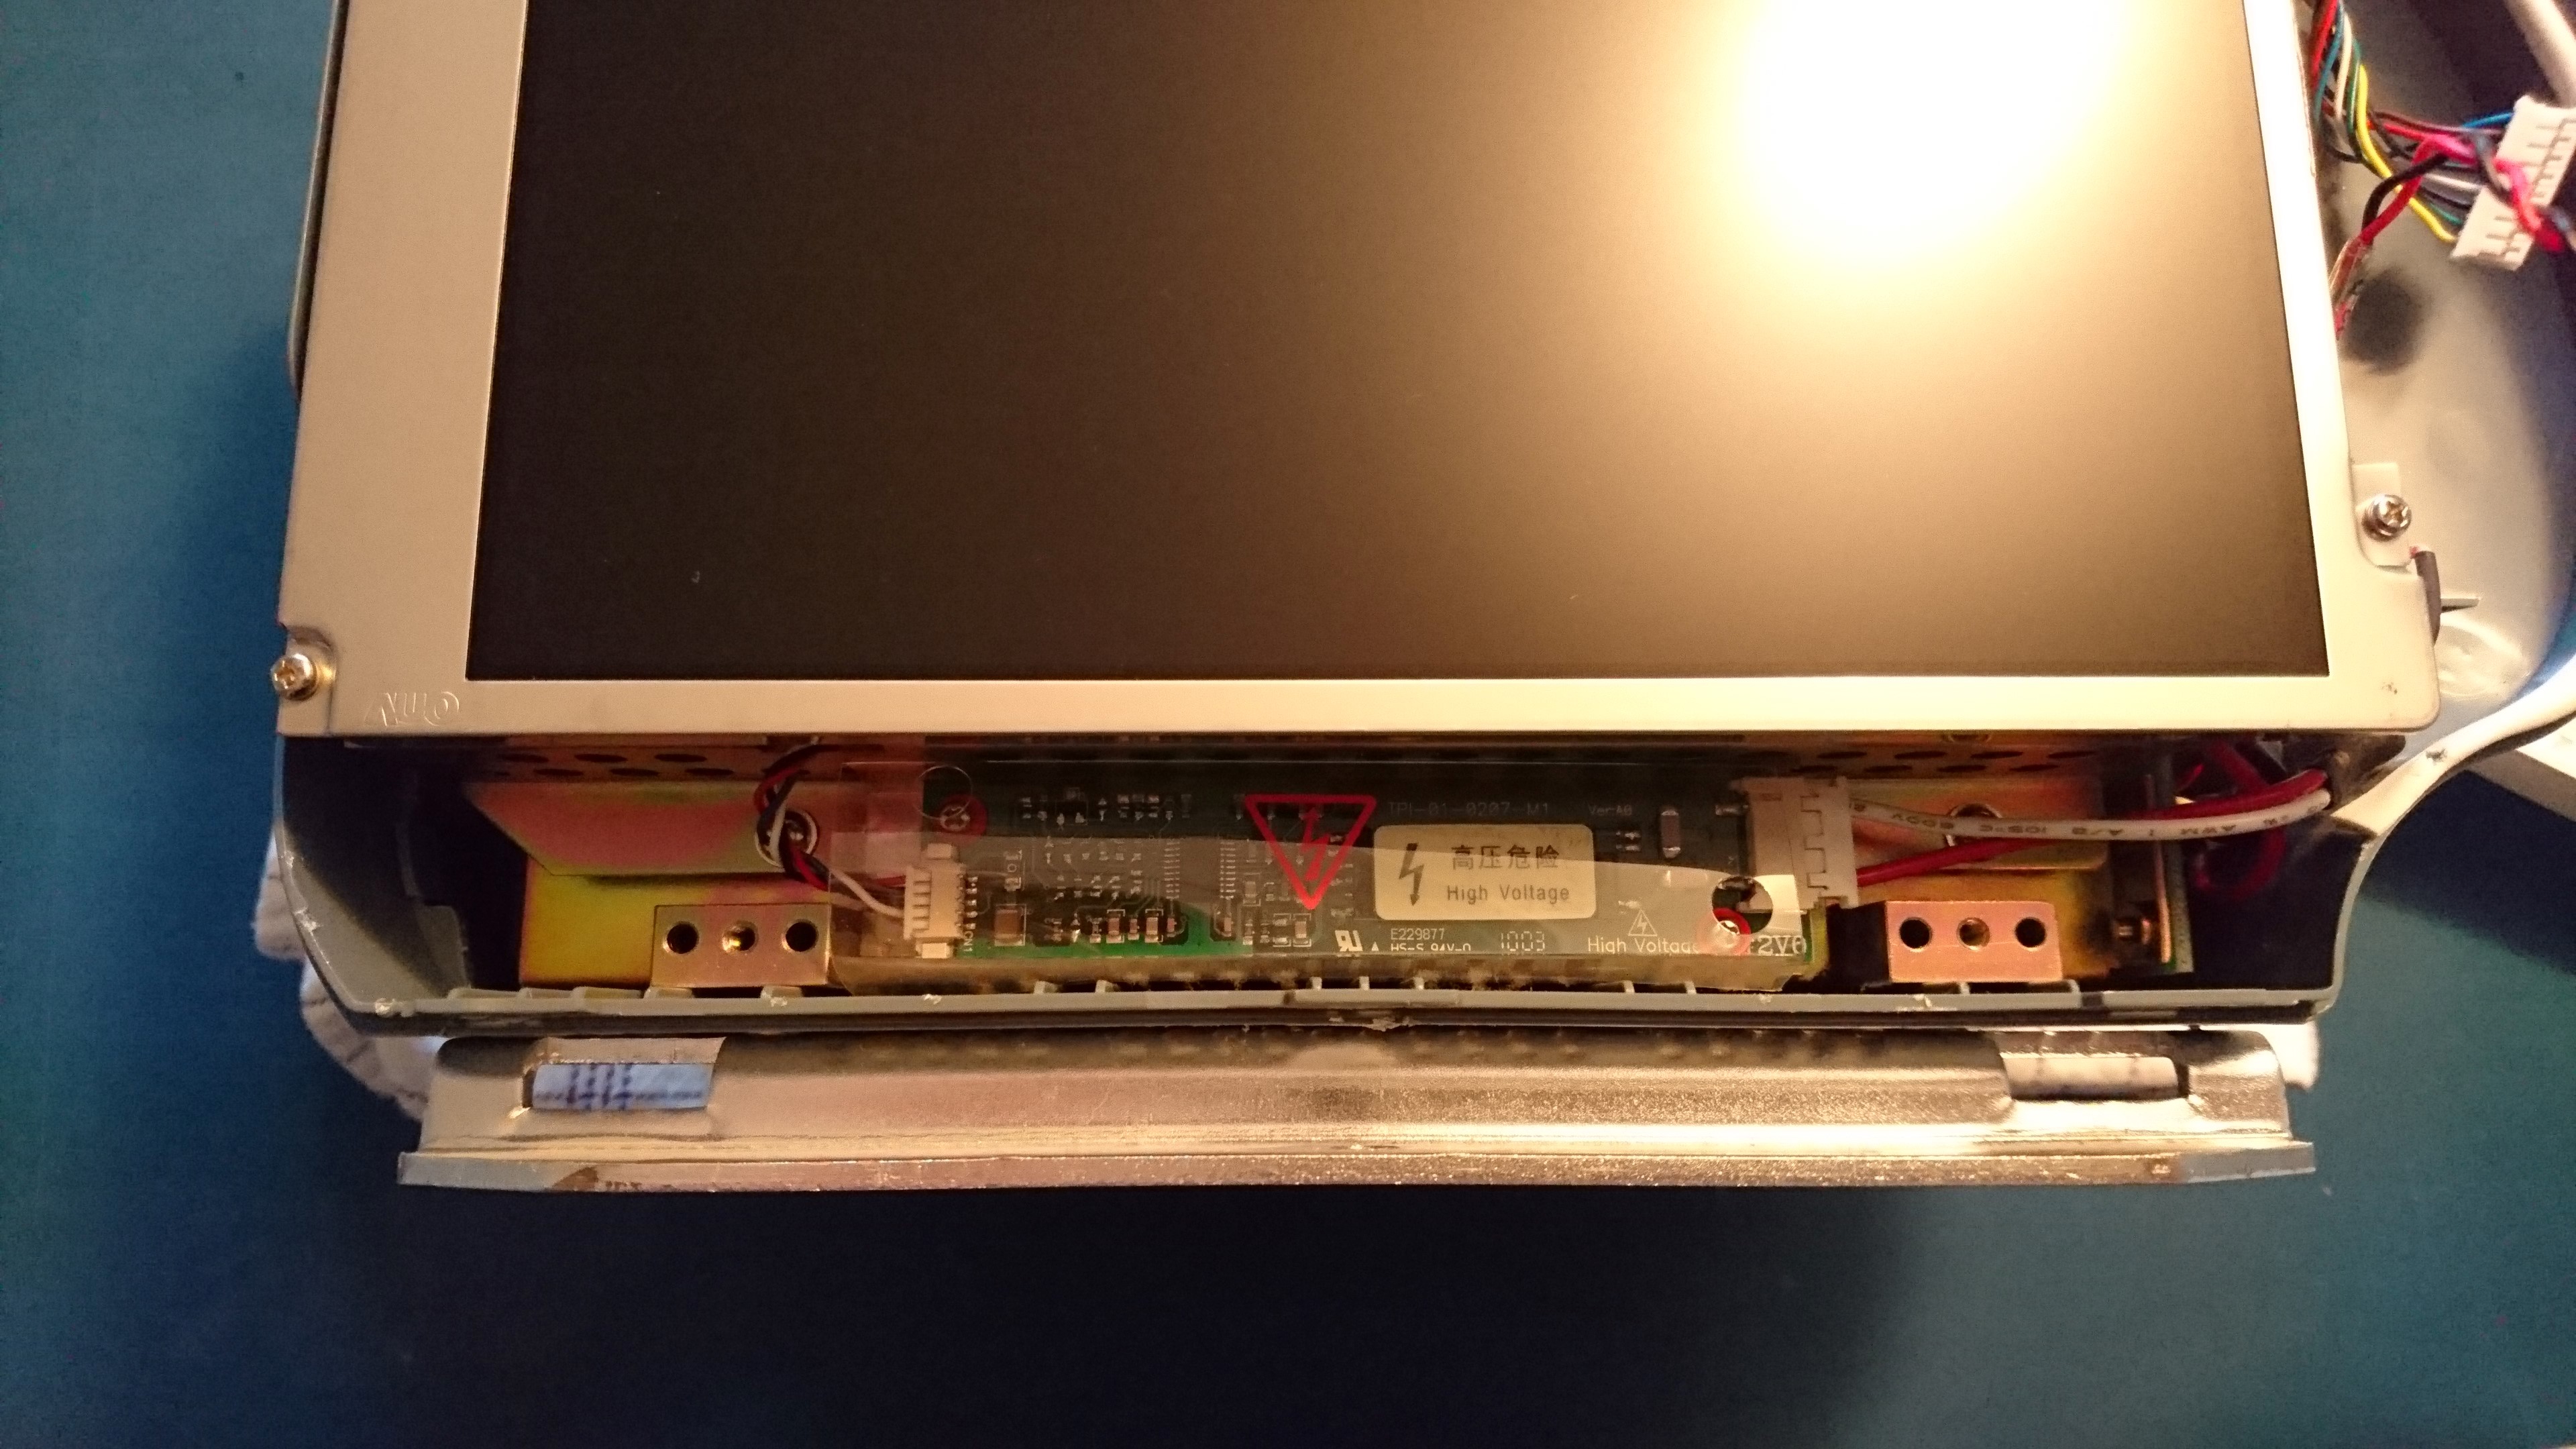
High voltage converter for the CCFL lamp inside the panel

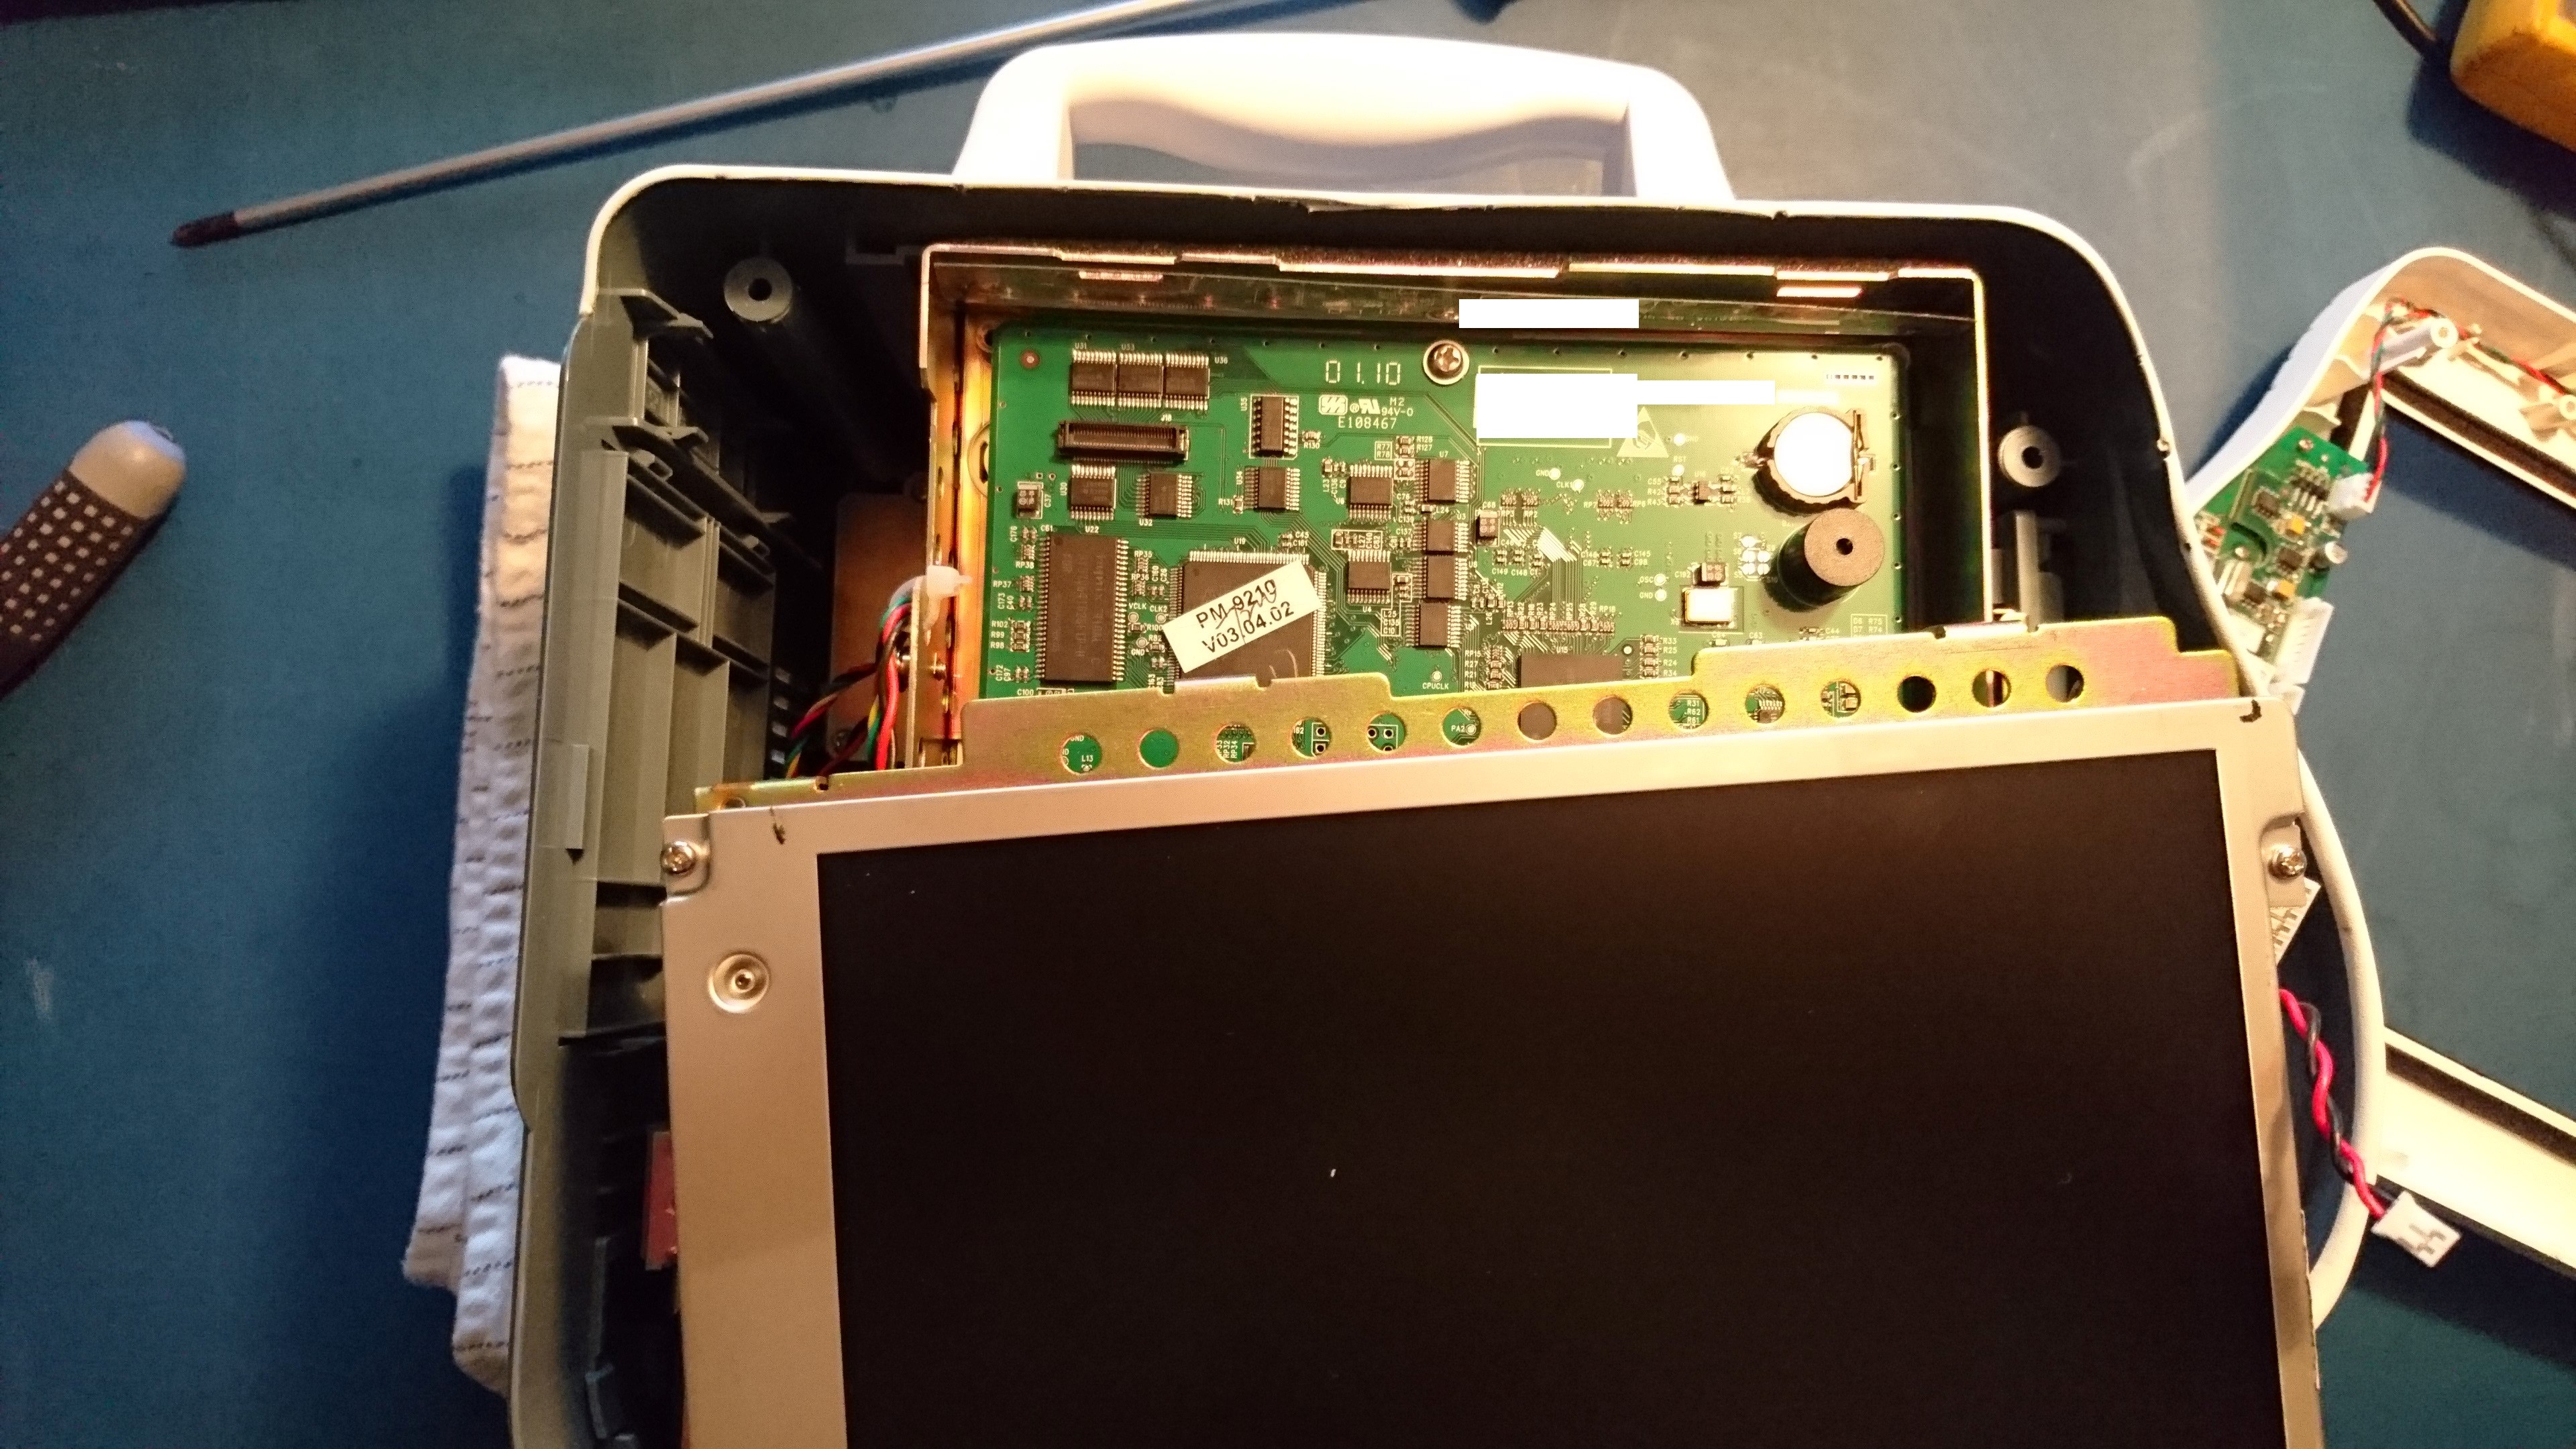
Slide the panel to the side and in an upper left corner the battery is located, pop out the battery and exchange it with the new one (be carefully not to touch the battery use some paper when mounting it.

Reverse the process to assemble the unit.

After the battery have been changed you need to setup the clock again, and this should be it, the new battery should work for the next 7 years, depending on usage.

How to fix/hack the Samsung CLX-3175FW, imaging unit

Well the place where i do some voluntary work, had this Samsung CLX-3175FW Color Laser printer for some years now and the unit i starting to show to following warning: “replace imaging unit soon” from the old days doing repairs on different printers at the university, i found that a lot of manufacturers place small fuses, software counters that are supposed to make the user replace different parts in the printers normally these parts are quite expensive, some of these “errors” can sometimes be reset without that much work, and the this was one of them.

What you needs is the following:

A Solderings iron

A 56Ω 0,25watts resistor

Let’s get to work.First thing is to take all the color cartridges out of the printer and place them somewhere safe (be sure not to drop the color powder on anything)

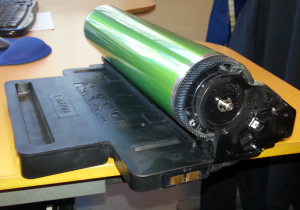
next thing is to remove the wast toner box in the left side, now remove the imaging unit.

image_unit_samsung

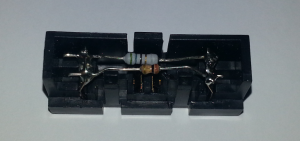
you should se 2 cobber contacts in the right side of the imaging unit, this small device can be removed from the unit.

resisitor_samsung

inside the unit that i took apart, there where 2 resistors, the small one, is actual just a  “sense” function that makes the printer aware if the unit is not installed, in my case the resisitor was a 140KΩ, the larger resistor was a 56Ω but this resistor was burned and did no longer function. So this resistor functions as a “new” device put into the printer, the printer then burns this resistor to reset the imaging unit counter.

a quick trip to the storage with a new 56Ω resistor, i removed the old one and soldered the new inside the unit, i used a 1% resistor as this was the only type that i had.

i then put the unit back into the imaging unit, and cleaned the unit for any excess toner, and dust.

then i put everything back into the printer and powered the unit on.

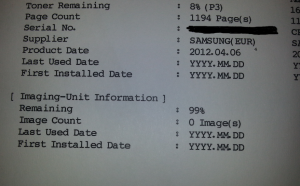
i printed a report for the unit and wolia 🙂 the printer now thinks the imaging unit is new.

report_samsung

i den took the unit apart again and checked the resistor, somehow the printer didn’t burn i properly so i remove the resistor , just to be sure that i didn’t break anything, maybe the original samsung placed resistor is easer to burn?, but hey what the heck it did the job.

This fix/hack cost around 0.50DKR, and a new imaging unit cost around 900-1100DKR so witch one do you chose?.