This Article is in danish as it’s primary readers are danish.
TP-Link TD-W9970:
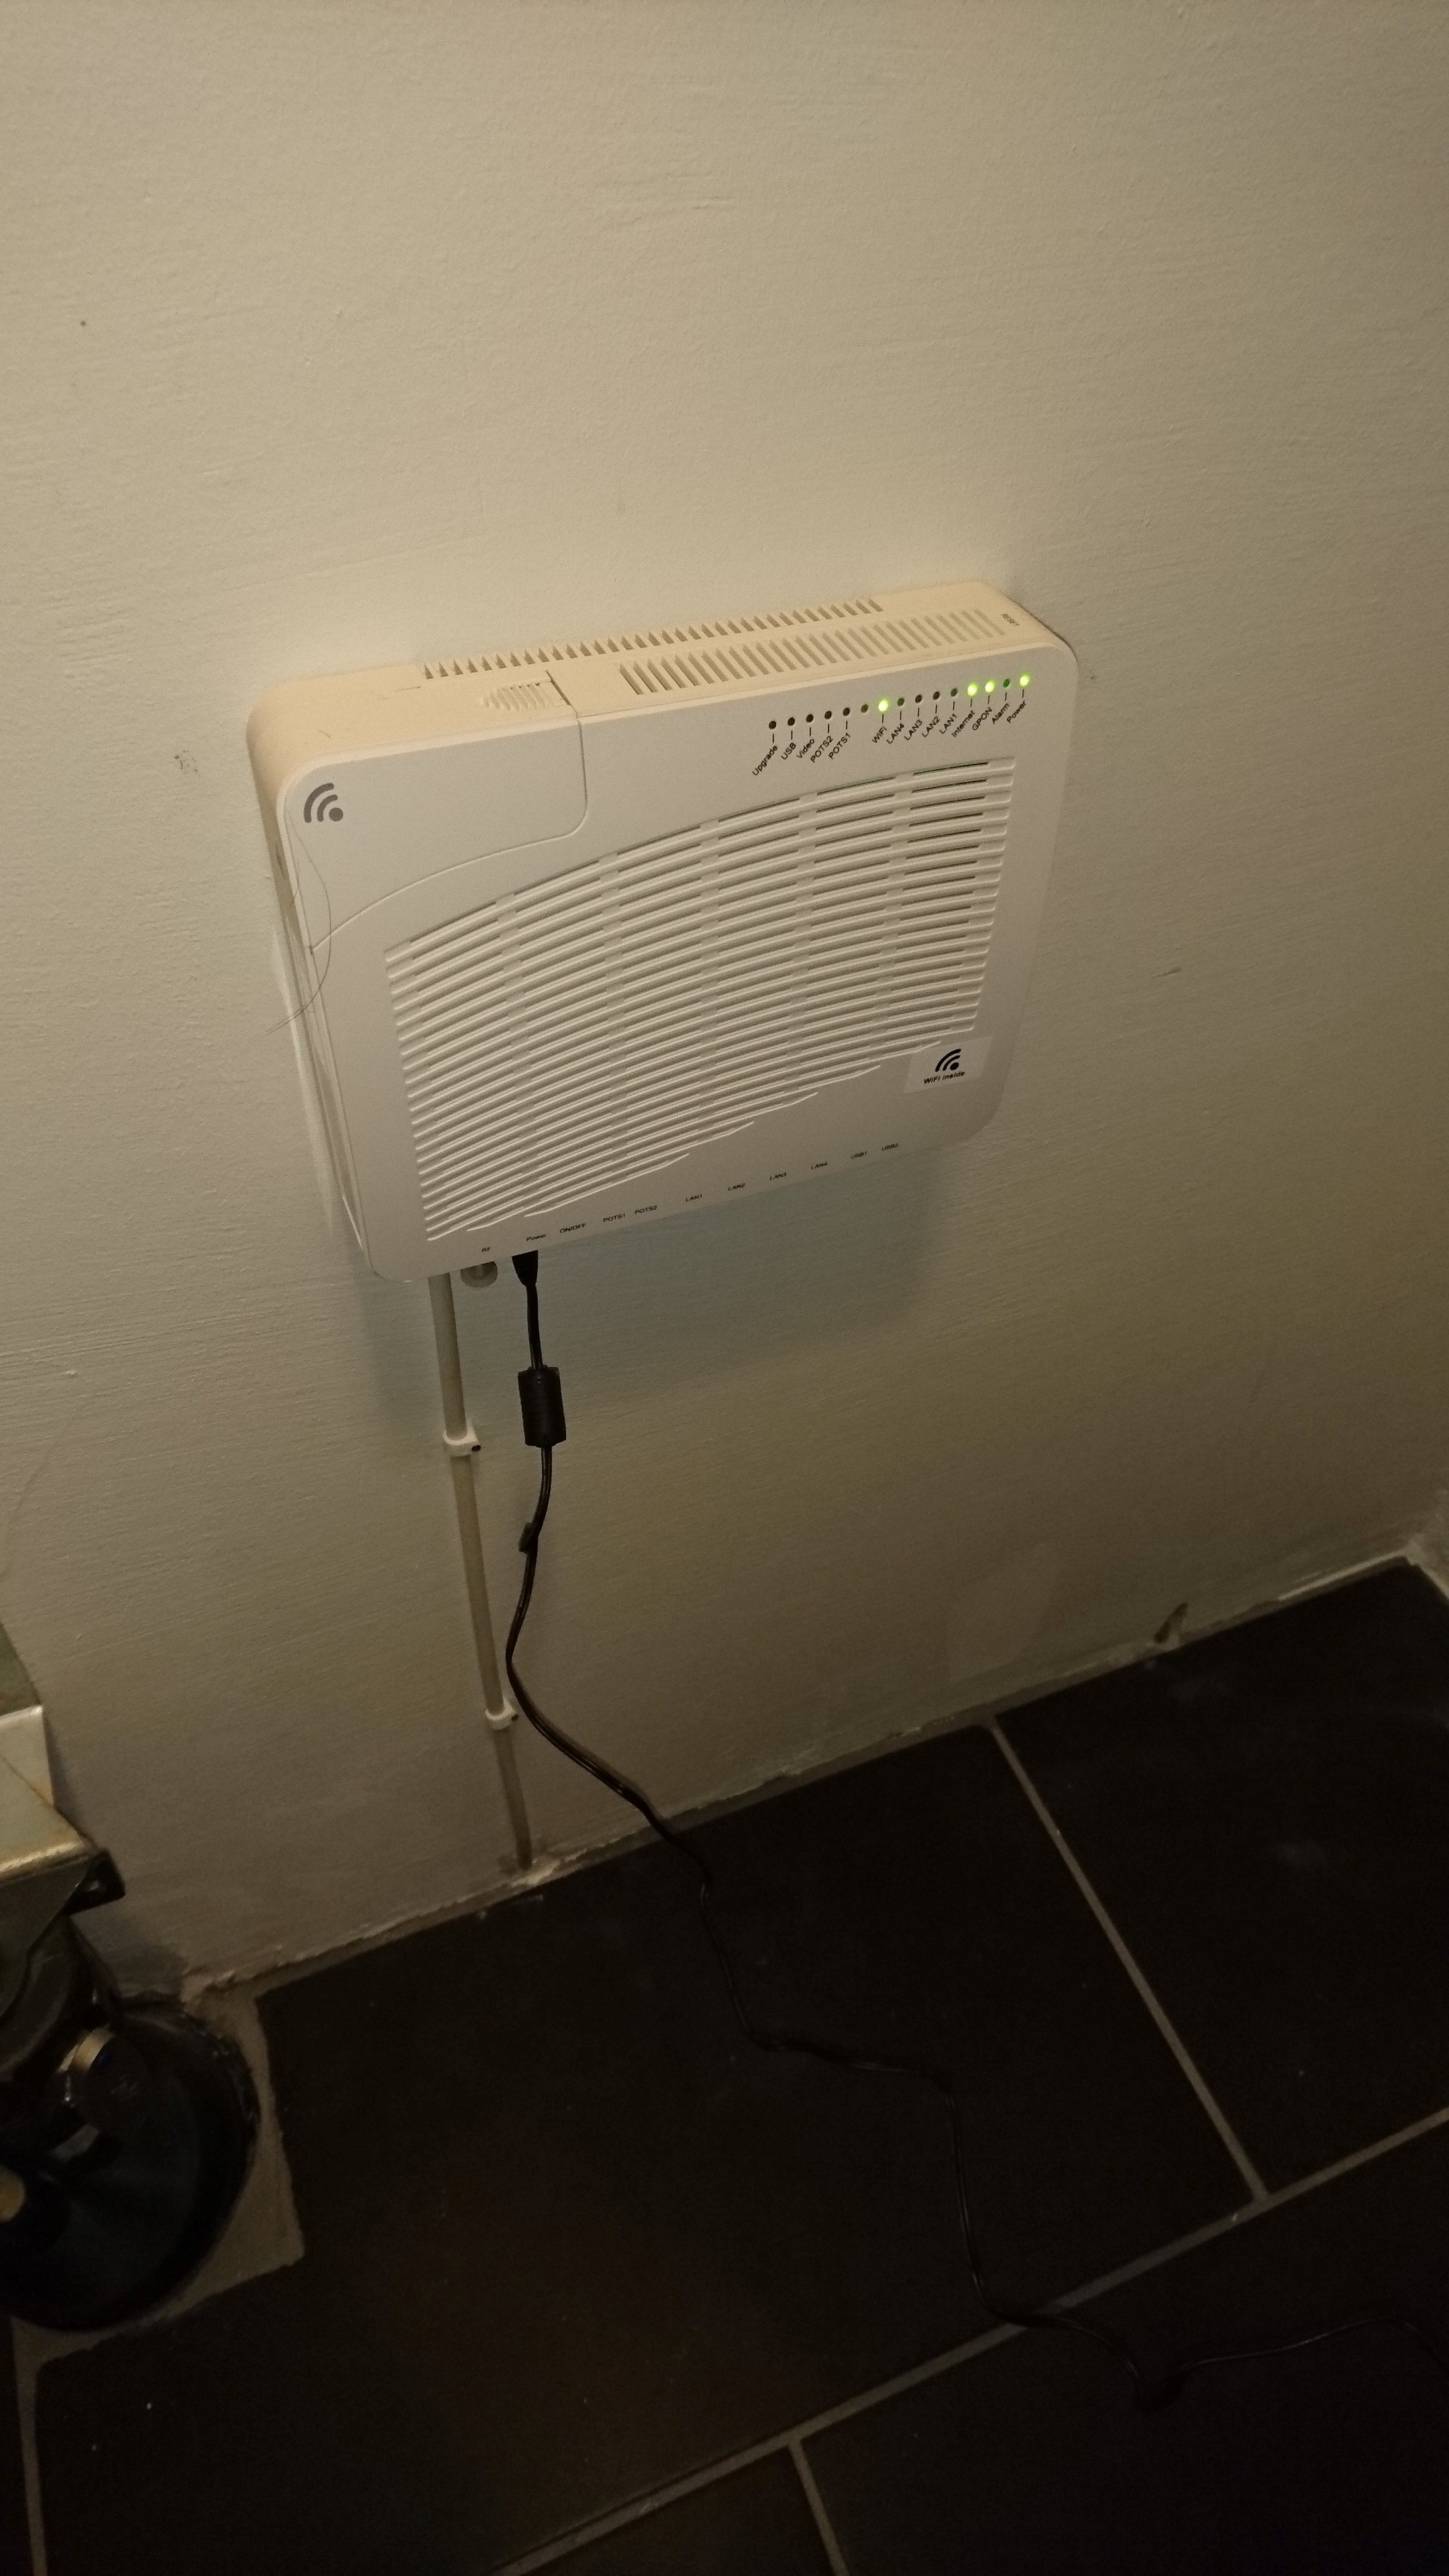
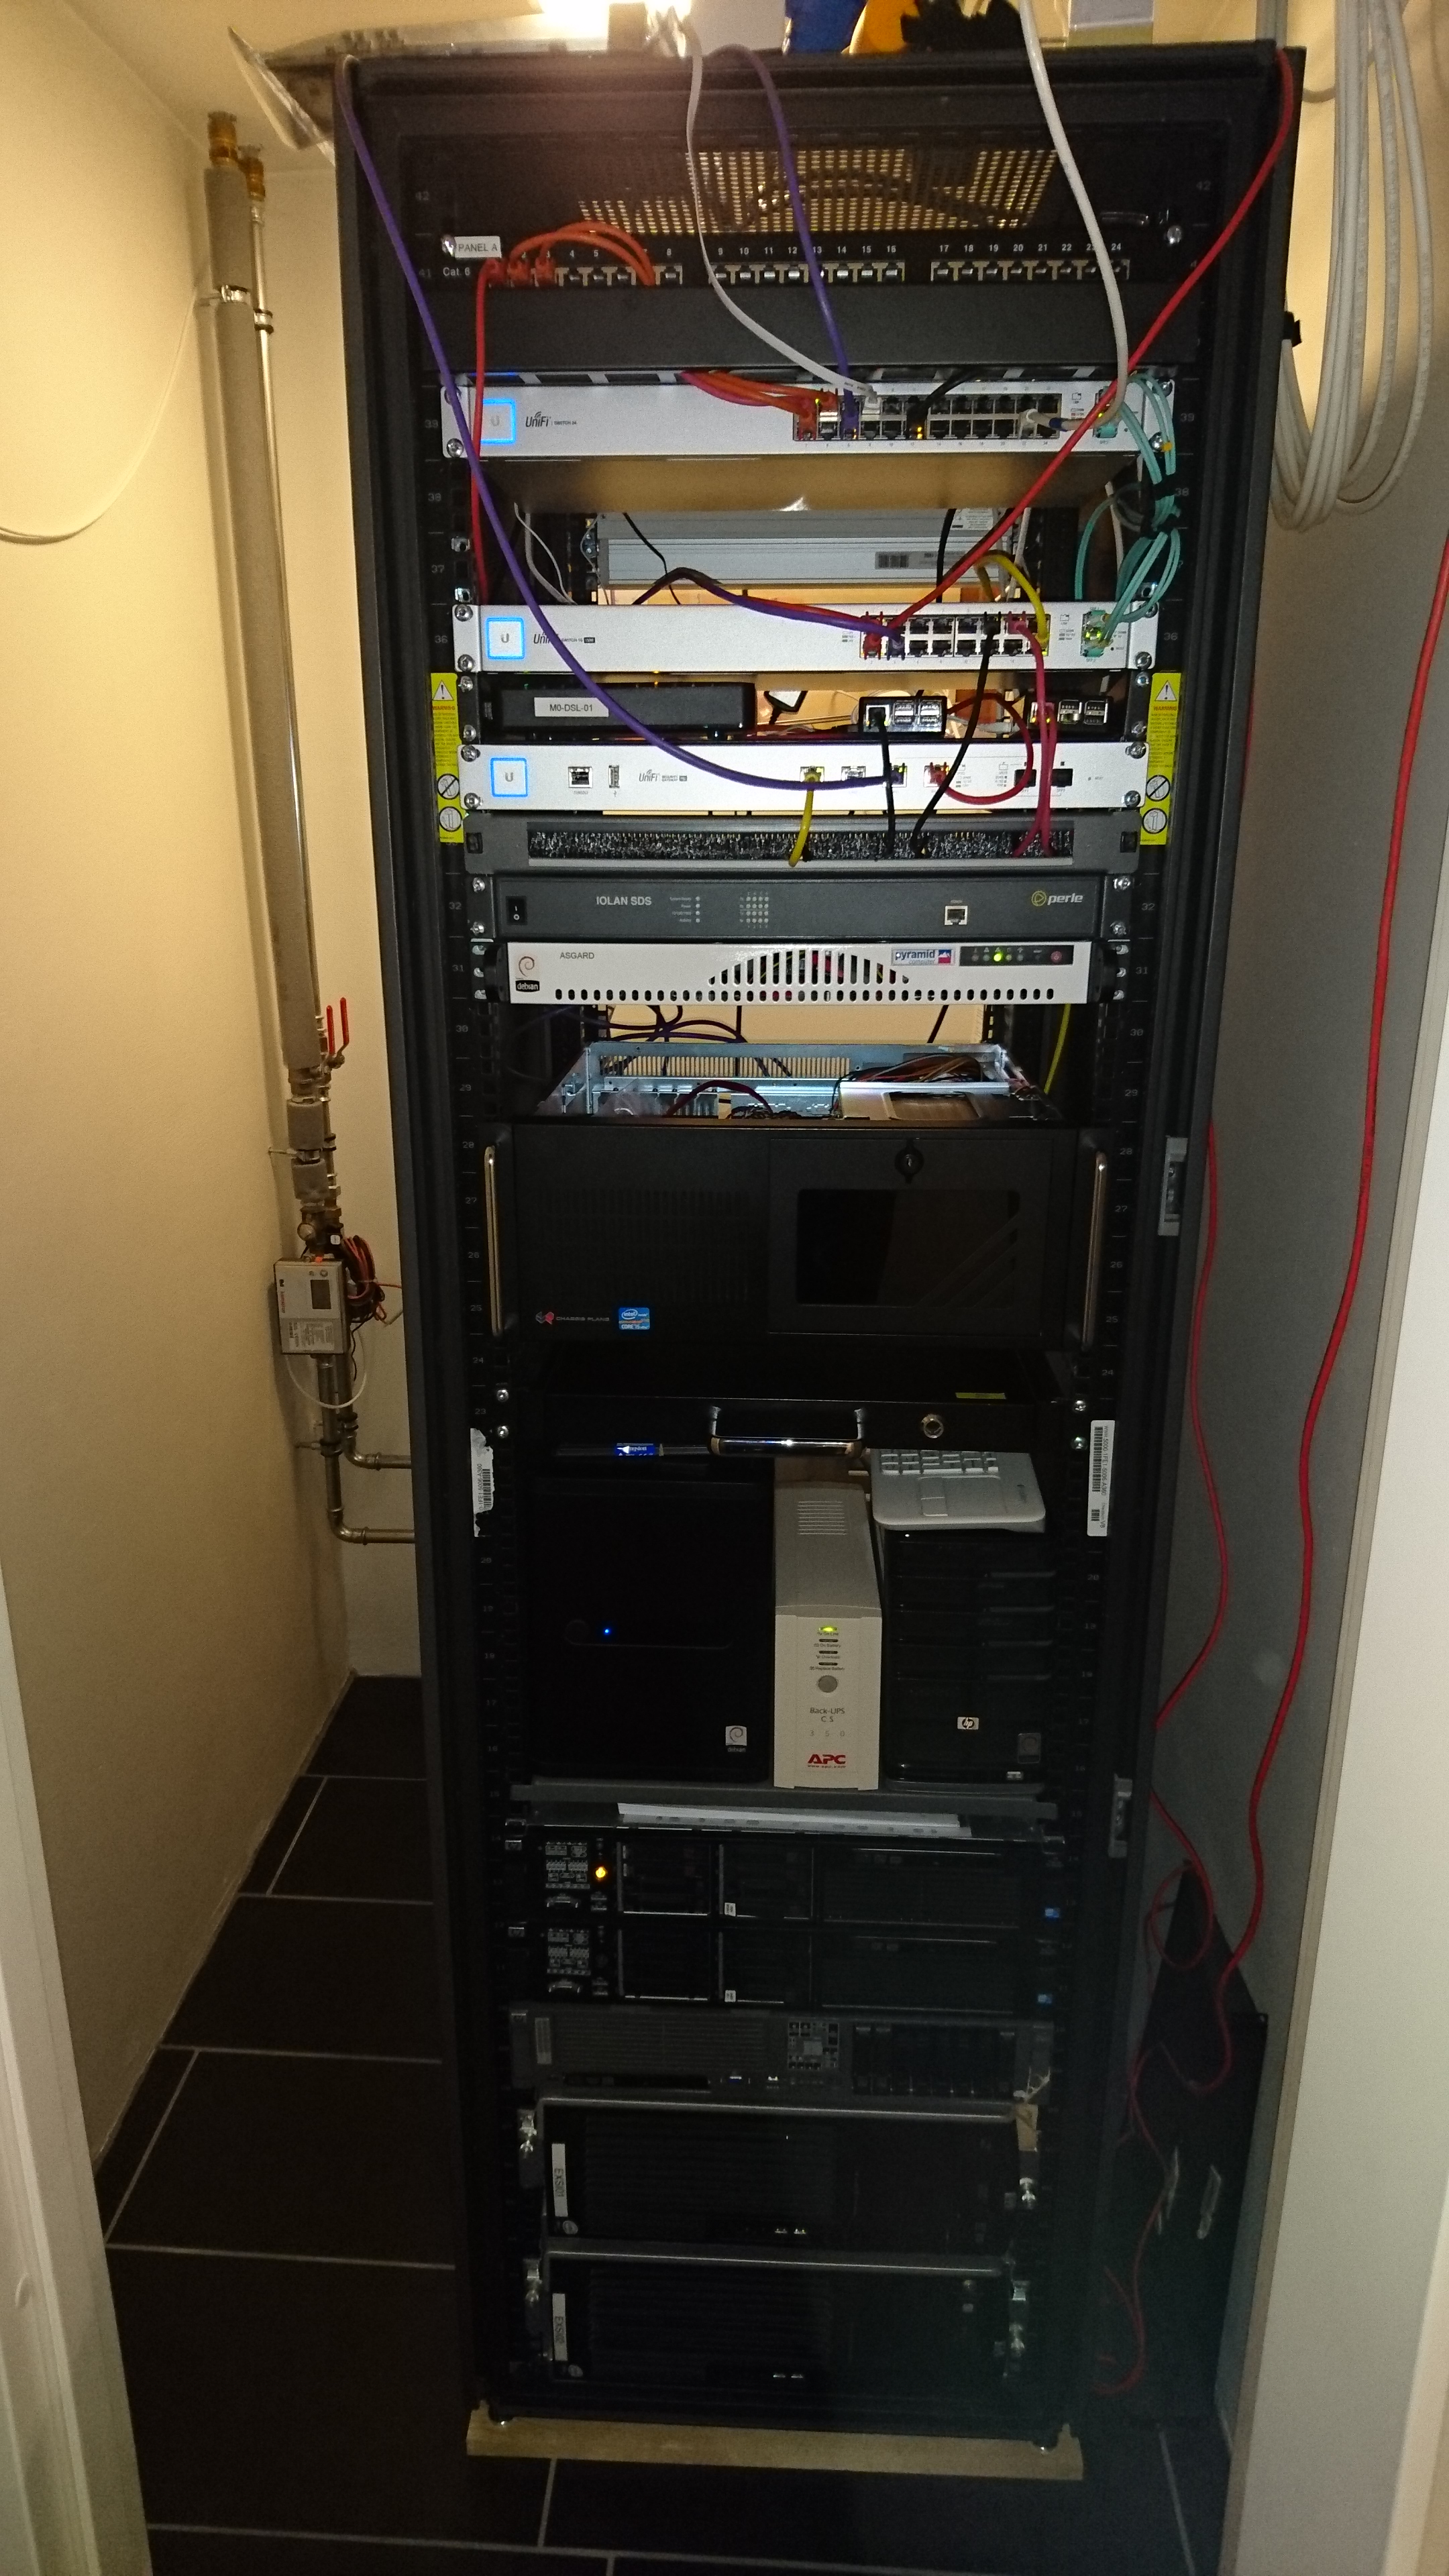
14/06-2024: Efter en omgang torden igen så døde min Askey RTV1800-D79, DSL line driver var toal smeltet og printet skadet så meget at det ikke kunne repareres, jeg har desværre ikke haft held med at source en ny, så alternativet til et modem blev en TP-Link TD-W9970 som er en all-in-one enhed som heldigvis supportere at sætte den i bridge mode.
Selve firmware og hardware version kan ses her: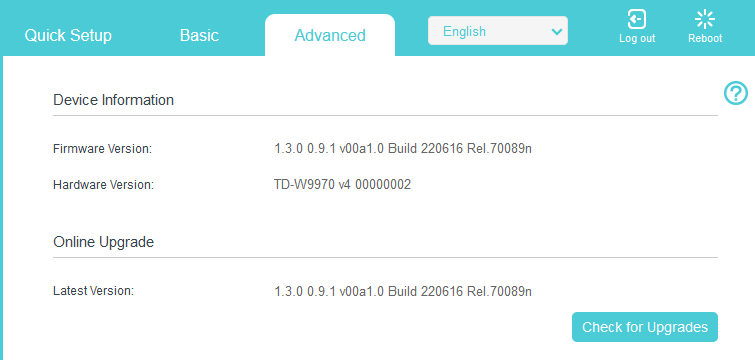 OBS: den viste firmware kan ikke findes hvis man går på TP-links hjemmeside og går til deres danske sektion, men derimod kan man se den hvis man tager den internationale, selvom firmwaren er tagget som en EU version.
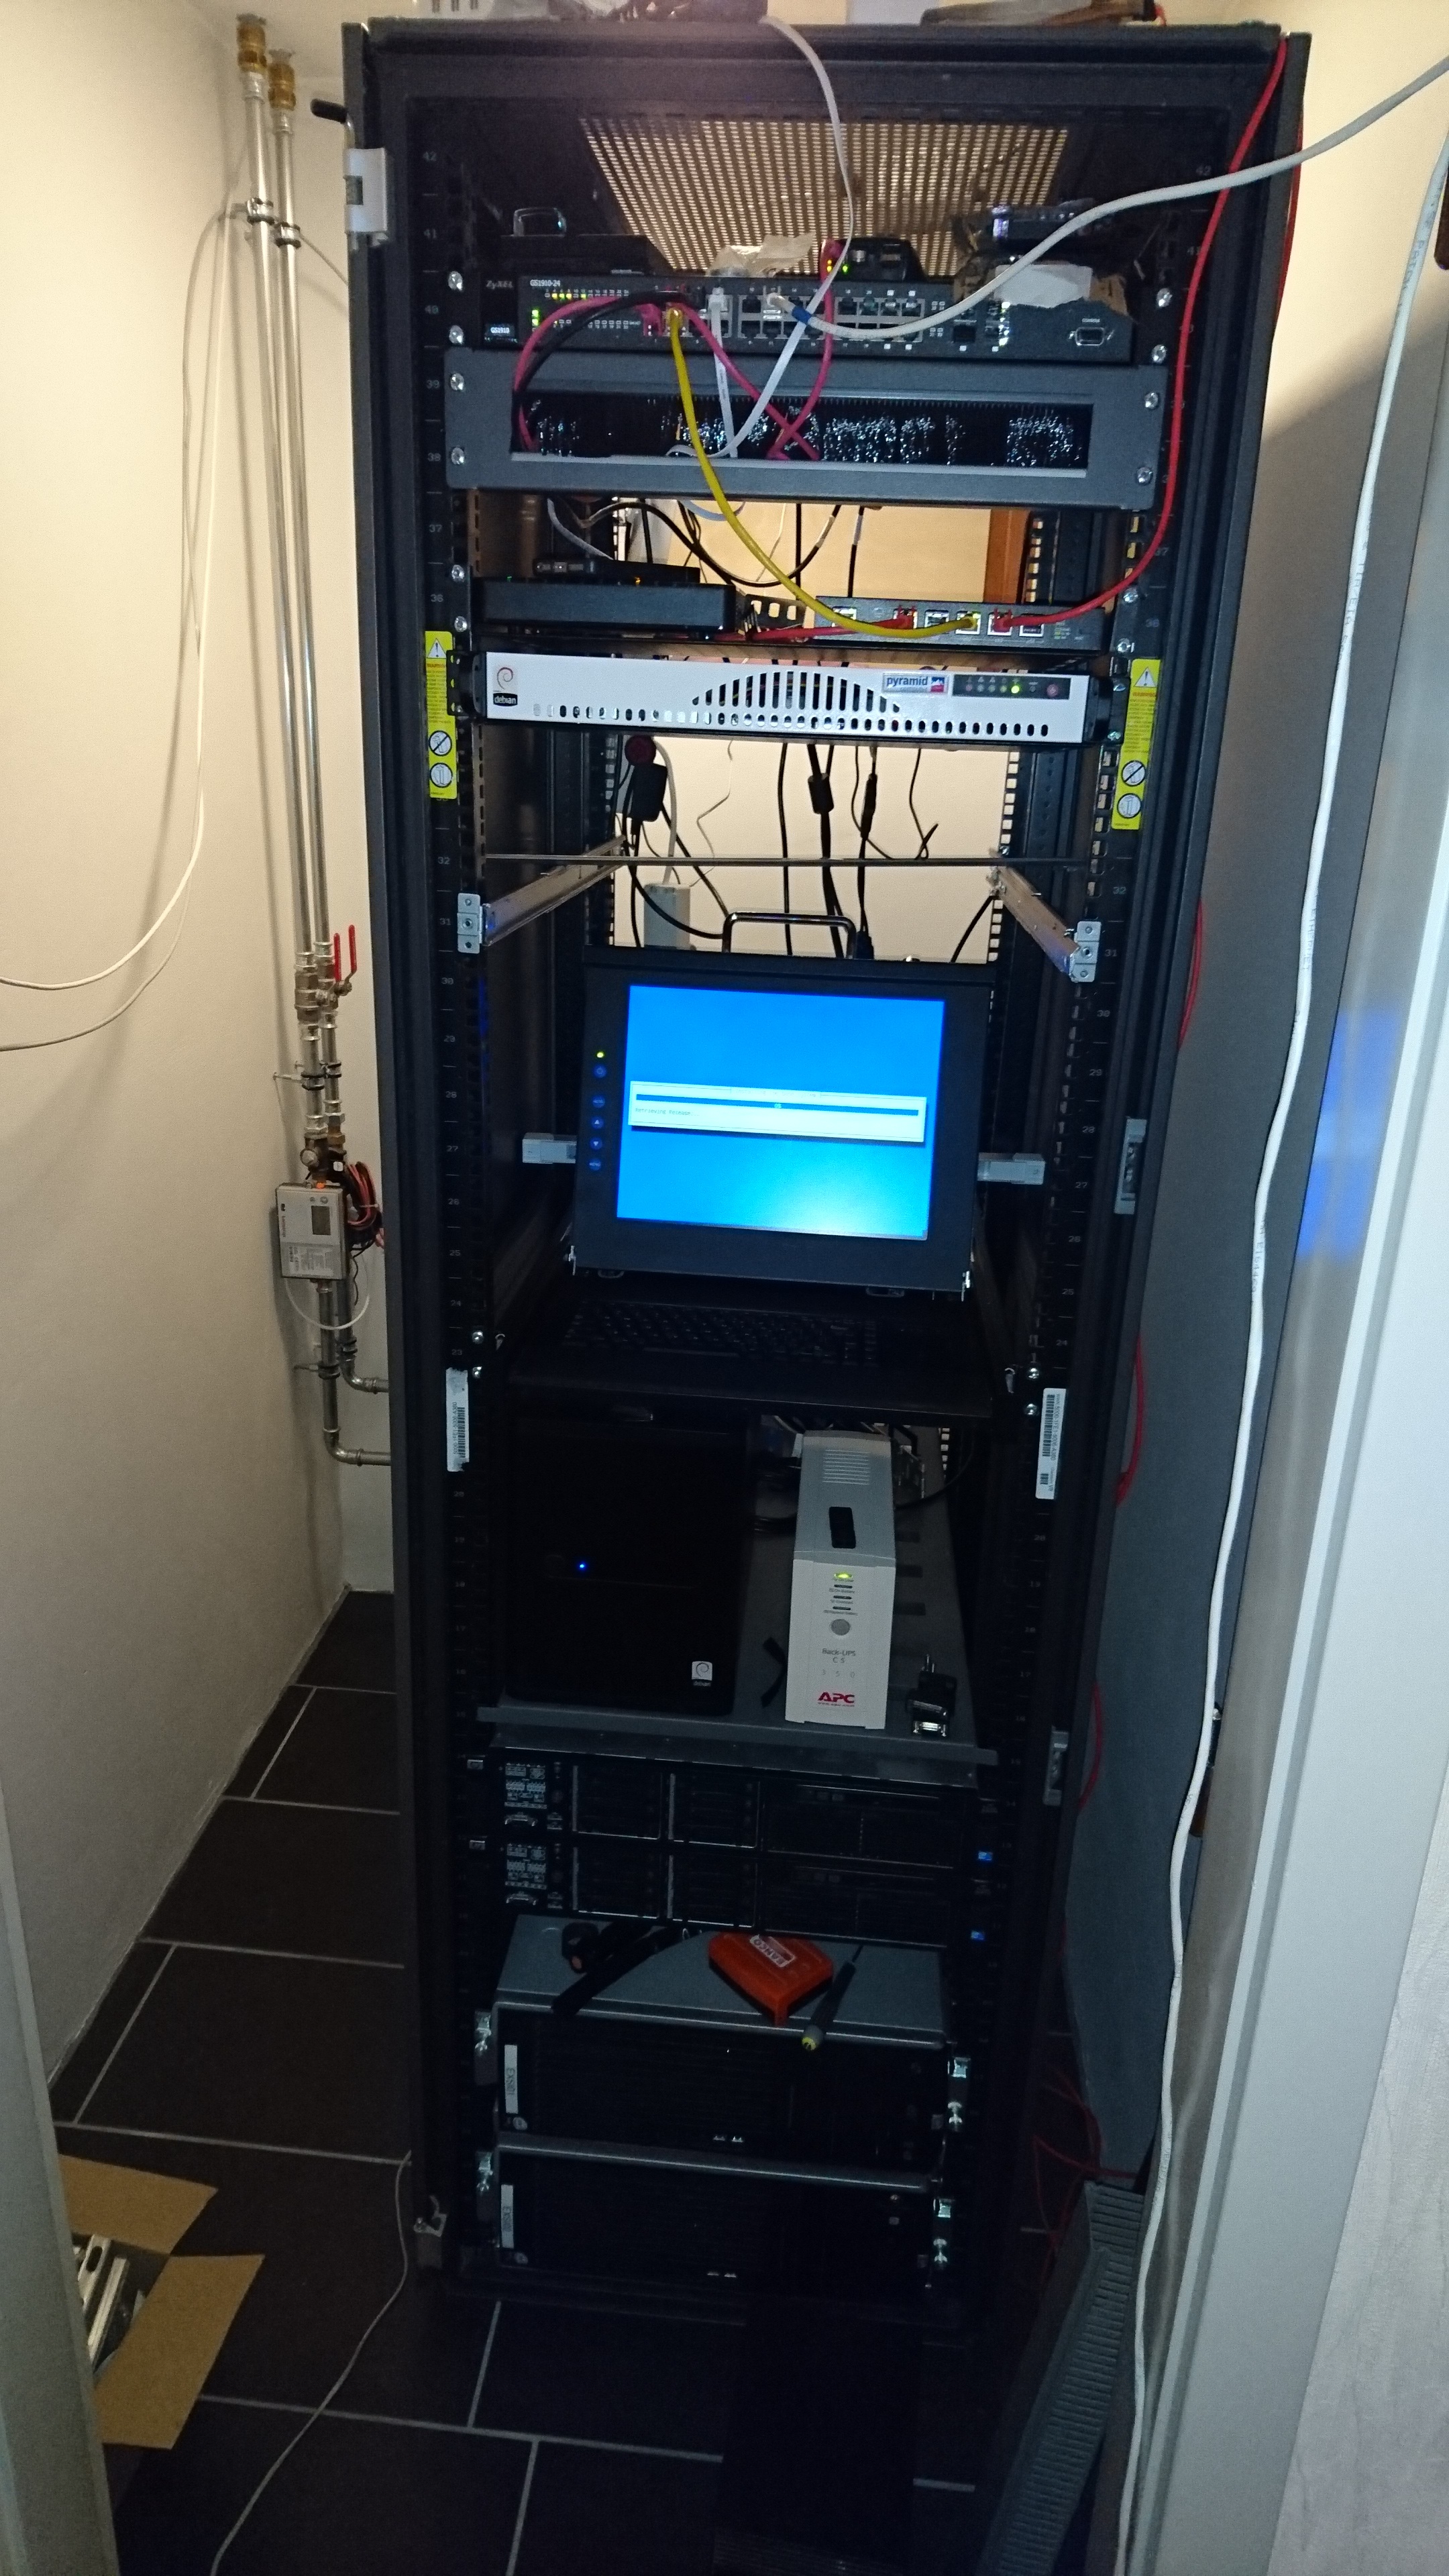
Mit setup ser således ud og virkede ud af boksen:
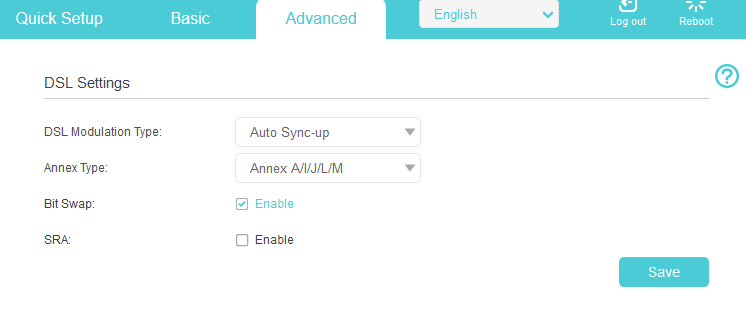
Note: Jeg kørte hurtigt igennem den setup wizard og har som sådan kun lavet små ændringer som at slå DHCP serveren fra samt IPv6 på lan siden, og sætte Annex typen og vlan til 101 som beskrevet i Askey sektionen.
Advanced -> Network -> DSL Settings
 Advanced -> Nework -> Internet
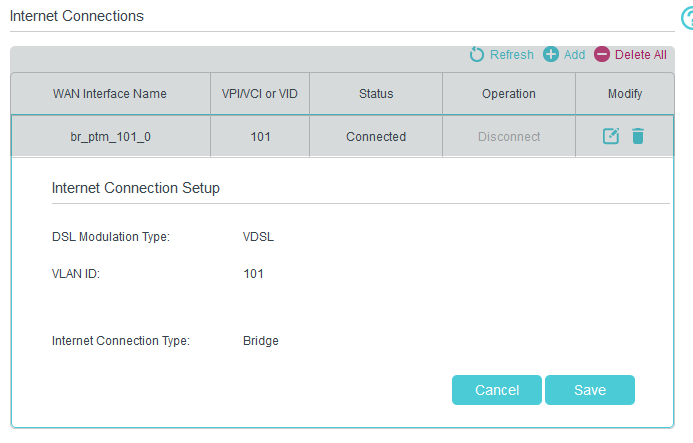 Advanced-> Network -> LAN-Settings -> IPv4
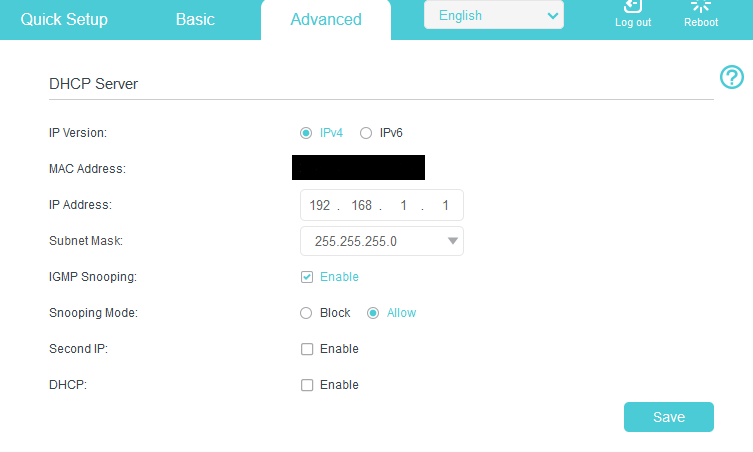 Advanced-> Network -> LAN-Settings -> IPv6
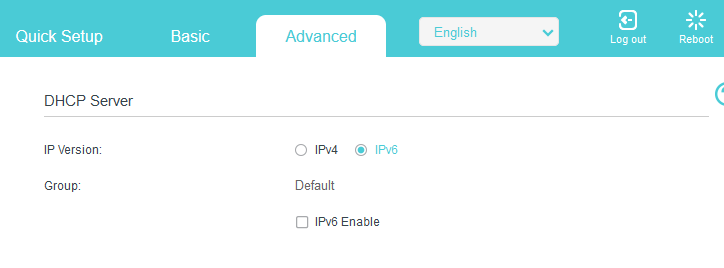 Linjen linket op i første hug:
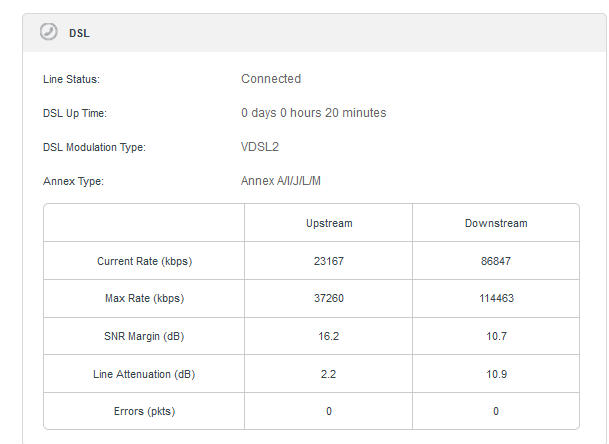
Askey RTV1800-D79:
22/05-2018 updated: Jeg har smidt min seneste version fil op, efter at jeg måtte sætte et nyt modem op grundet at den Zyxel jeg egenlig have skiftet over til døde efter overspænding på porten og tog en del andet udstyr med i faldet, så snart jeg har en ny Zyxel så smider jeg config op til denne :).
Jeg har i flere år brugt mit eget modem på min TDC ADSL2+ forbindelse (20/2Mbit), i forbindelse med omlægning til en 40/10Mbit forbindelse, blev jeg konverteret til en VDSL2 forbindelse, mit god gamle netgear DM111 ADSL2+ modem, skulle derfor udskiftes til noget som kan forstå VDSL2.
Jeg havde ved et held fået et TDC VDSL2 modem (Askey RTV1800-D79), dette modem understøtter iht. til TDC’s lister både Vectoring, SRA, samt G.INP, hvilket burde sikre driften i langtid.
OBS: jeg har godt nok telefon på mit abb. men jeg bruger det ikke, så disse noter drejer kun om at få internet igennem.
i min naivitet troede jeg at der ikke var forskel på en modem løsning og en router løsning (Homebox), dette viste sig dog at der var stor forskel.
følgende er de settings jeg er bekendt med:
Homebox:
VLAN ID = 101
QOS = 1
VLAN MUX
PTM IPoE
Modem:
VLAN ID = 50
QOS = 0
VLAN MUX
PTM IPoE
Modem settings er fisket ud ved at tilgå http://192.168.1.1 på modemet, Homebox settings er fundet å TDC’s forum.
for at tilgå modem, skal det lige have et spark over benet ved at reset det, hold reset knappen inde indtil at alle lamper blinker, gør dette nogle gange (det kan godt drille), forsøg derefter at tilgå den på 192.168.1.1, når det lykkes skuælle den gerne komme op og spørge om login, her bruger du admin som bruger og password.
man kan via modemet hive settings ud, men umiddelbart ikke ændre noget på denne, dette kan man dog workaround ved at redigere den fil man får ud af settings, jeg ligger hermed min originale fil op samt den redigeret fil som fik min forbindelse til at virke.
Original settings fra modem (TDC Setup): TDC_setup_org.zip
Orginale setting fra modem (Hiper Setup): Hiper_setup_org.zip
De settings jeg kører med idag: working_final_160203.zip
UPDATE nye settings: working_final_180522.zip
NB: Filerne er pakket som ZIP filer, da det gav lidt problemer med encodningen og er derved lige til at smide på boksen.
God fornøjelse med at få det til at spille 🙂
den primære ændring er:
Orginal:
<WANIPConnection instance=”1″>
<Enable>TRUE</Enable>
<ConnectionType>IP_Bridged</ConnectionType>
<Name>br_0_1_1</Name>
<ExternalIPAddress notification=”2″>0.0.0.0</ExternalIPAddress>
<X_BROADCOM_COM_IfName>ptm0.1</X_BROADCOM_COM_IfName>
<X_BROADCOM_COM_ConnectionId>1</X_BROADCOM_COM_ConnectionId>
<PortMappingNumberOfEntries>0</PortMappingNumberOfEntries>
</WANIPConnection>
Modificeret version:
<WANIPConnection instance=”1″>
<Enable>TRUE</Enable>
<ConnectionType>IP_Bridged</ConnectionType>
<Name>br_0_1_1</Name>
<ExternalIPAddress notification=”2″>0.0.0.0</ExternalIPAddress>
<X_BROADCOM_COM_IfName>ptm0.1</X_BROADCOM_COM_IfName>
<X_BROADCOM_COM_ConnectionId>1</X_BROADCOM_COM_ConnectionId>
<X_BROADCOM_COM_VlanMux8021p>1</X_BROADCOM_COM_VlanMux8021p>
<X_BROADCOM_COM_VlanMuxID>101</X_BROADCOM_COM_VlanMuxID>
<PortMappingNumberOfEntries>0</PortMappingNumberOfEntries>
</WANIPConnection>
Jeg vil sandsynligvis skrive mere her ved lejlighed, når jeg får mere tid til at kigge på settings.