New house and new server room.

Well I bought an old house from 1965, back in November 2016, and still working on getting all rooms renovated, but one of the more exciting things about the new house, was the possibility to get a dedicated room for my servers, and networking hardware.

Unfortunately i haven’t got any pictures from the starting point, but the room size is:         120 x 180cm (47,2 x 70.8 inch).

Just big enough to accommodate an 42U 19″ rack, I bought an used HP G10000 G2 Rack of dba.dk got the item for an good price.

Spec for the rack can be found her: http://h18000.www1.hp.com/products/quickspecs/archives_north_america/12402_na_v5/12402_na.html

I have been used to work with the HP G10000 Series rack at work, for numerous customer projects, and really like the mounting options inside the rack, with the D rings and etc.

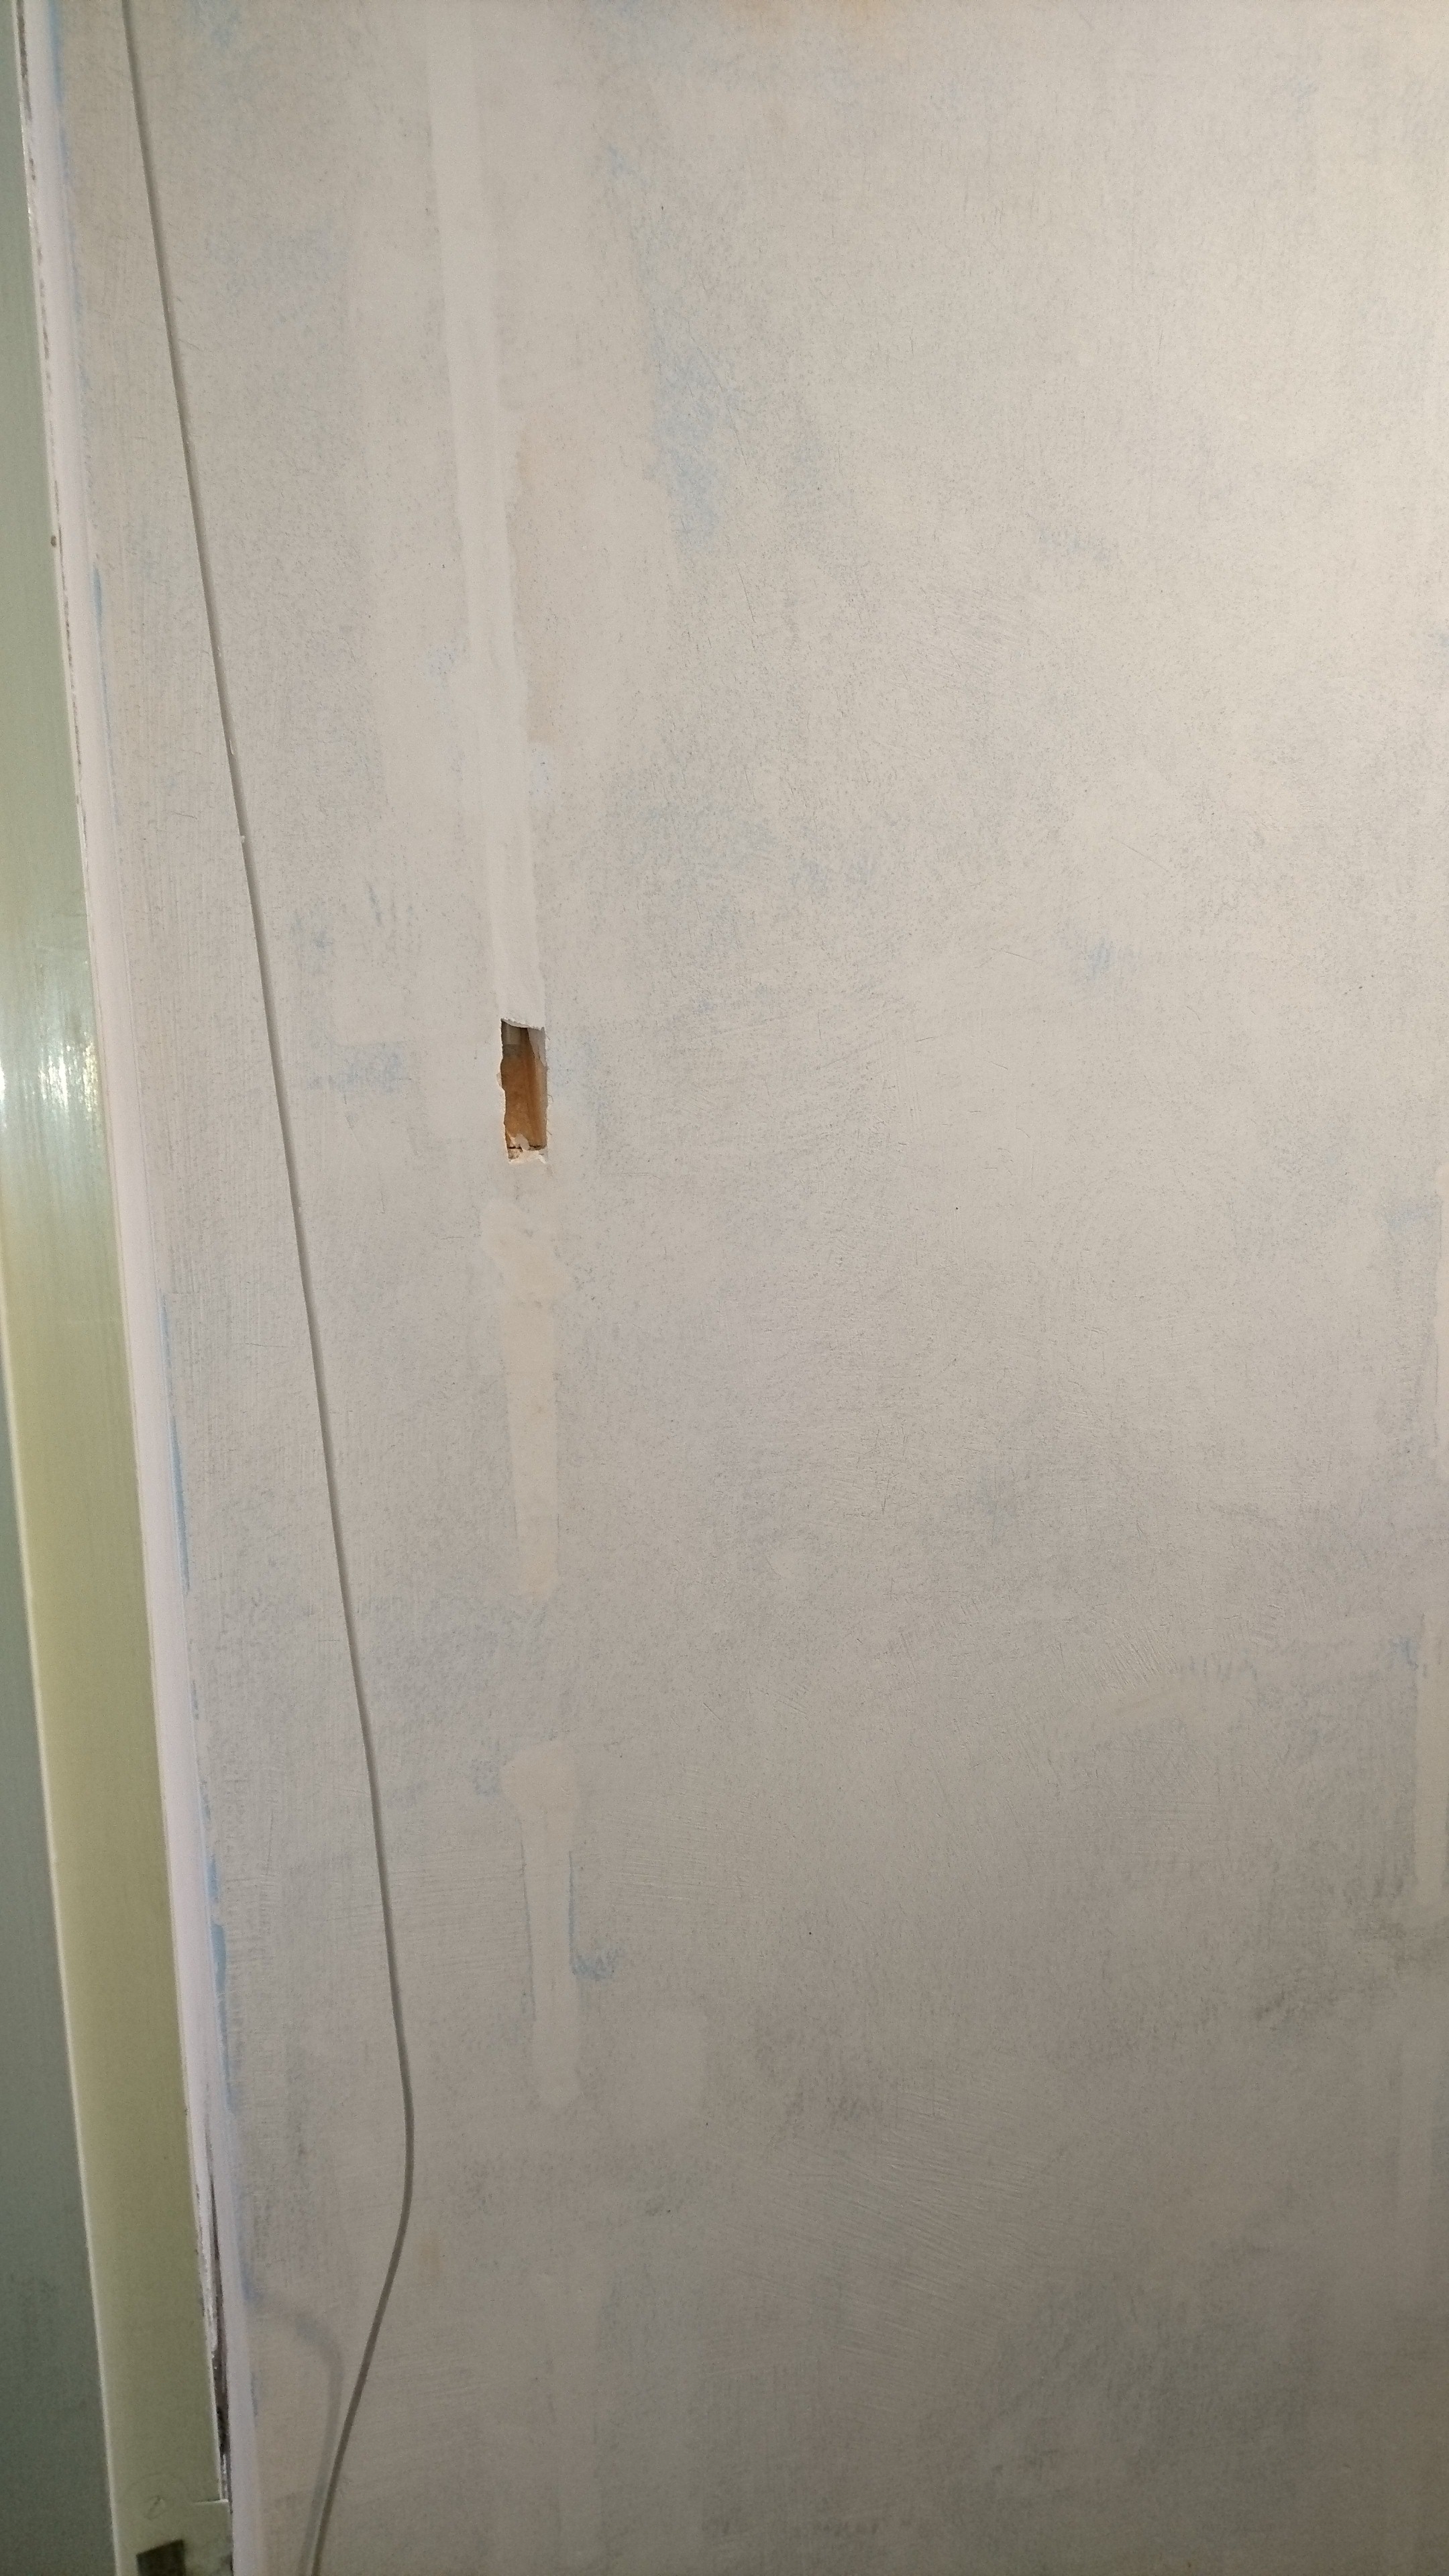
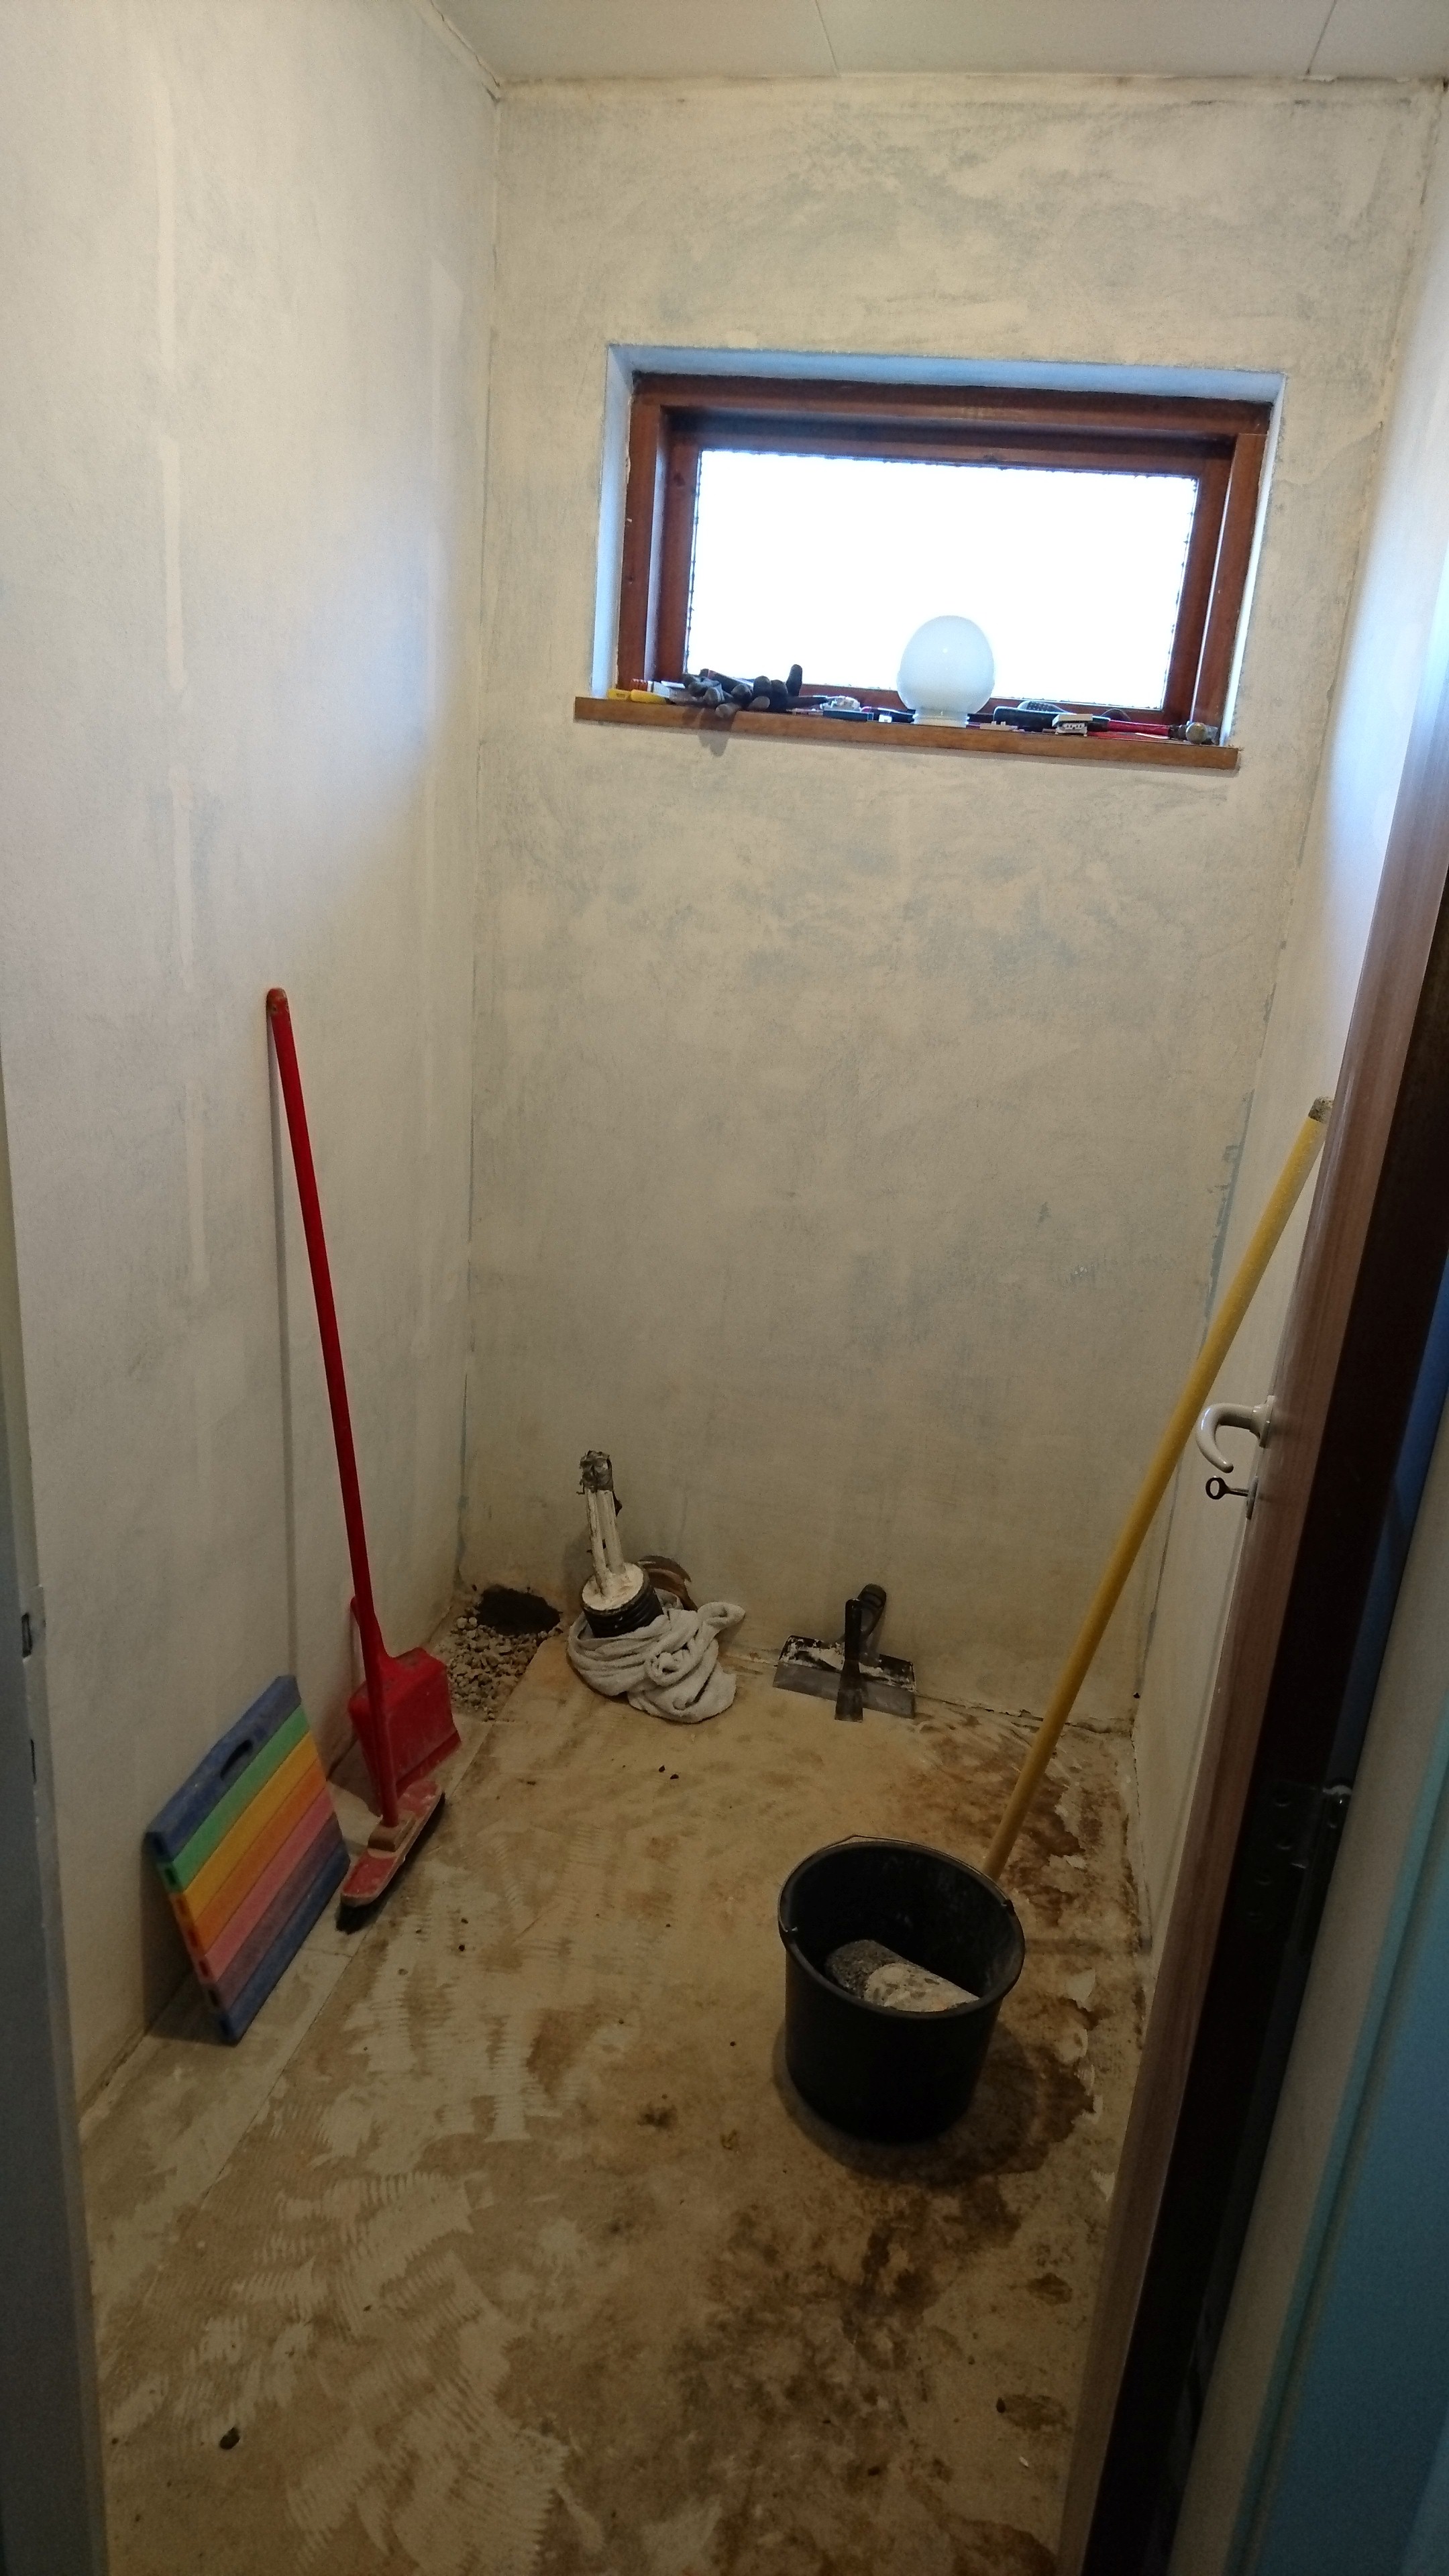
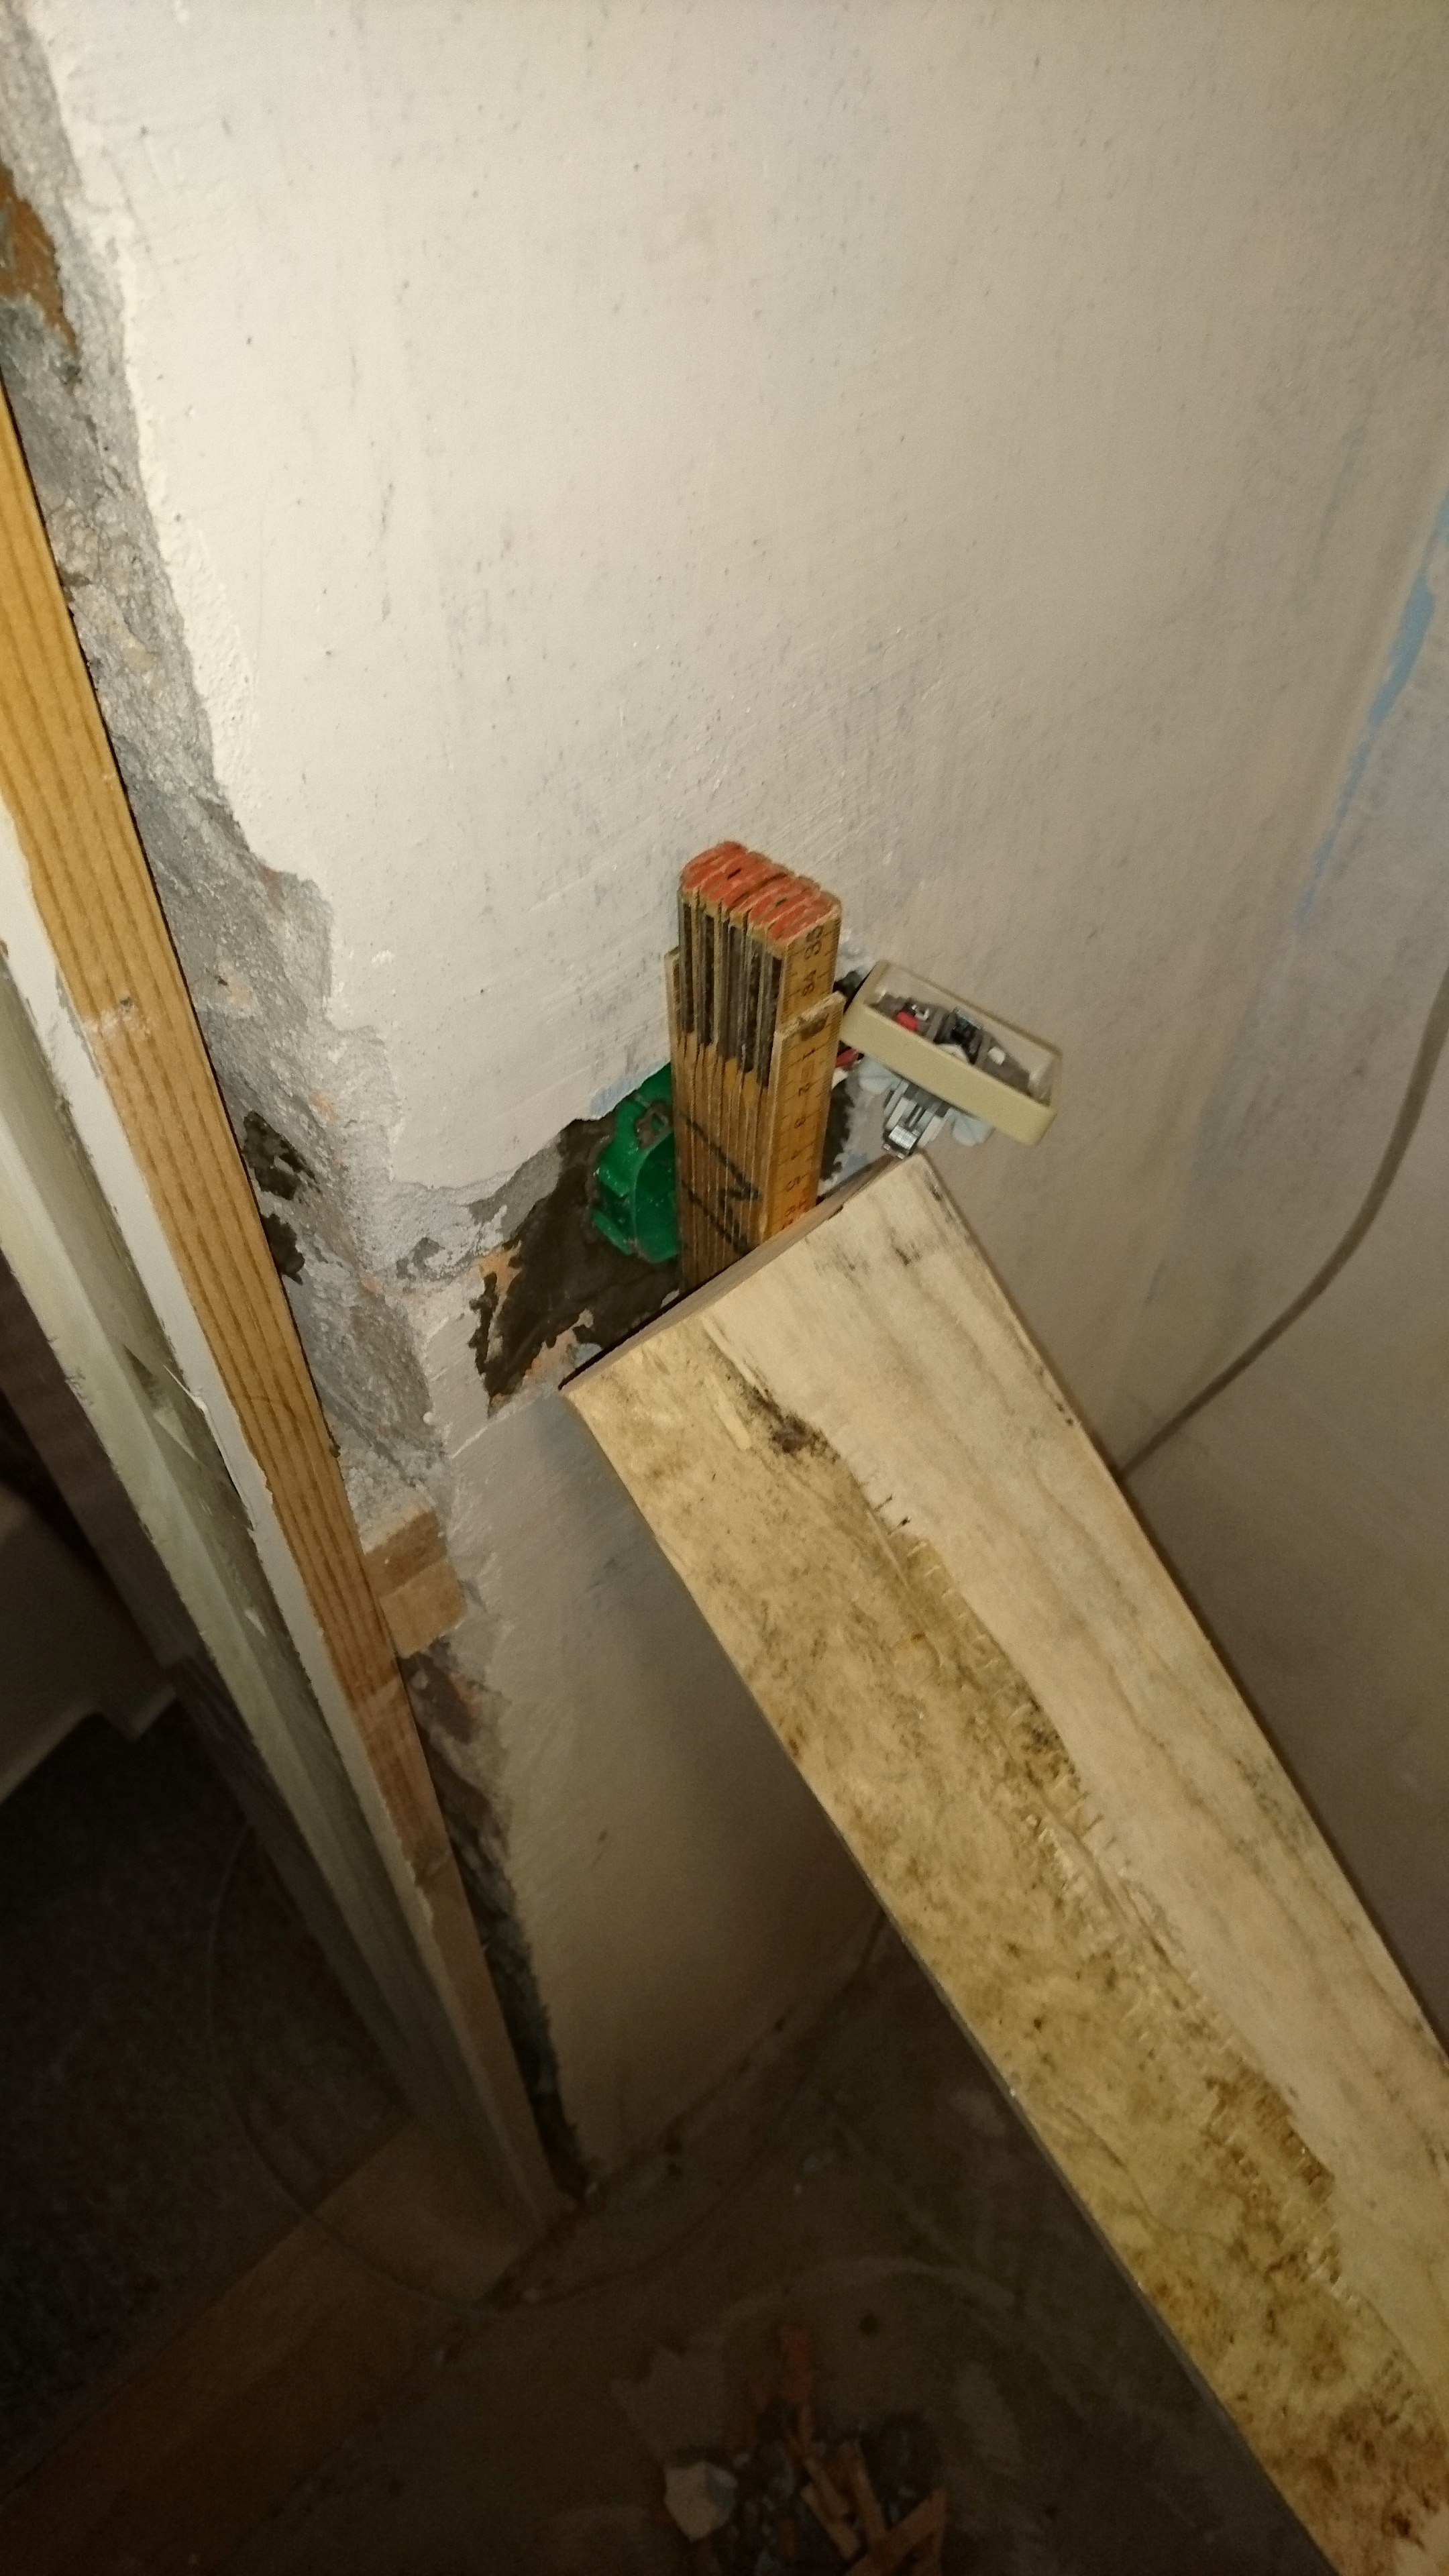
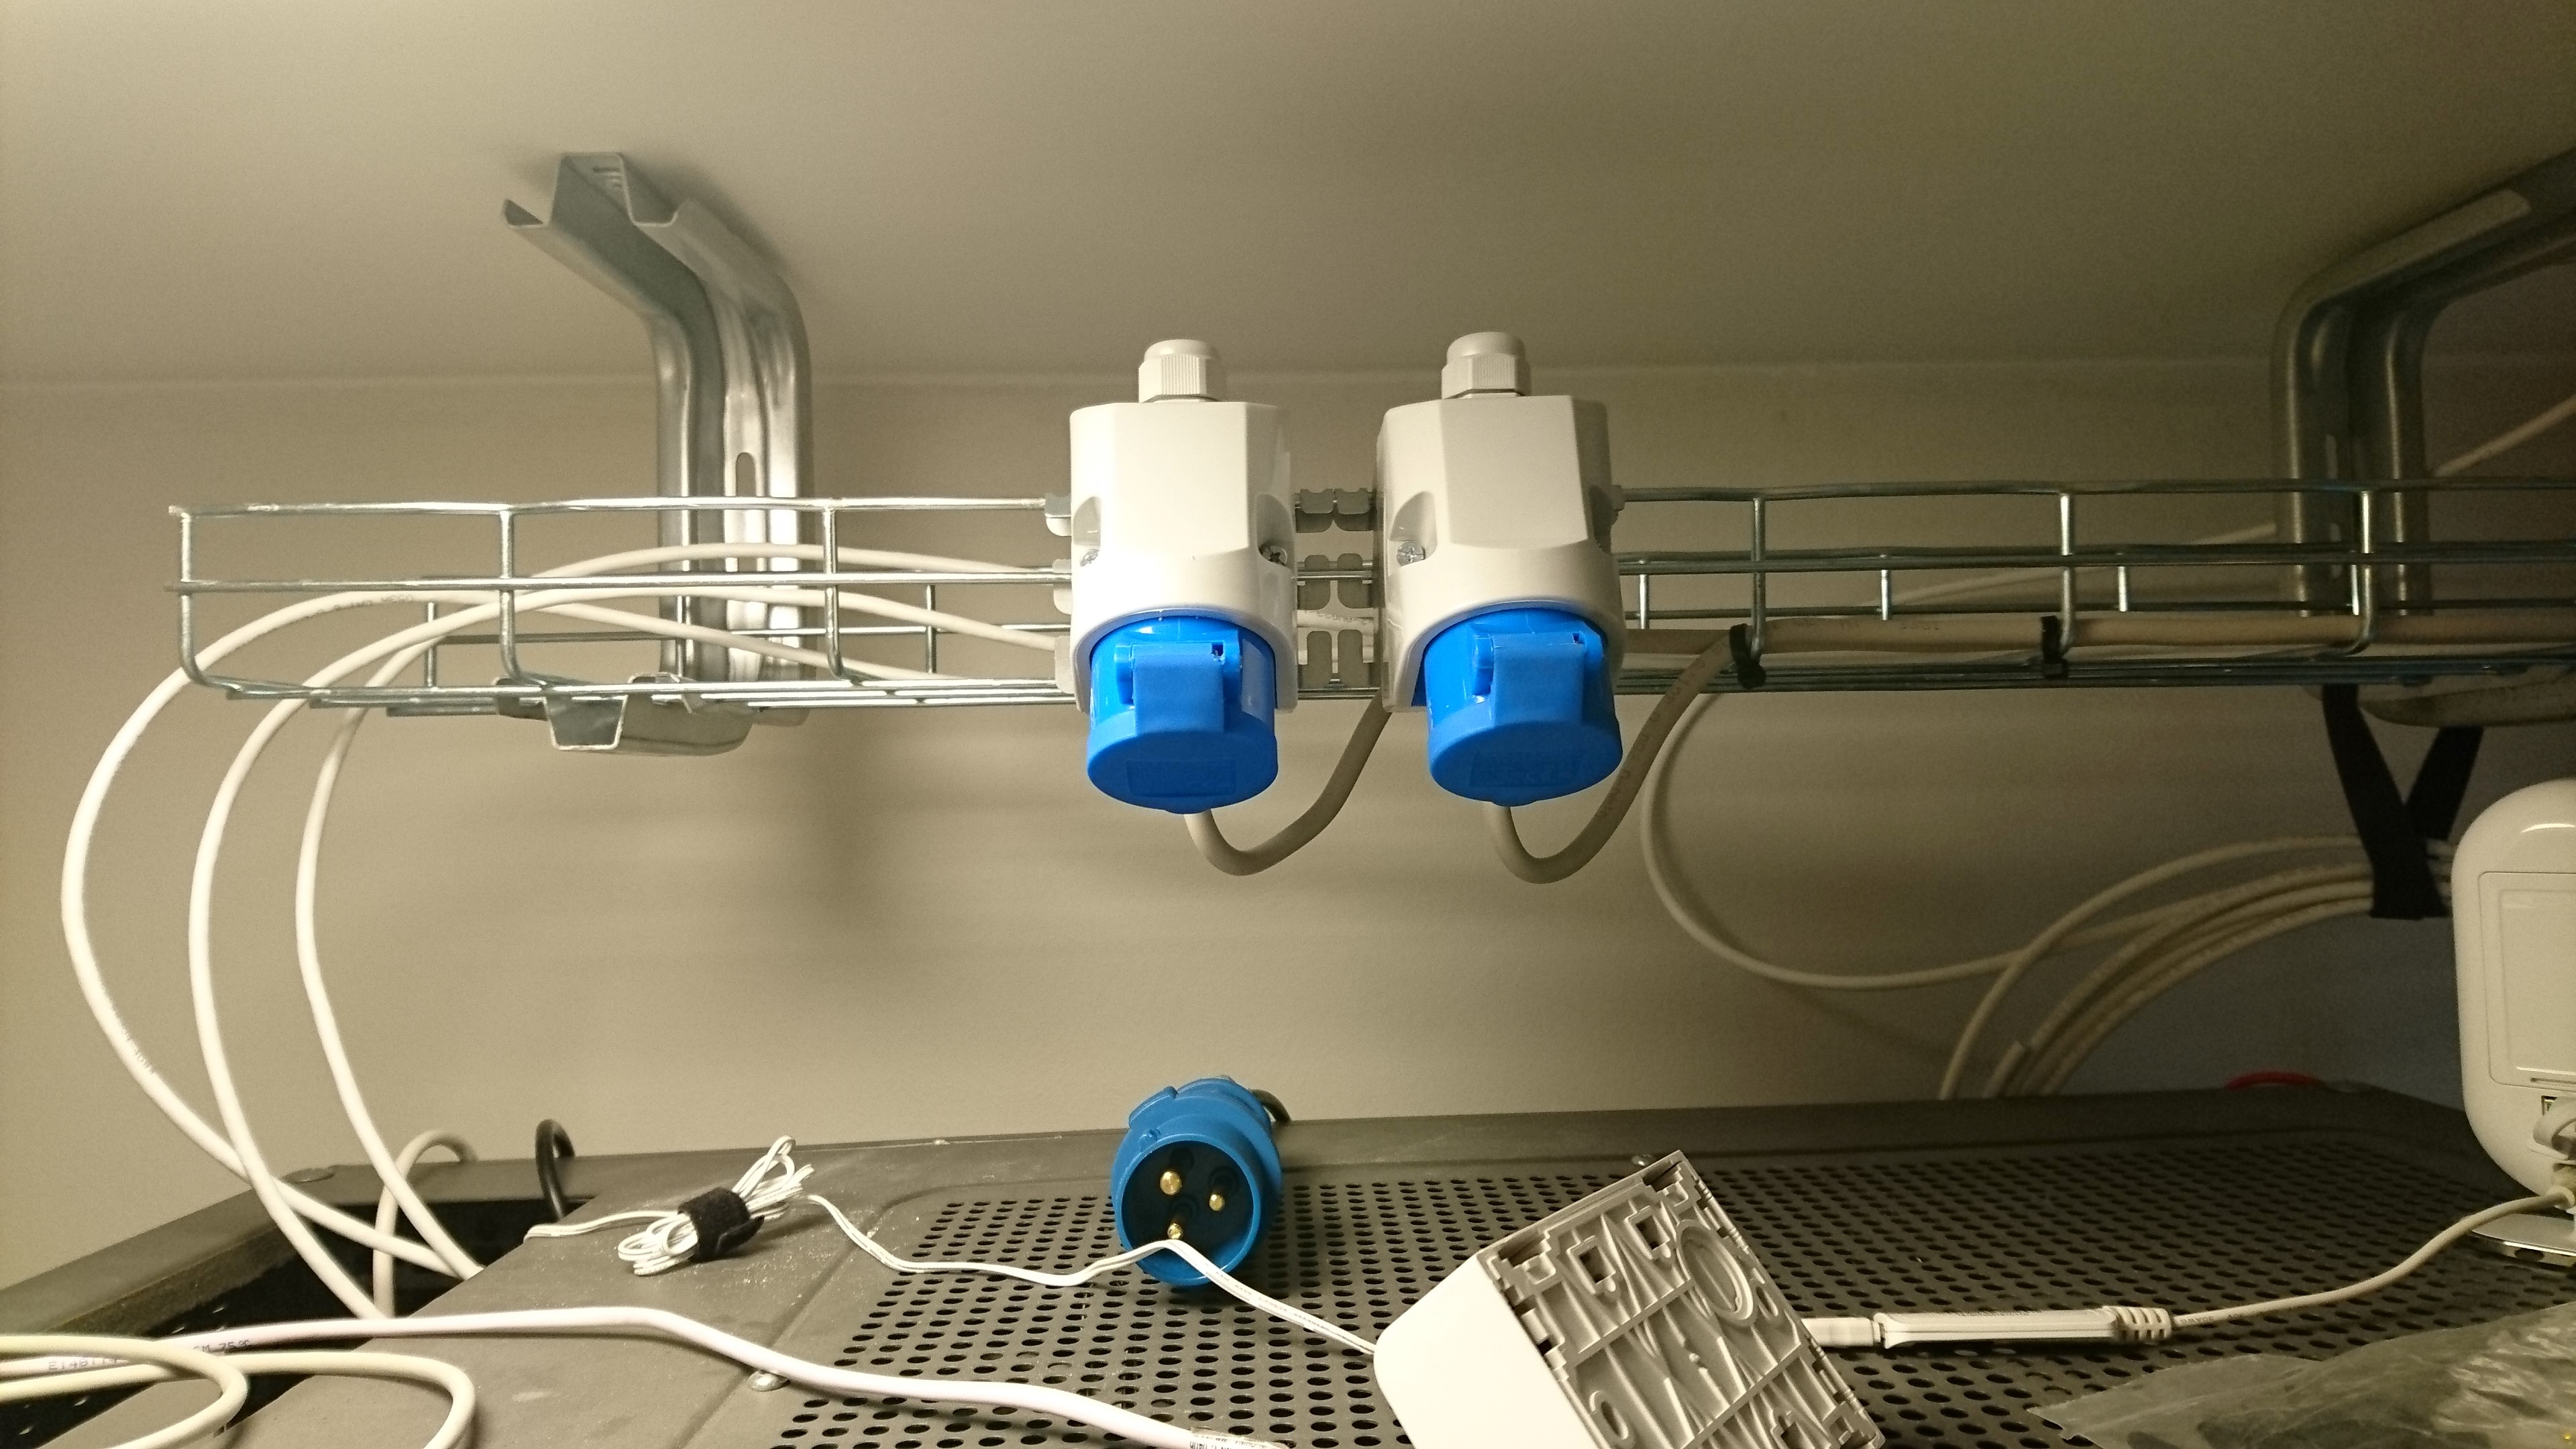
3/12-2016 Started working on the walls. and adding the new dedicated power for the room, the power will consist of 3 x 13A phases each with it’s own RCD on each phase, this will be more power than i need, but it was the most easy install to do.

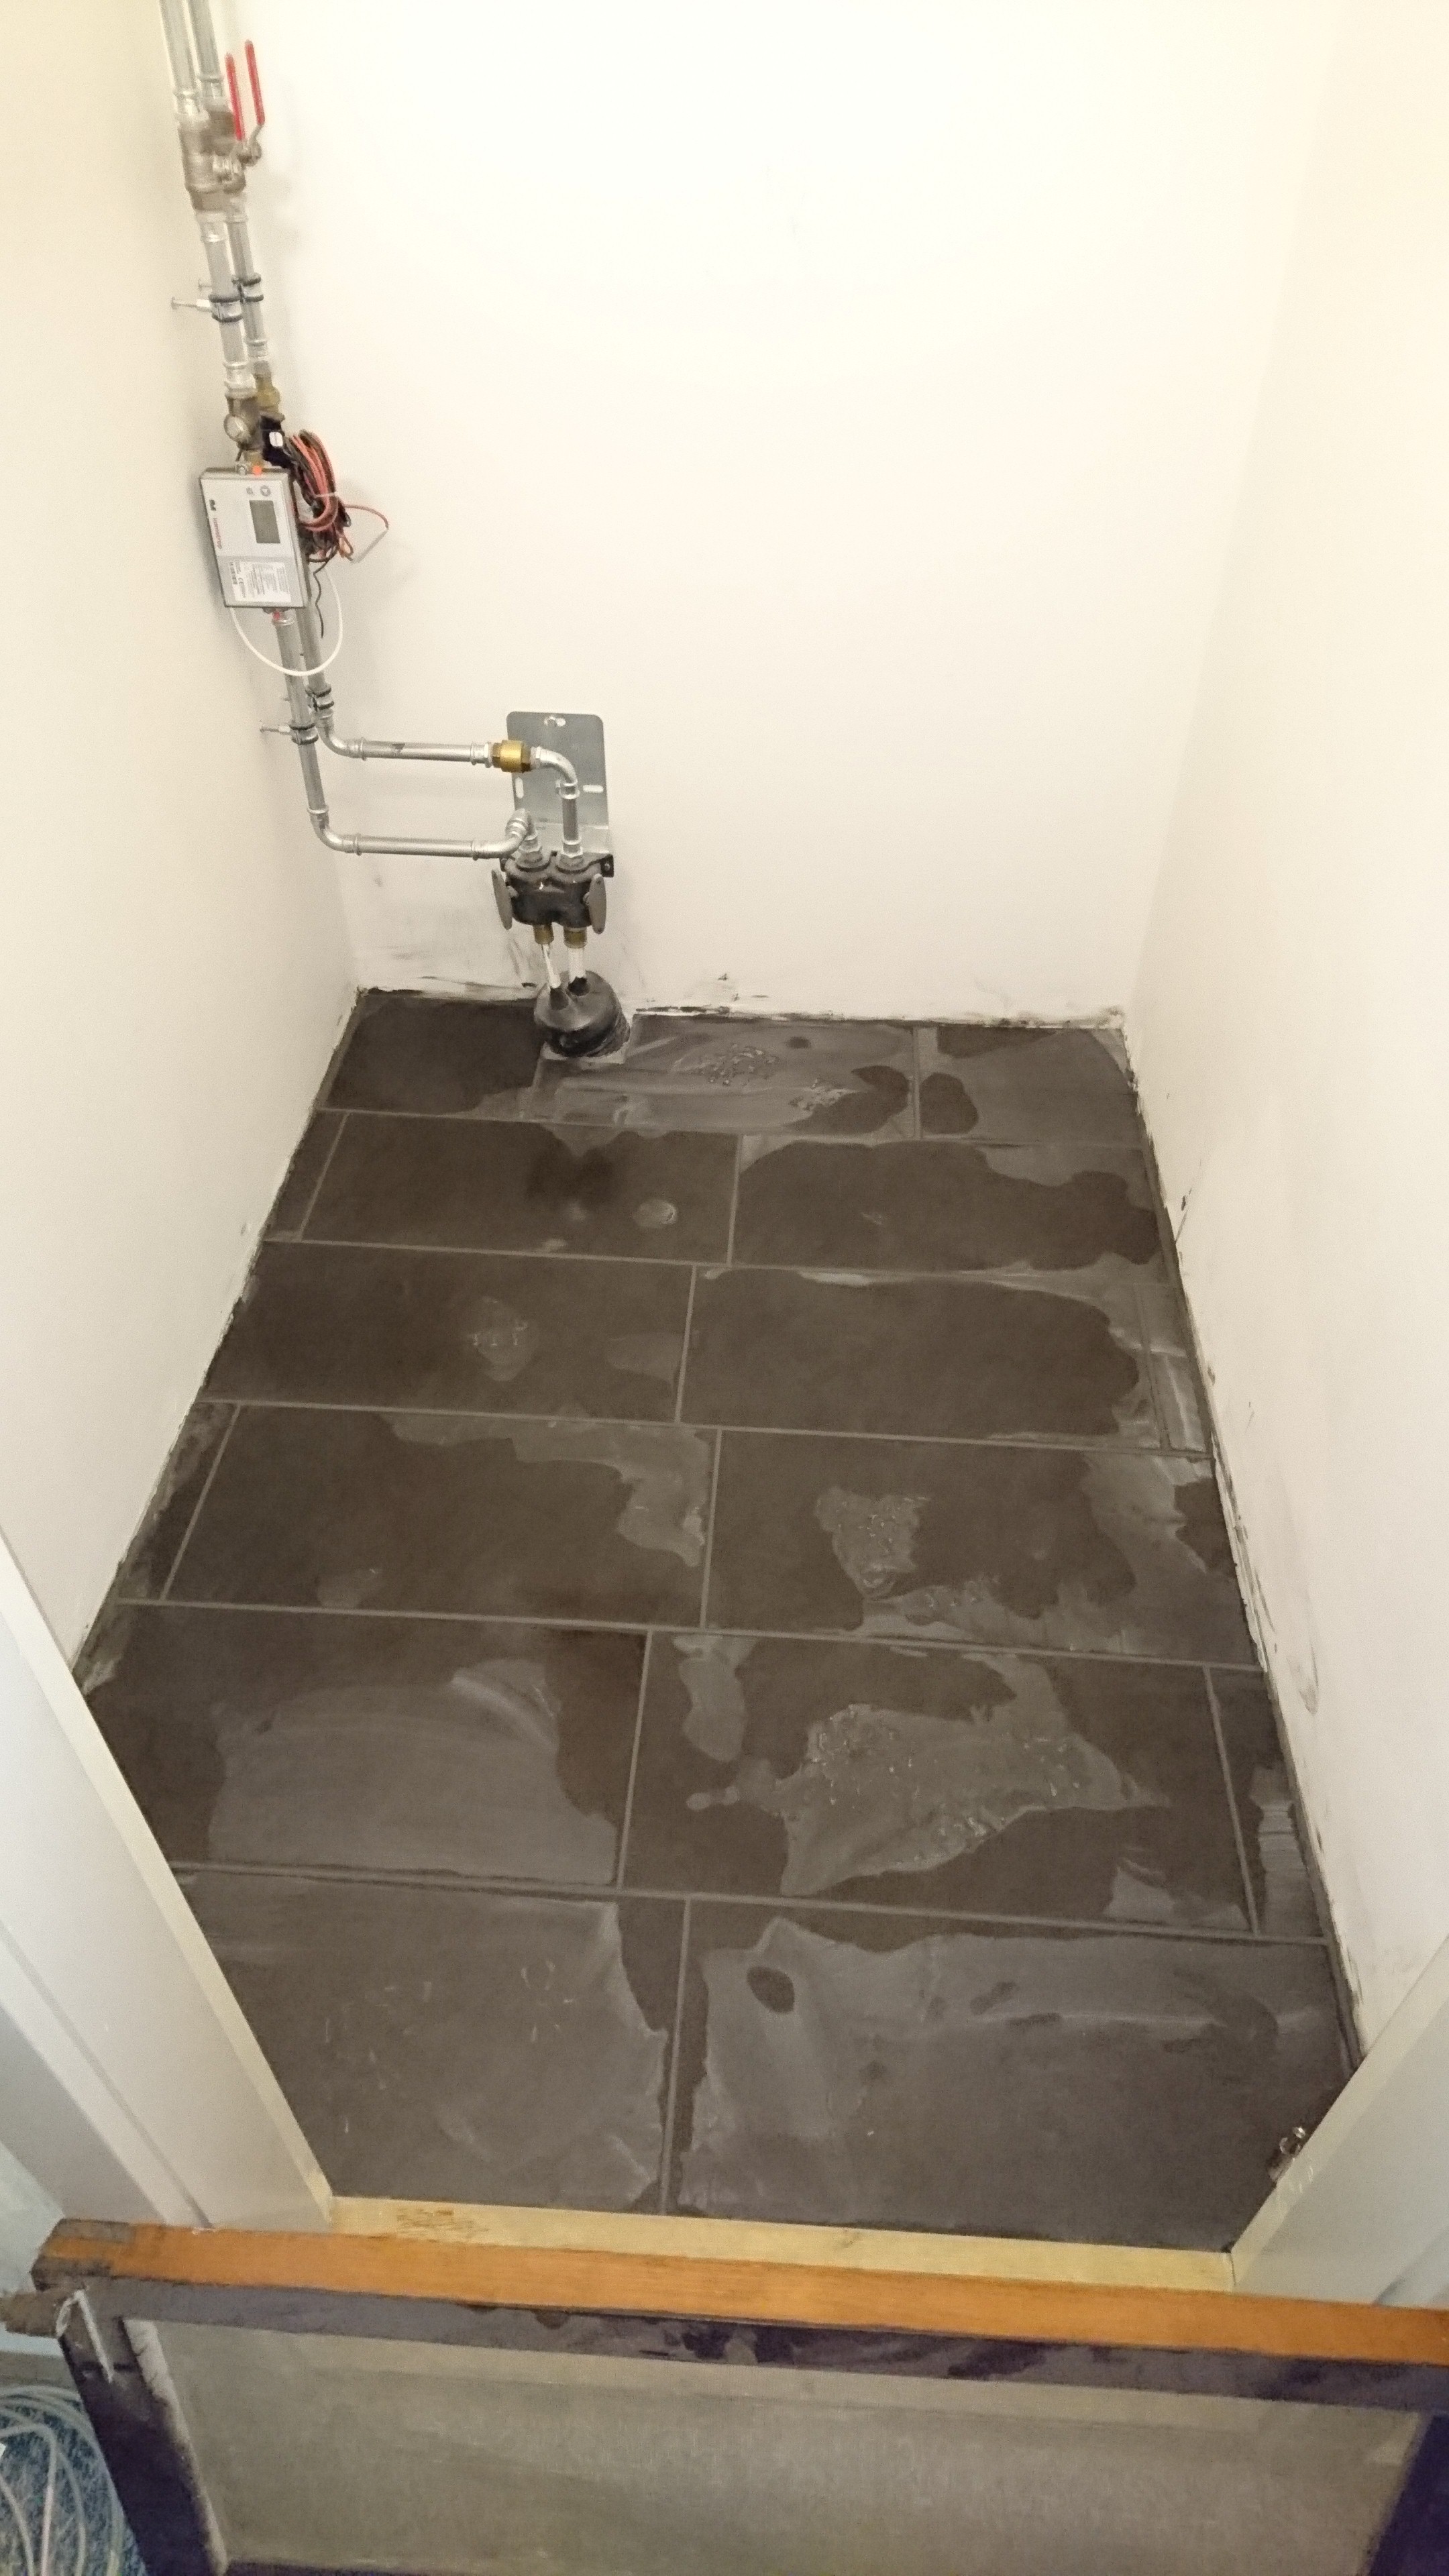
As the picture shows, there is an tubes sticking up from the flooring, this is my district heating that is being installed, unfortunately this was the only option available for getting it in the house without tearing the whole ting down.

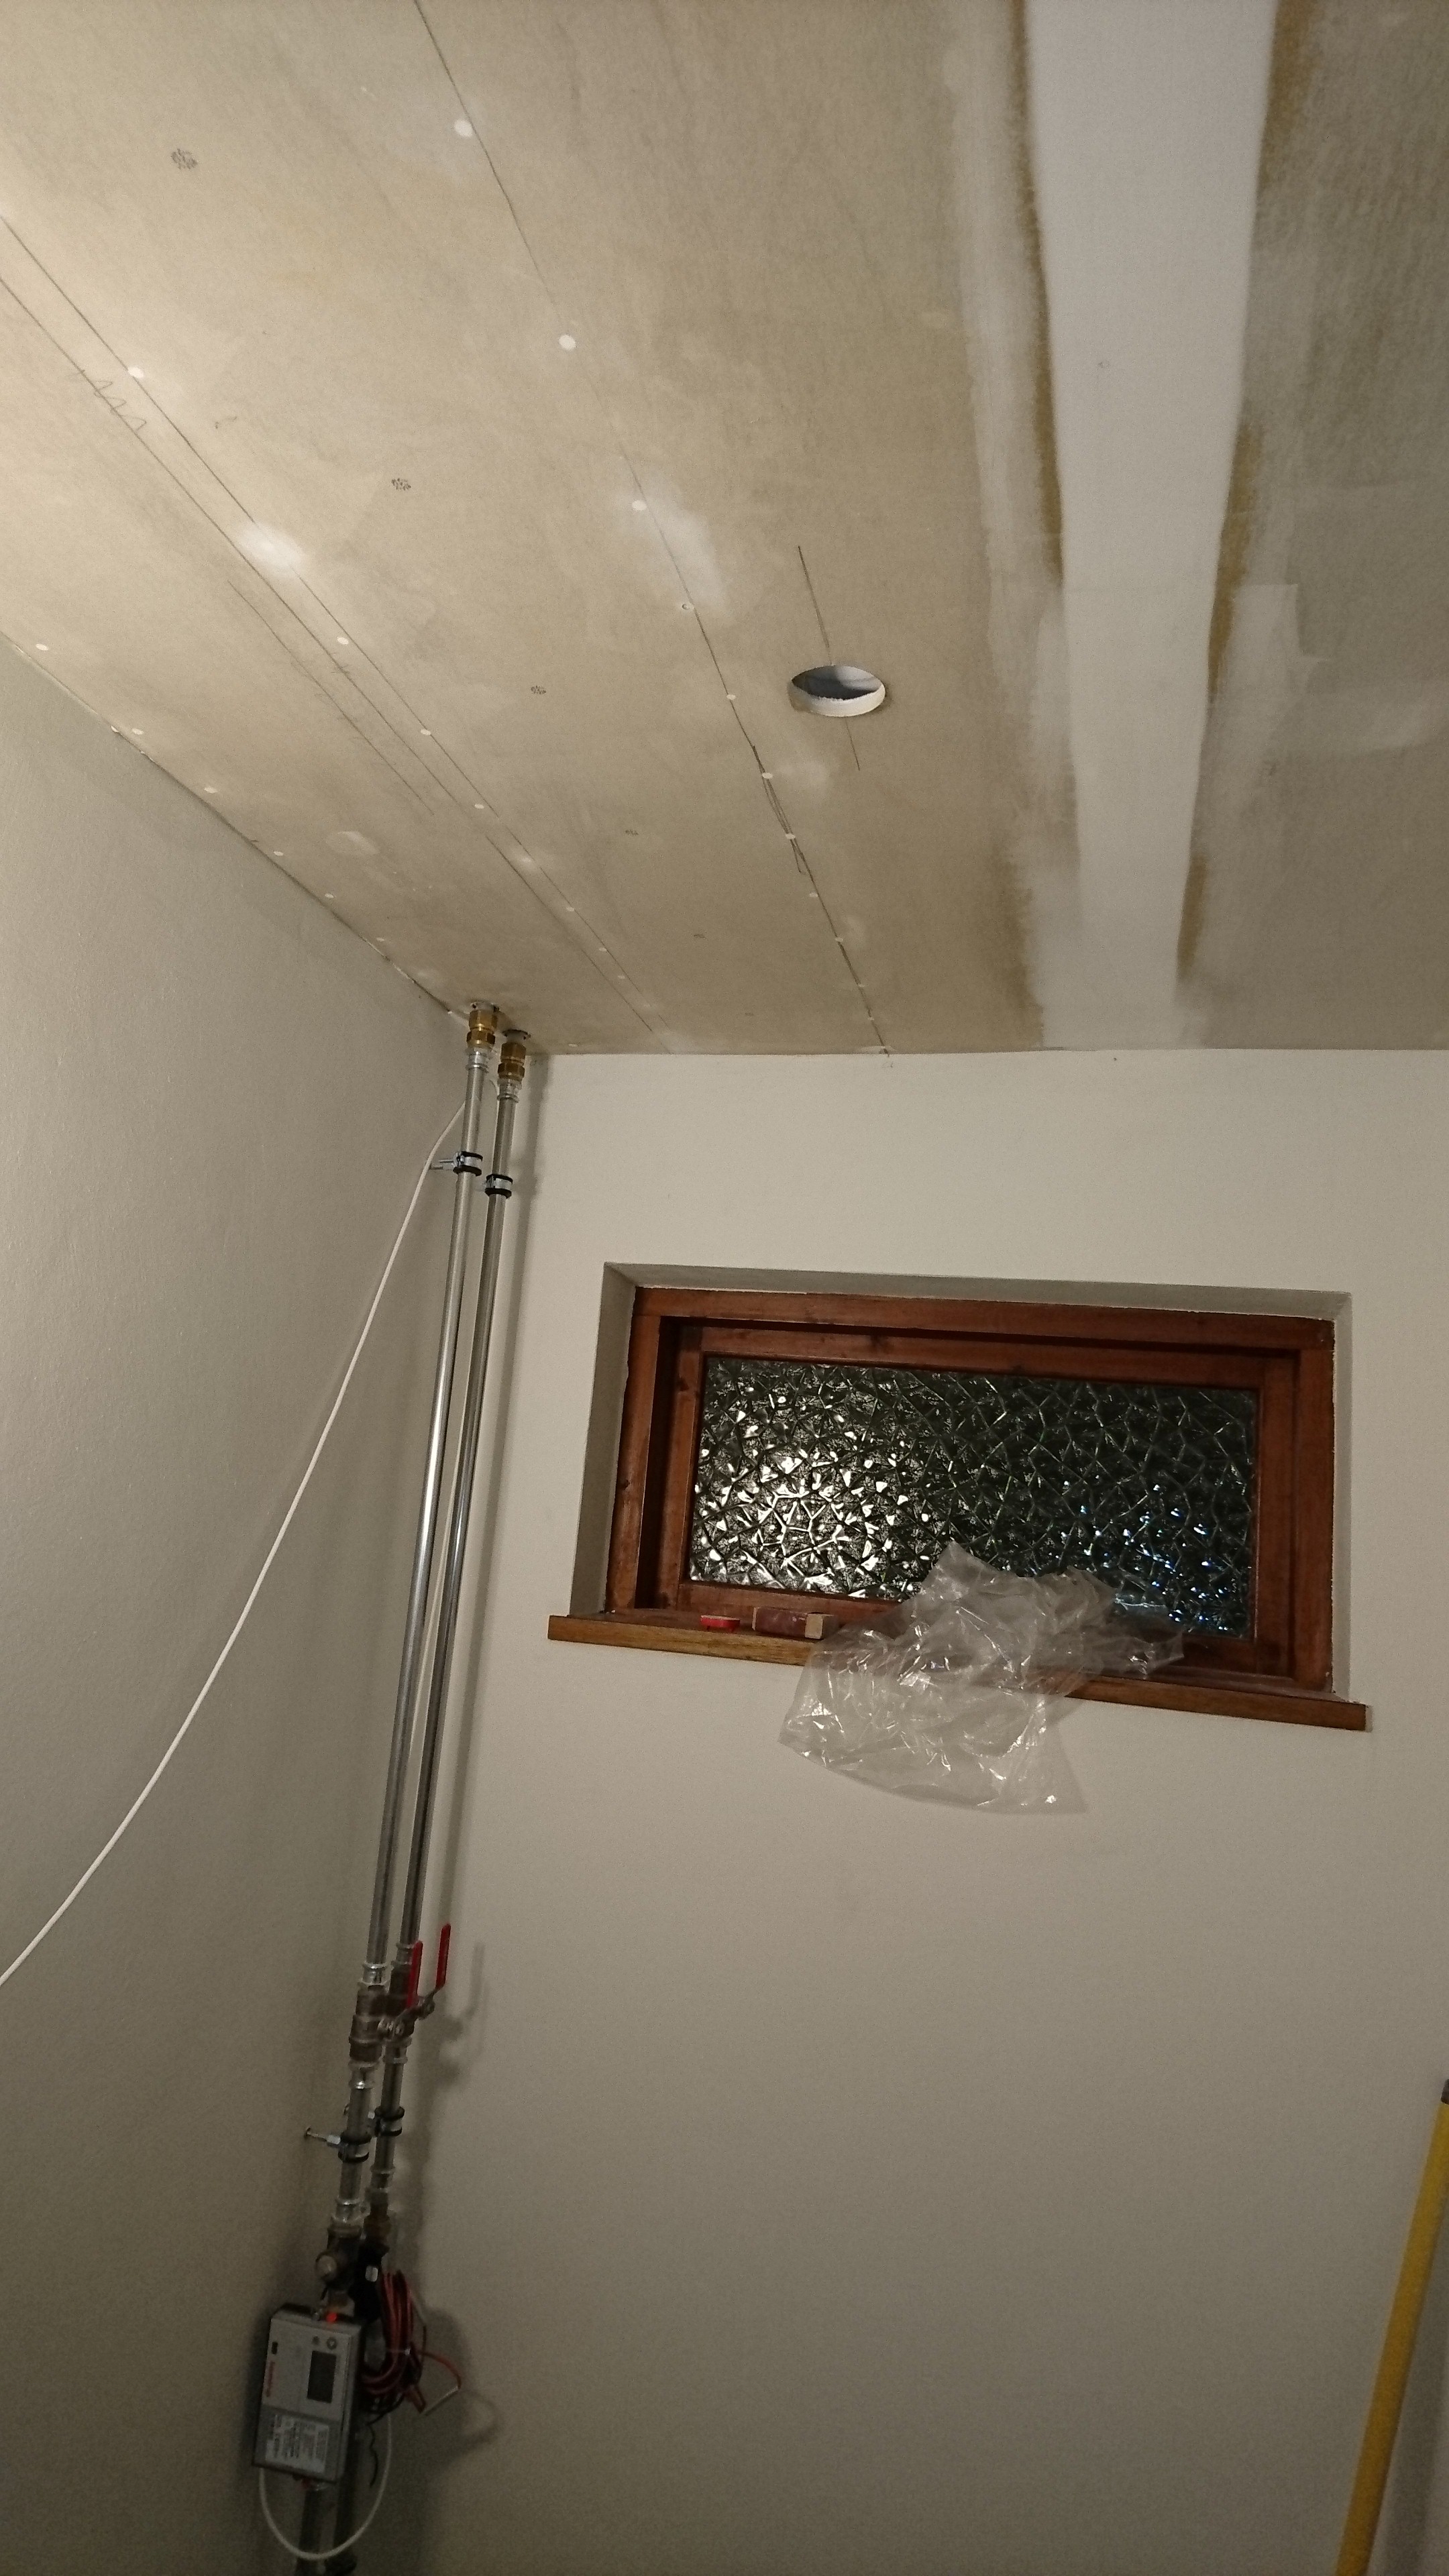
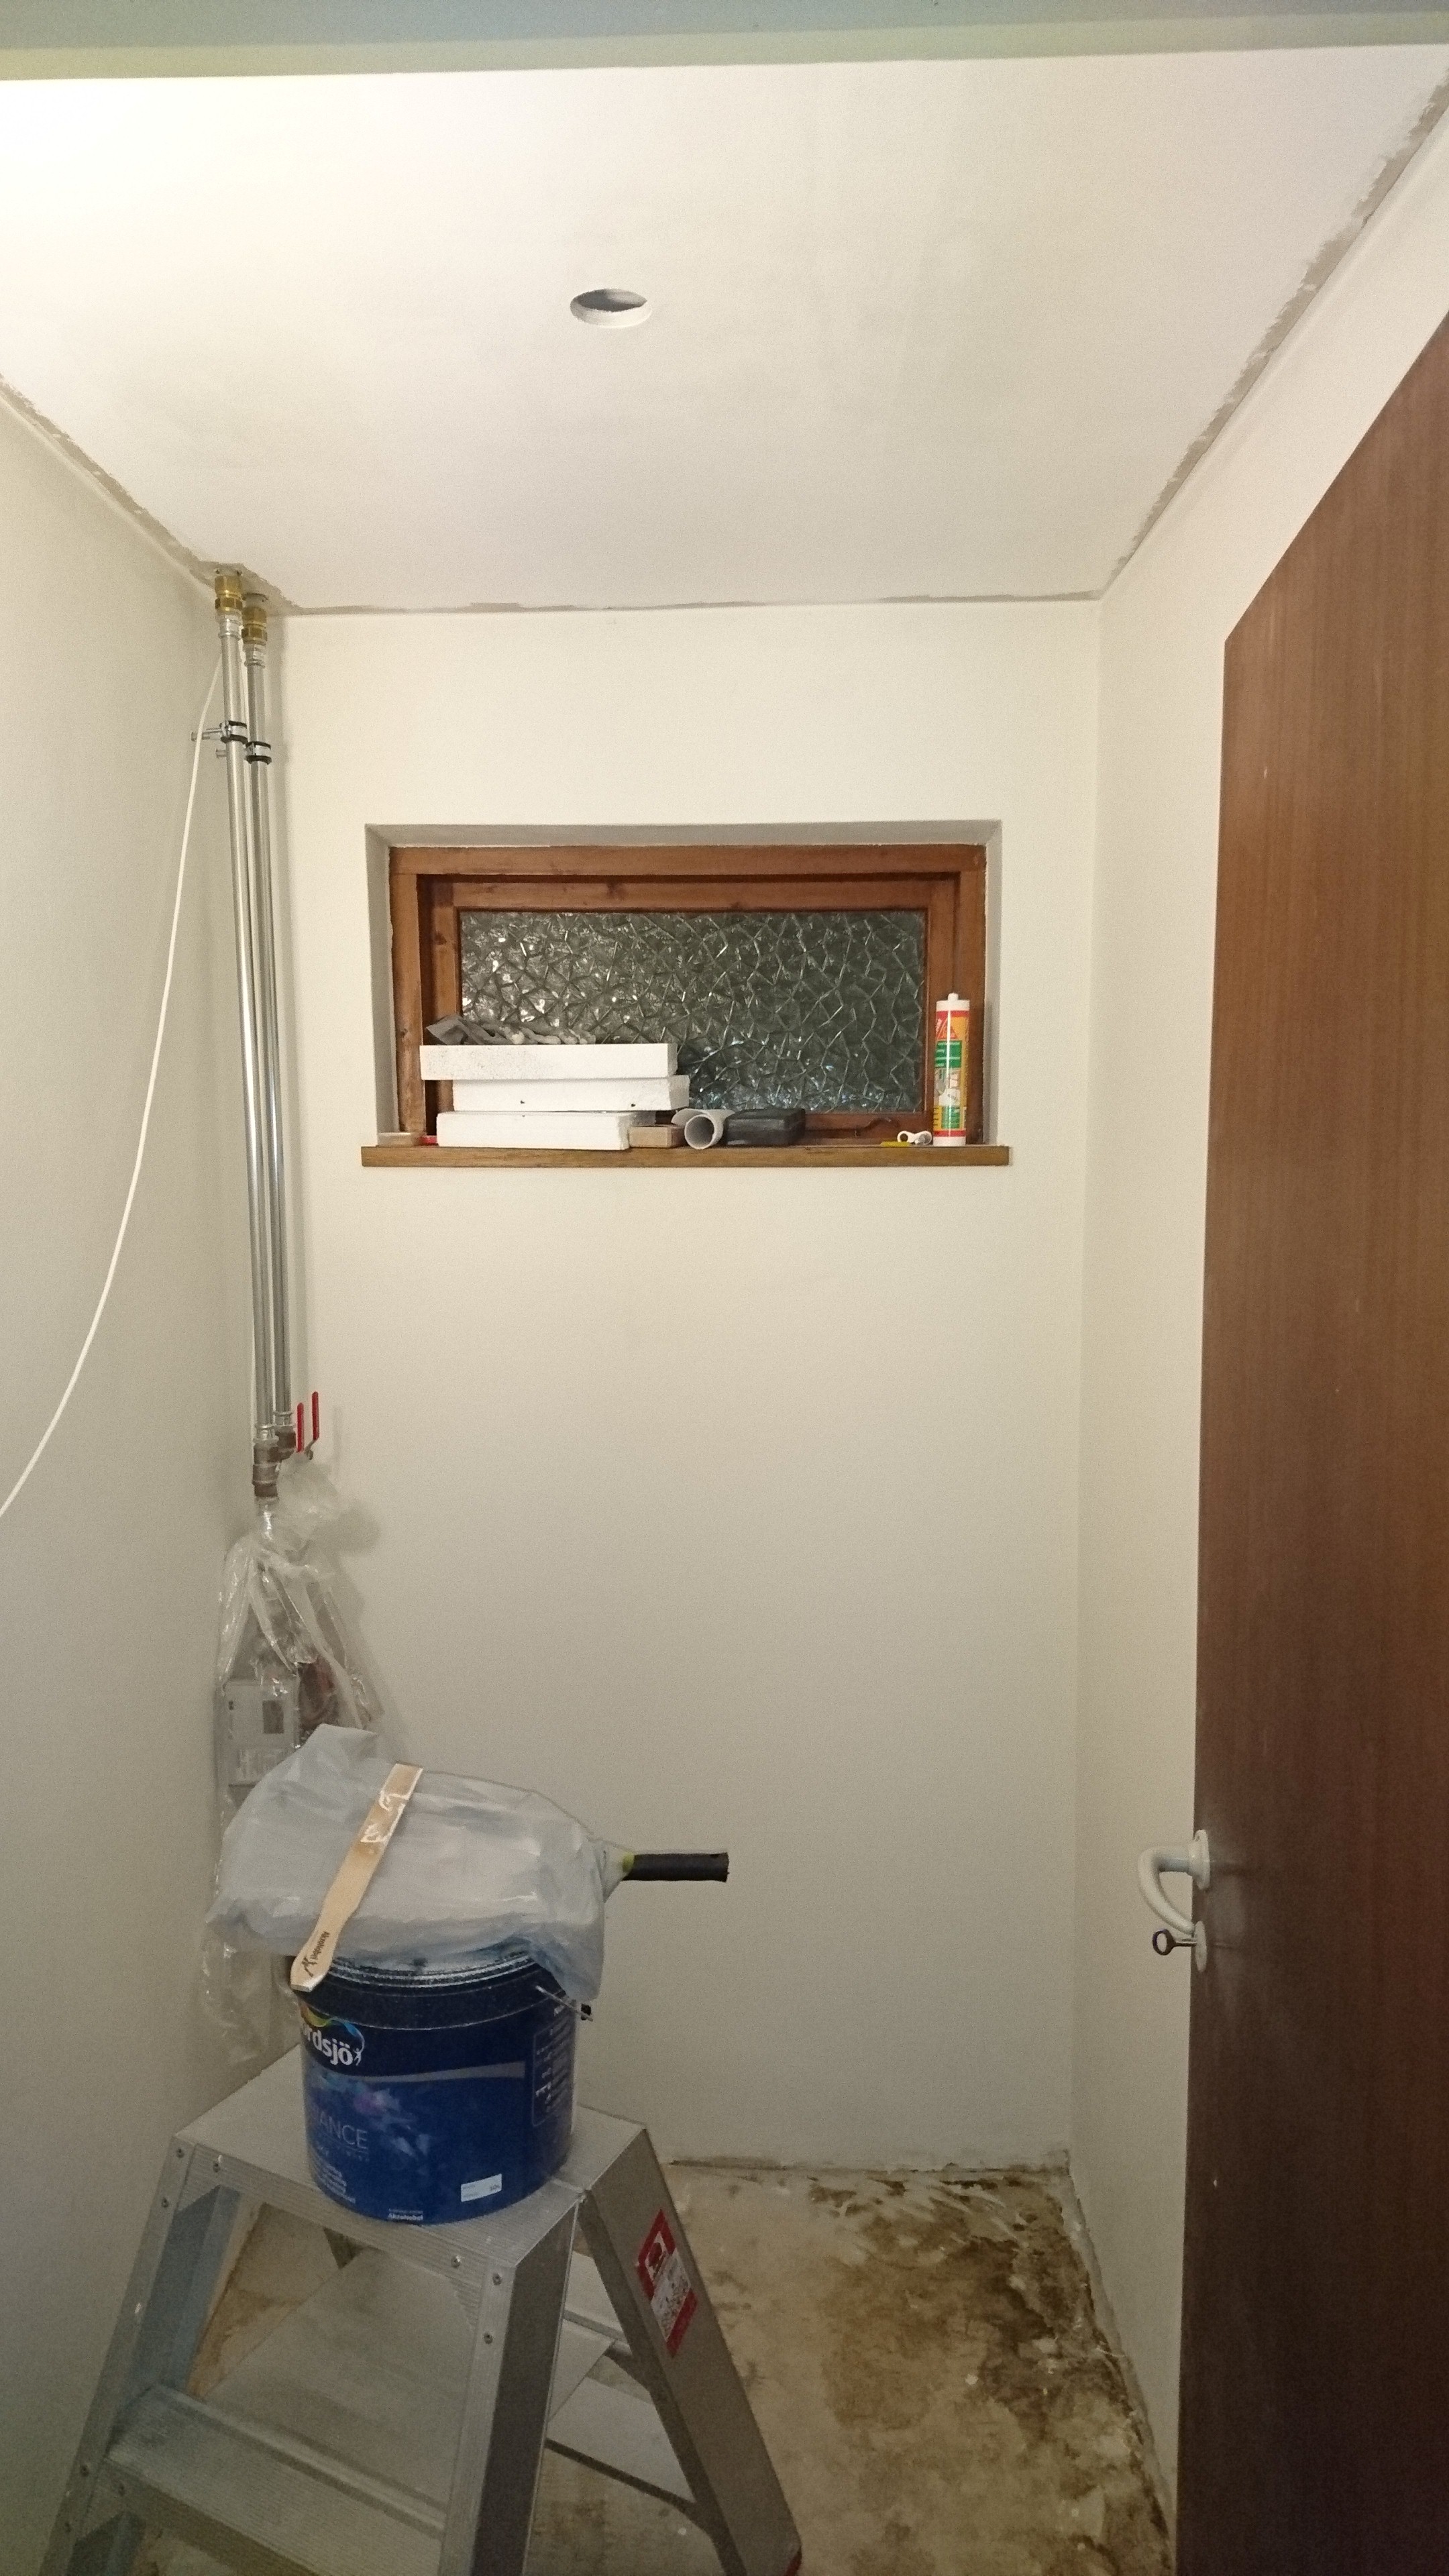
4/2-2017: new ceiling made from plaster wall.

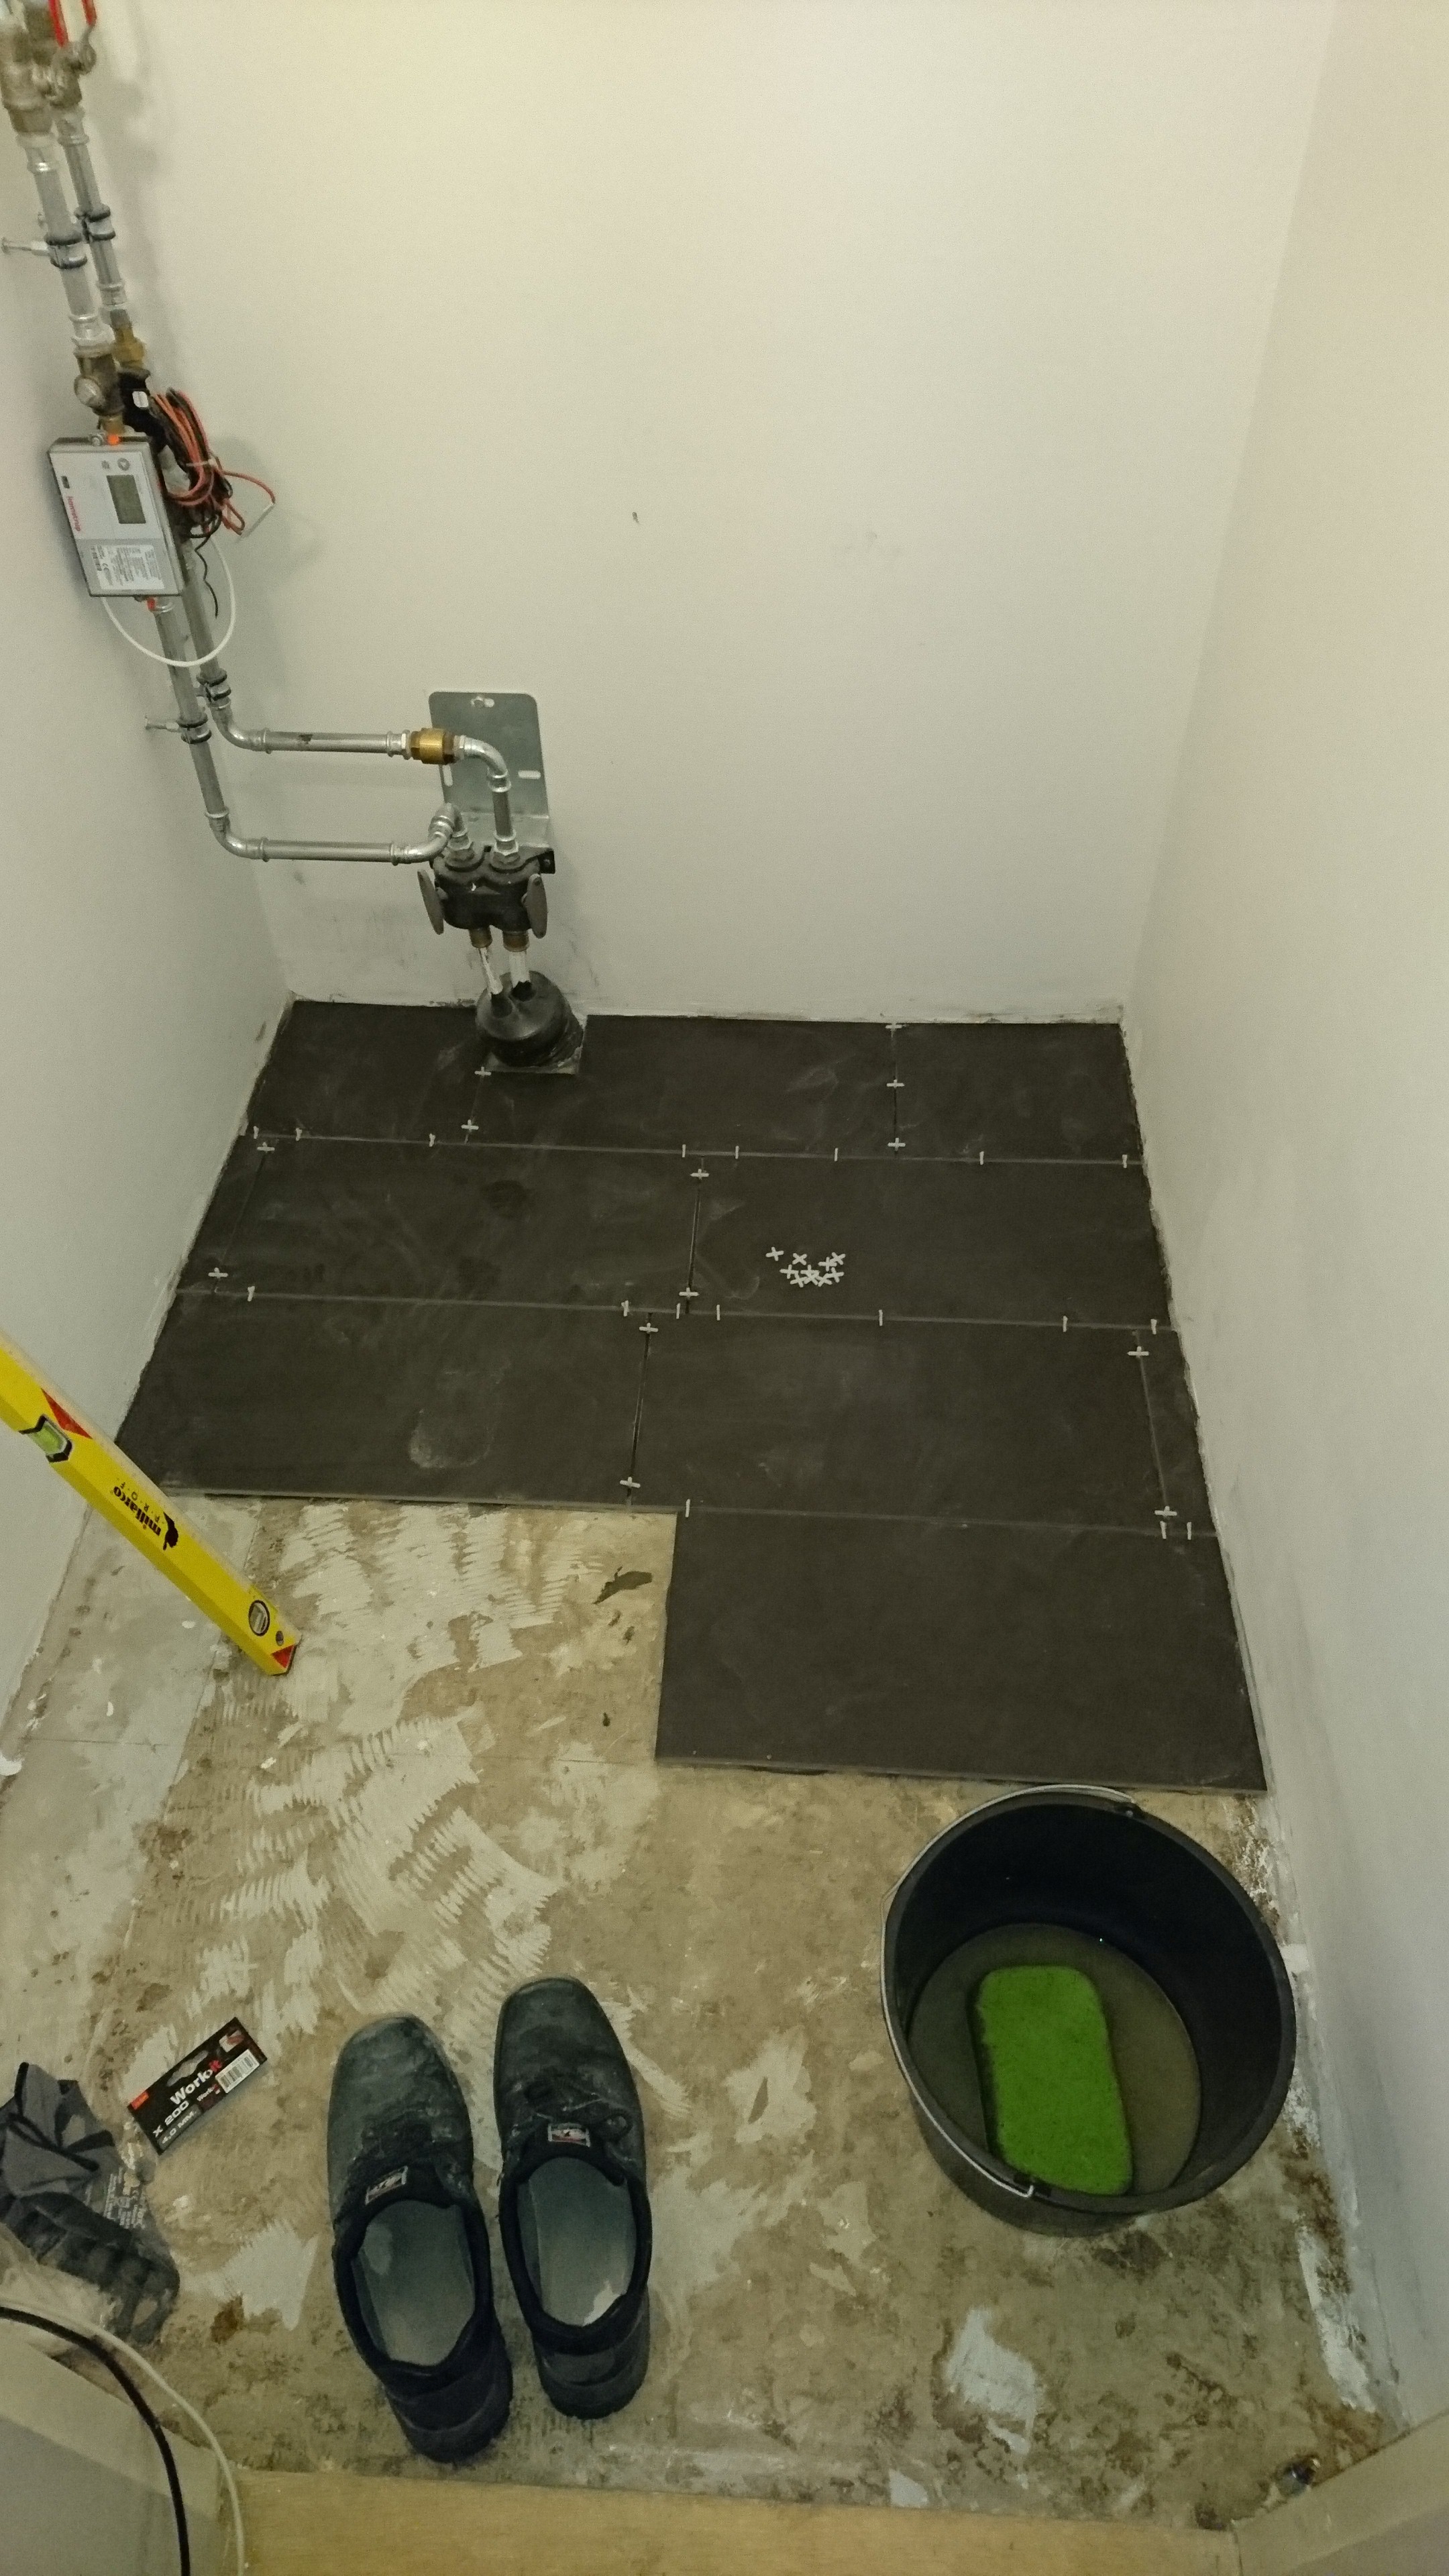
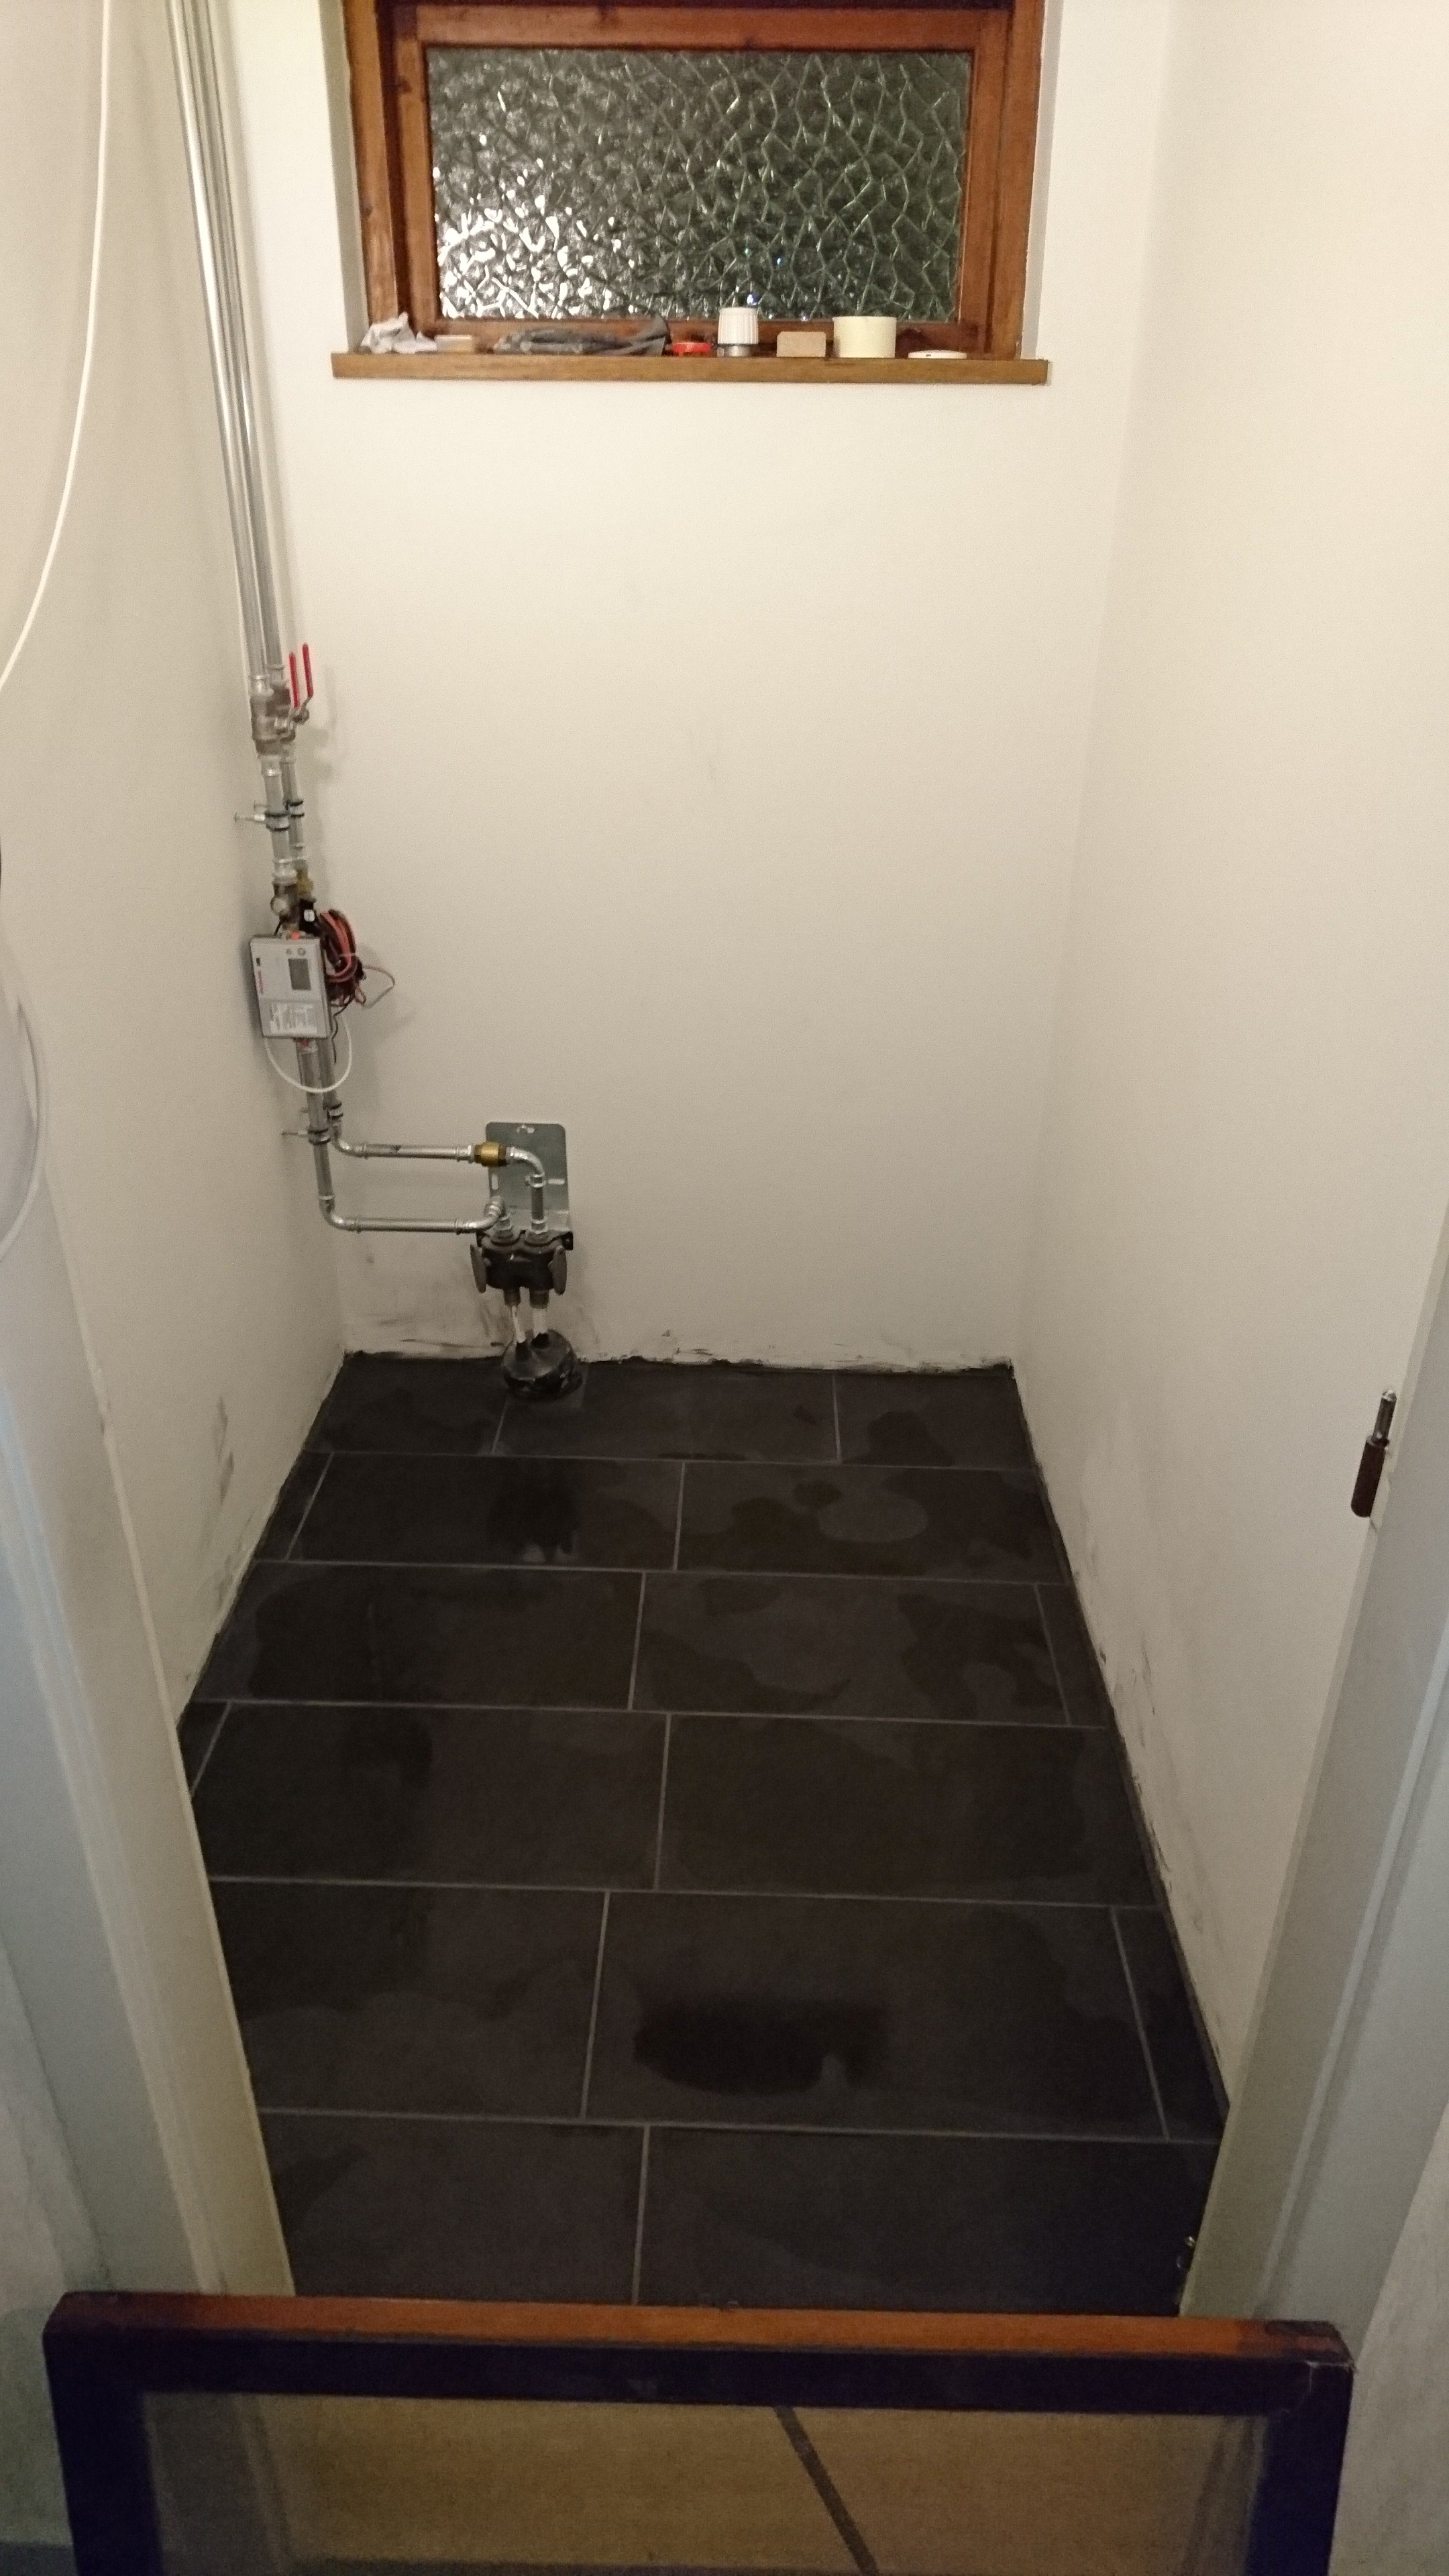
7/2-2017: the heating have been connected and working, it’s time for the flooring 🙂 i decided on tiles, as it should be easy to clean and wipe for any dust

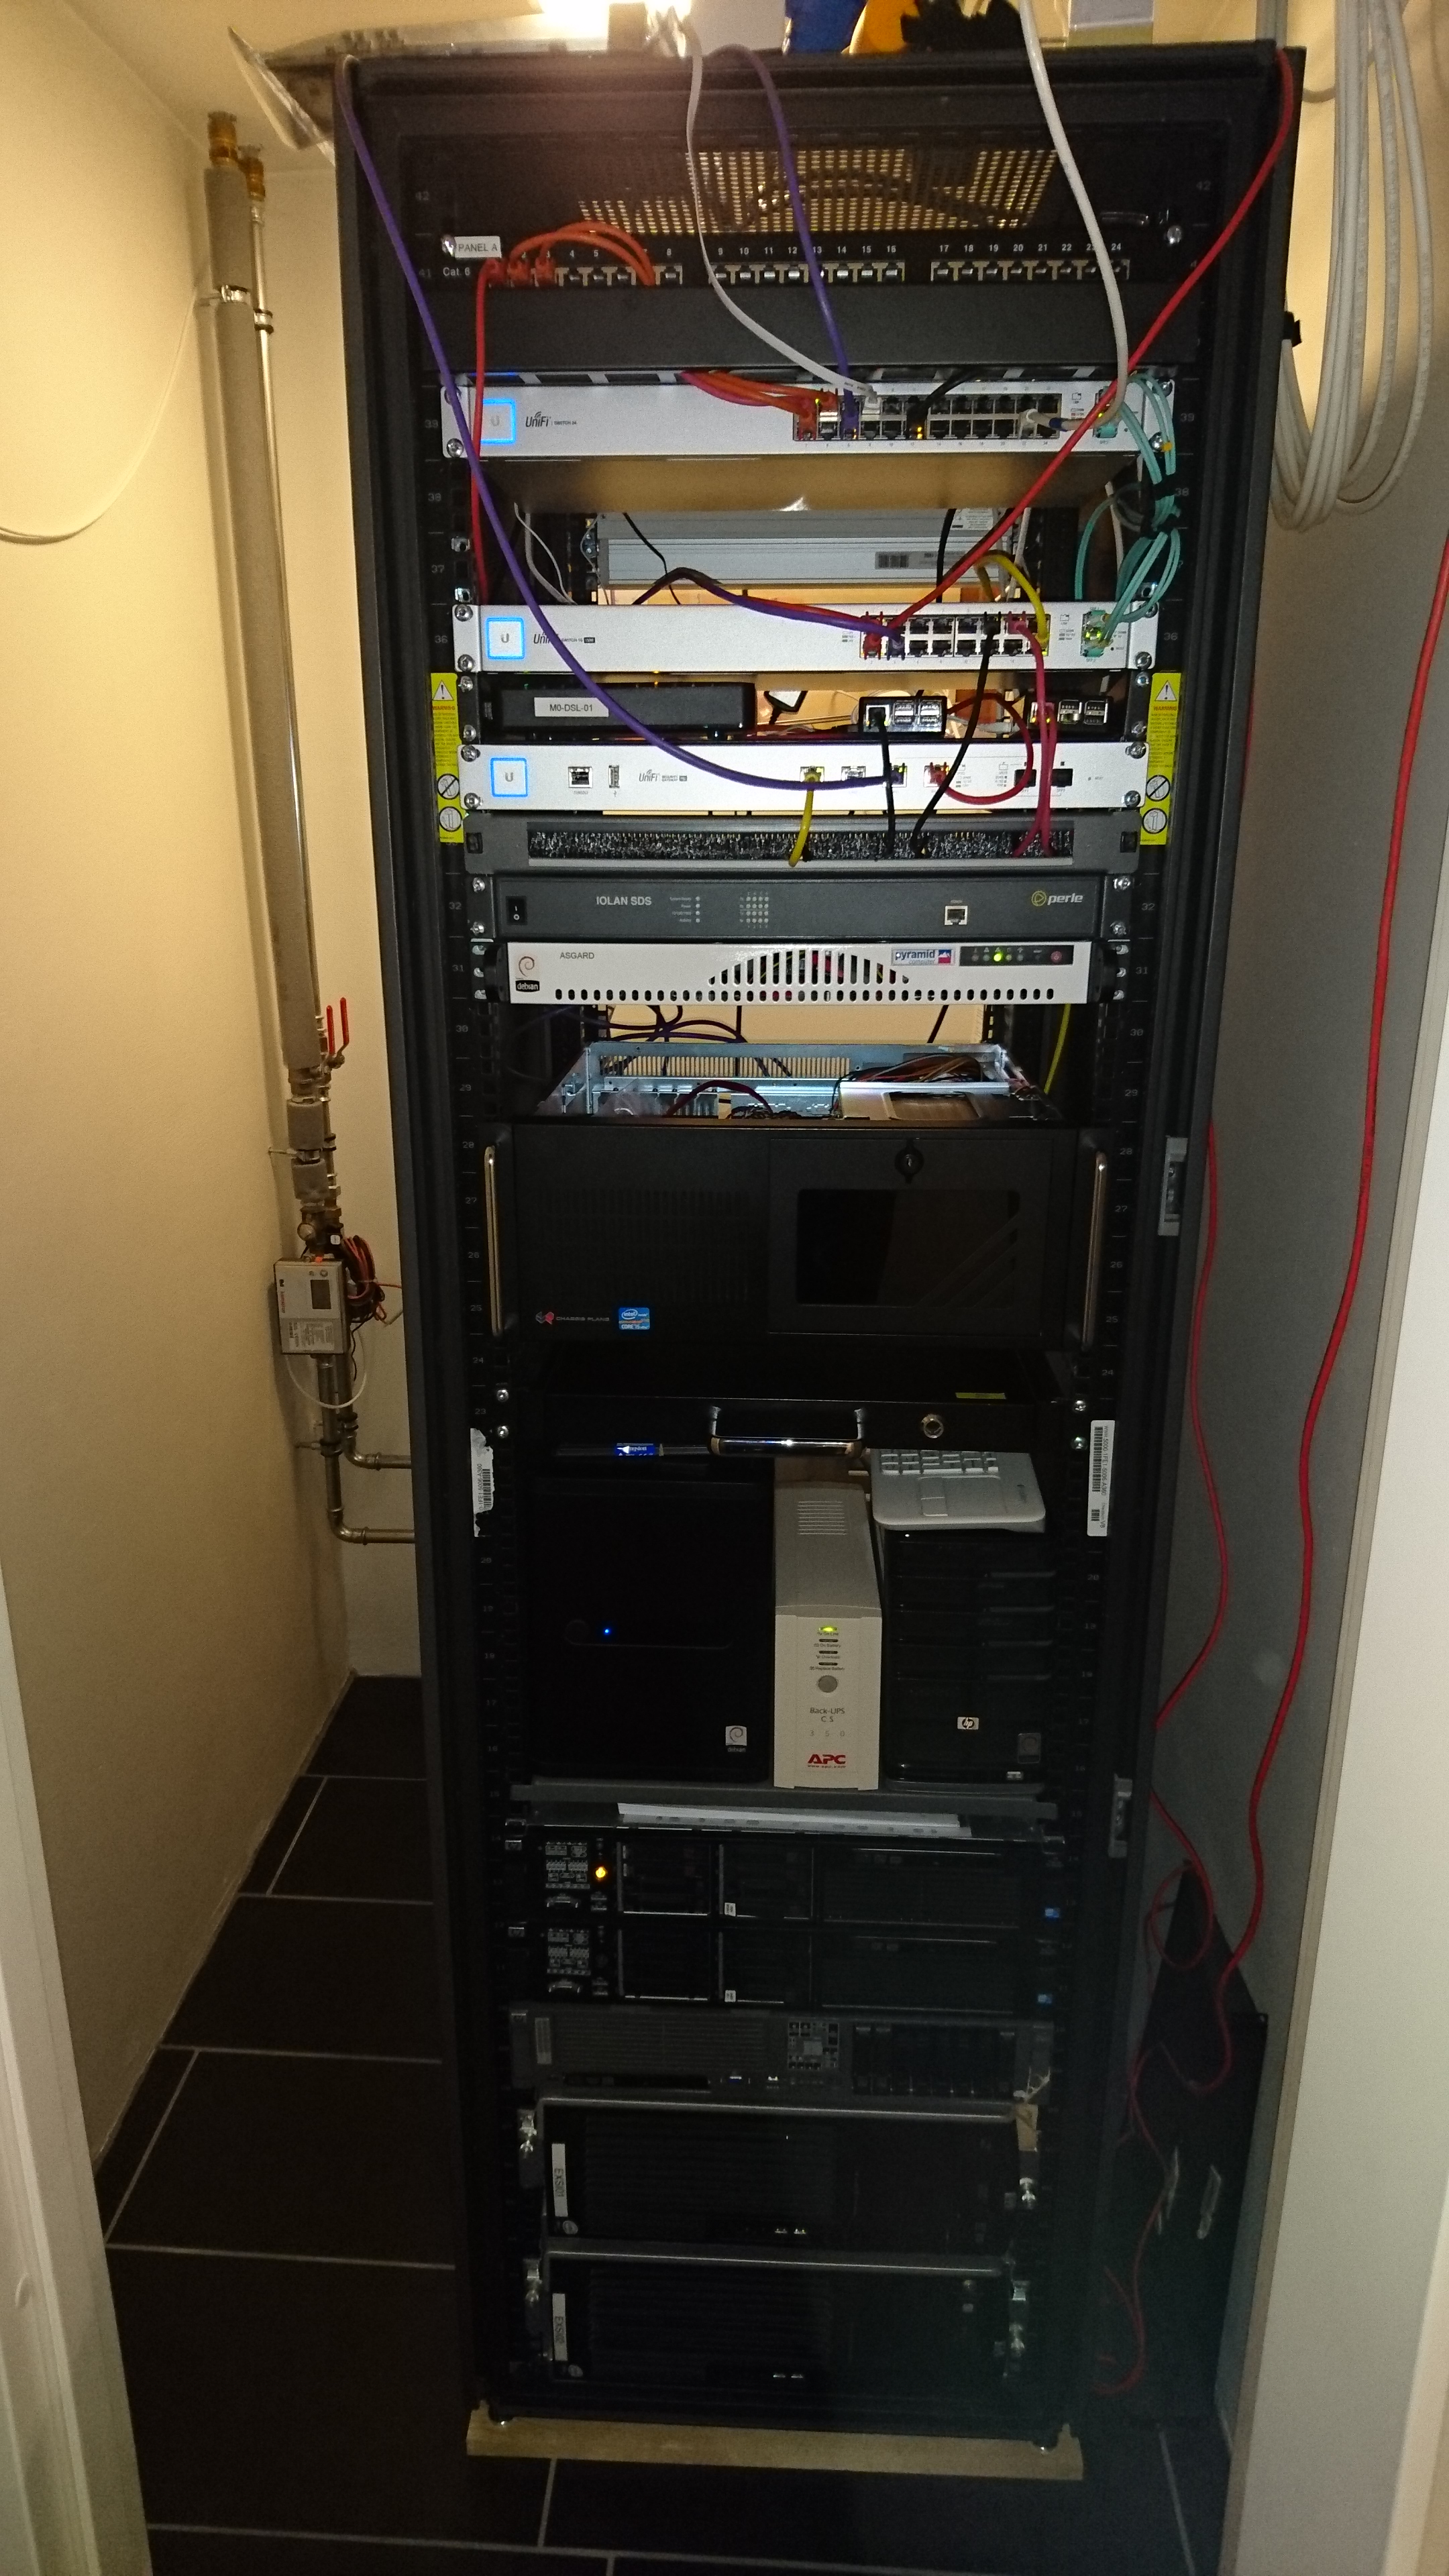
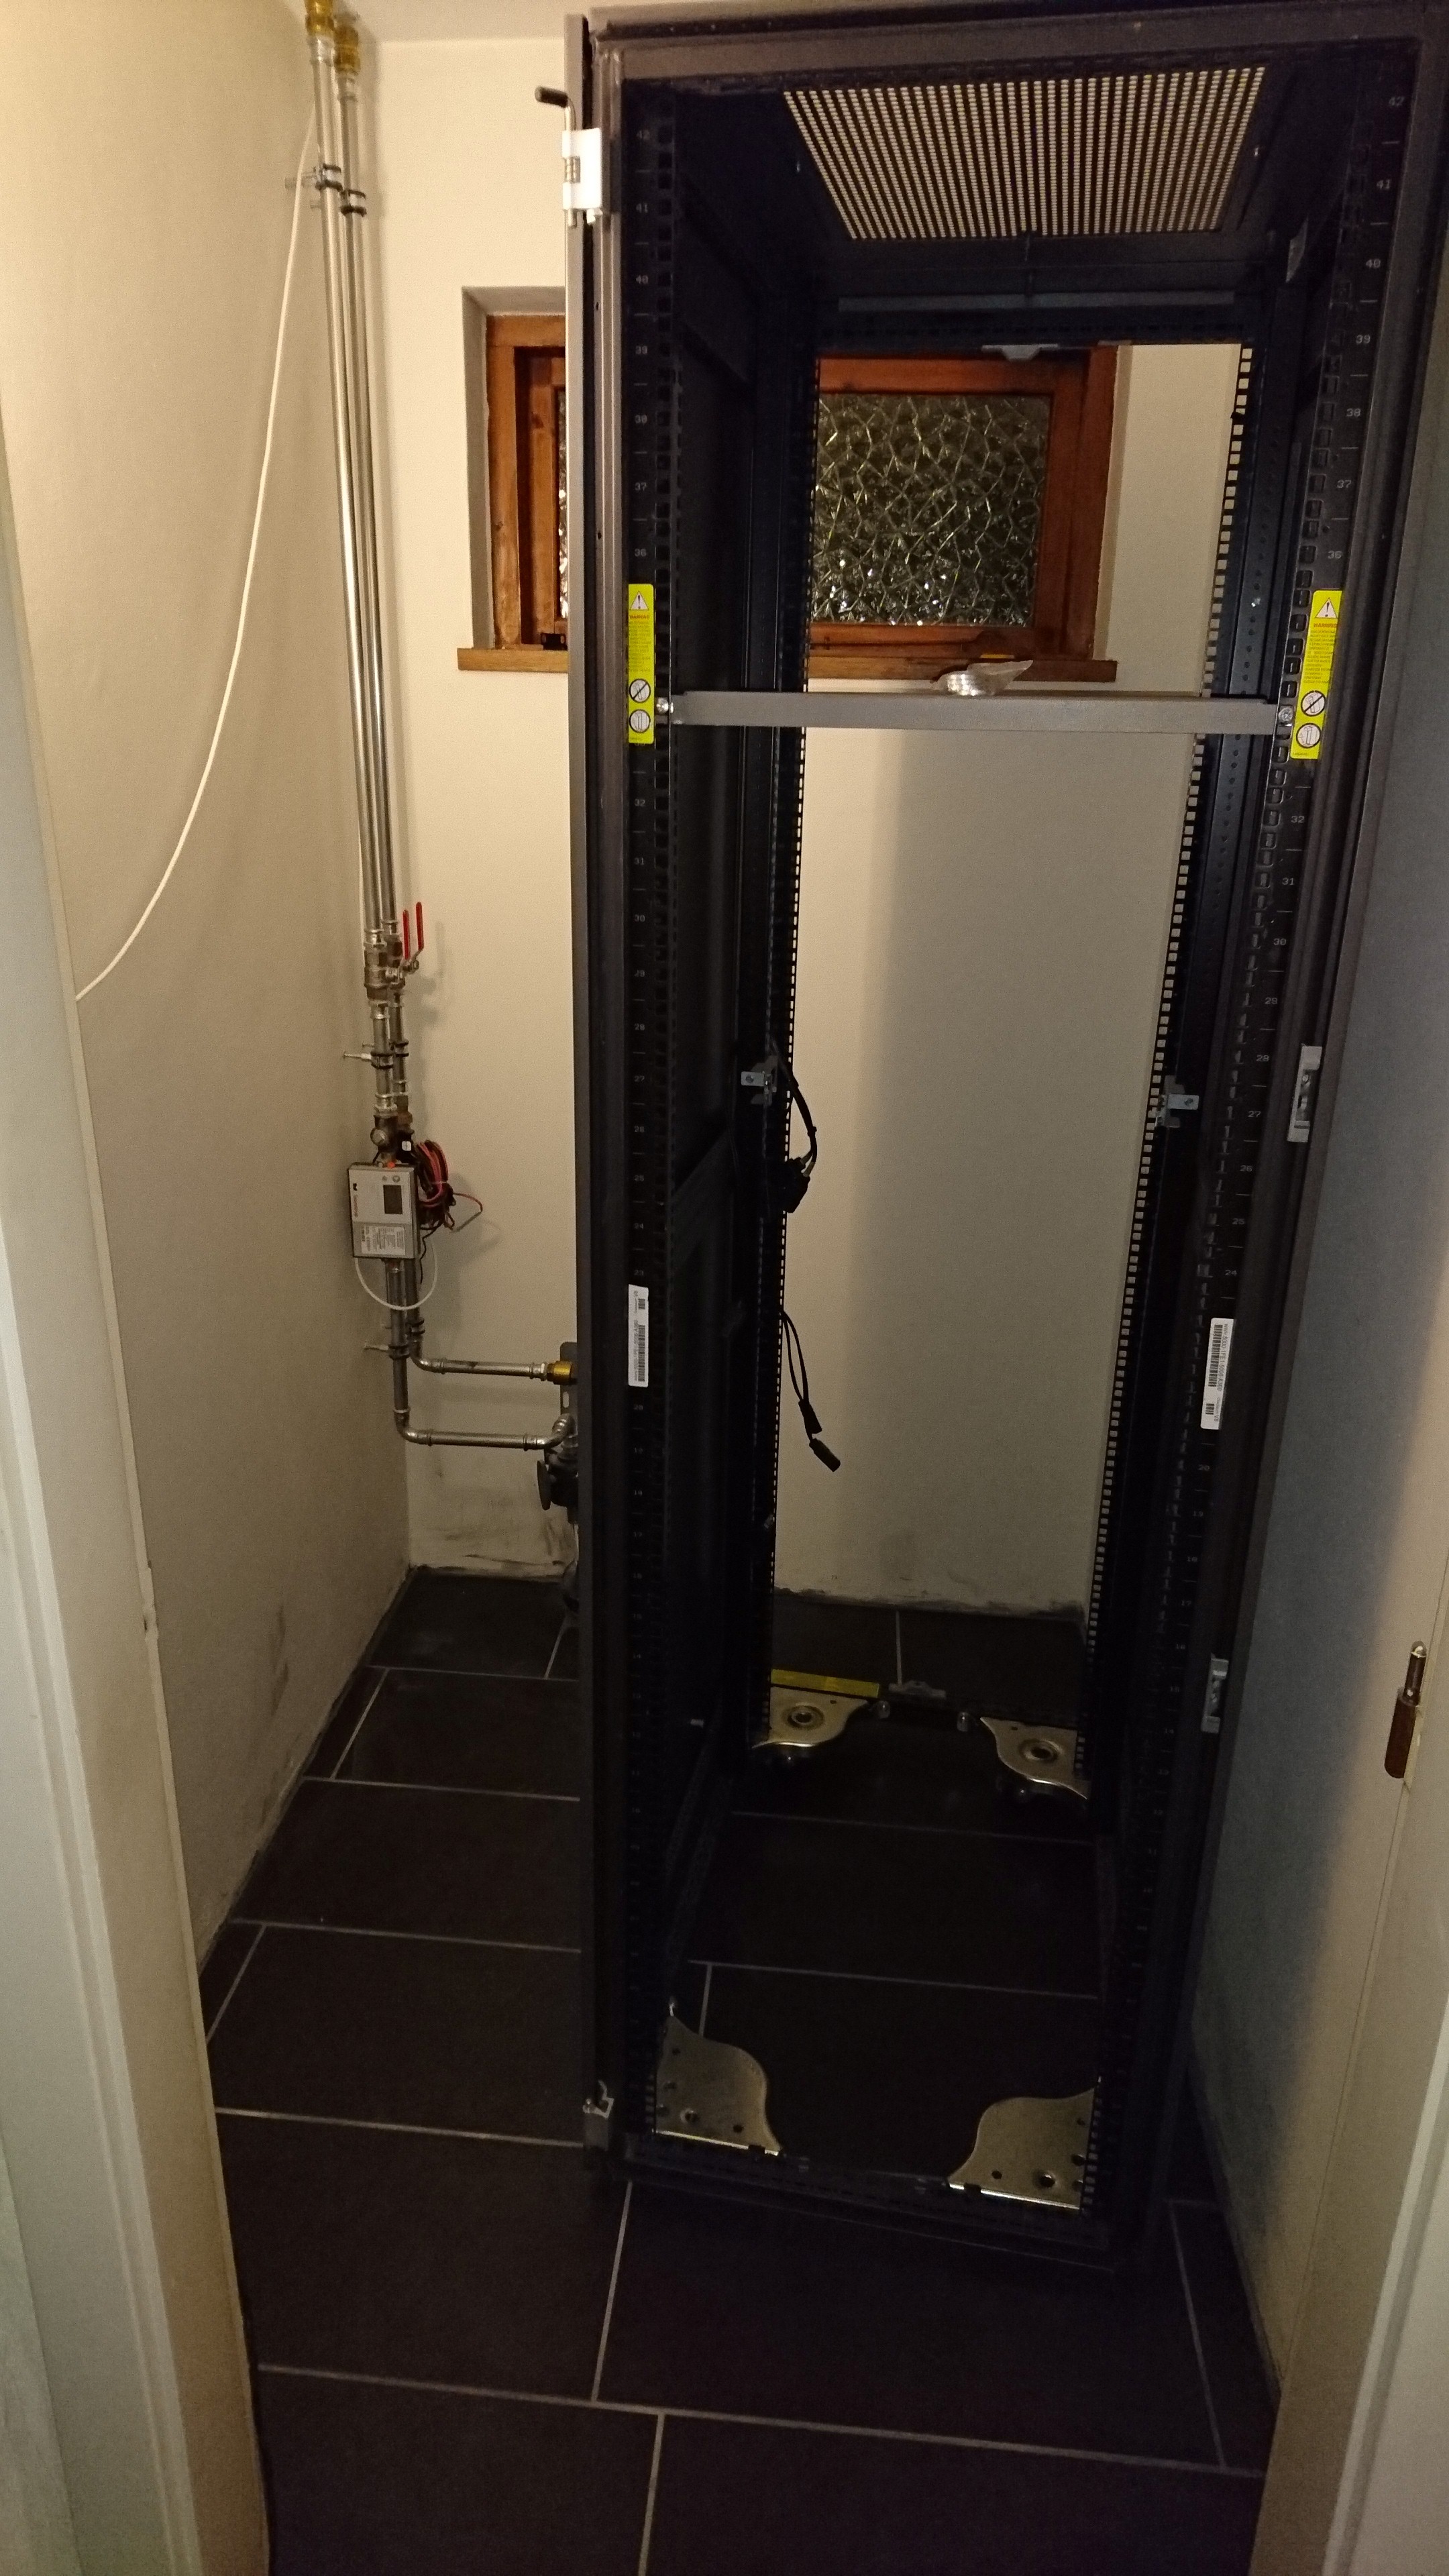
11/2-2017: Time to get the rack in 🙂

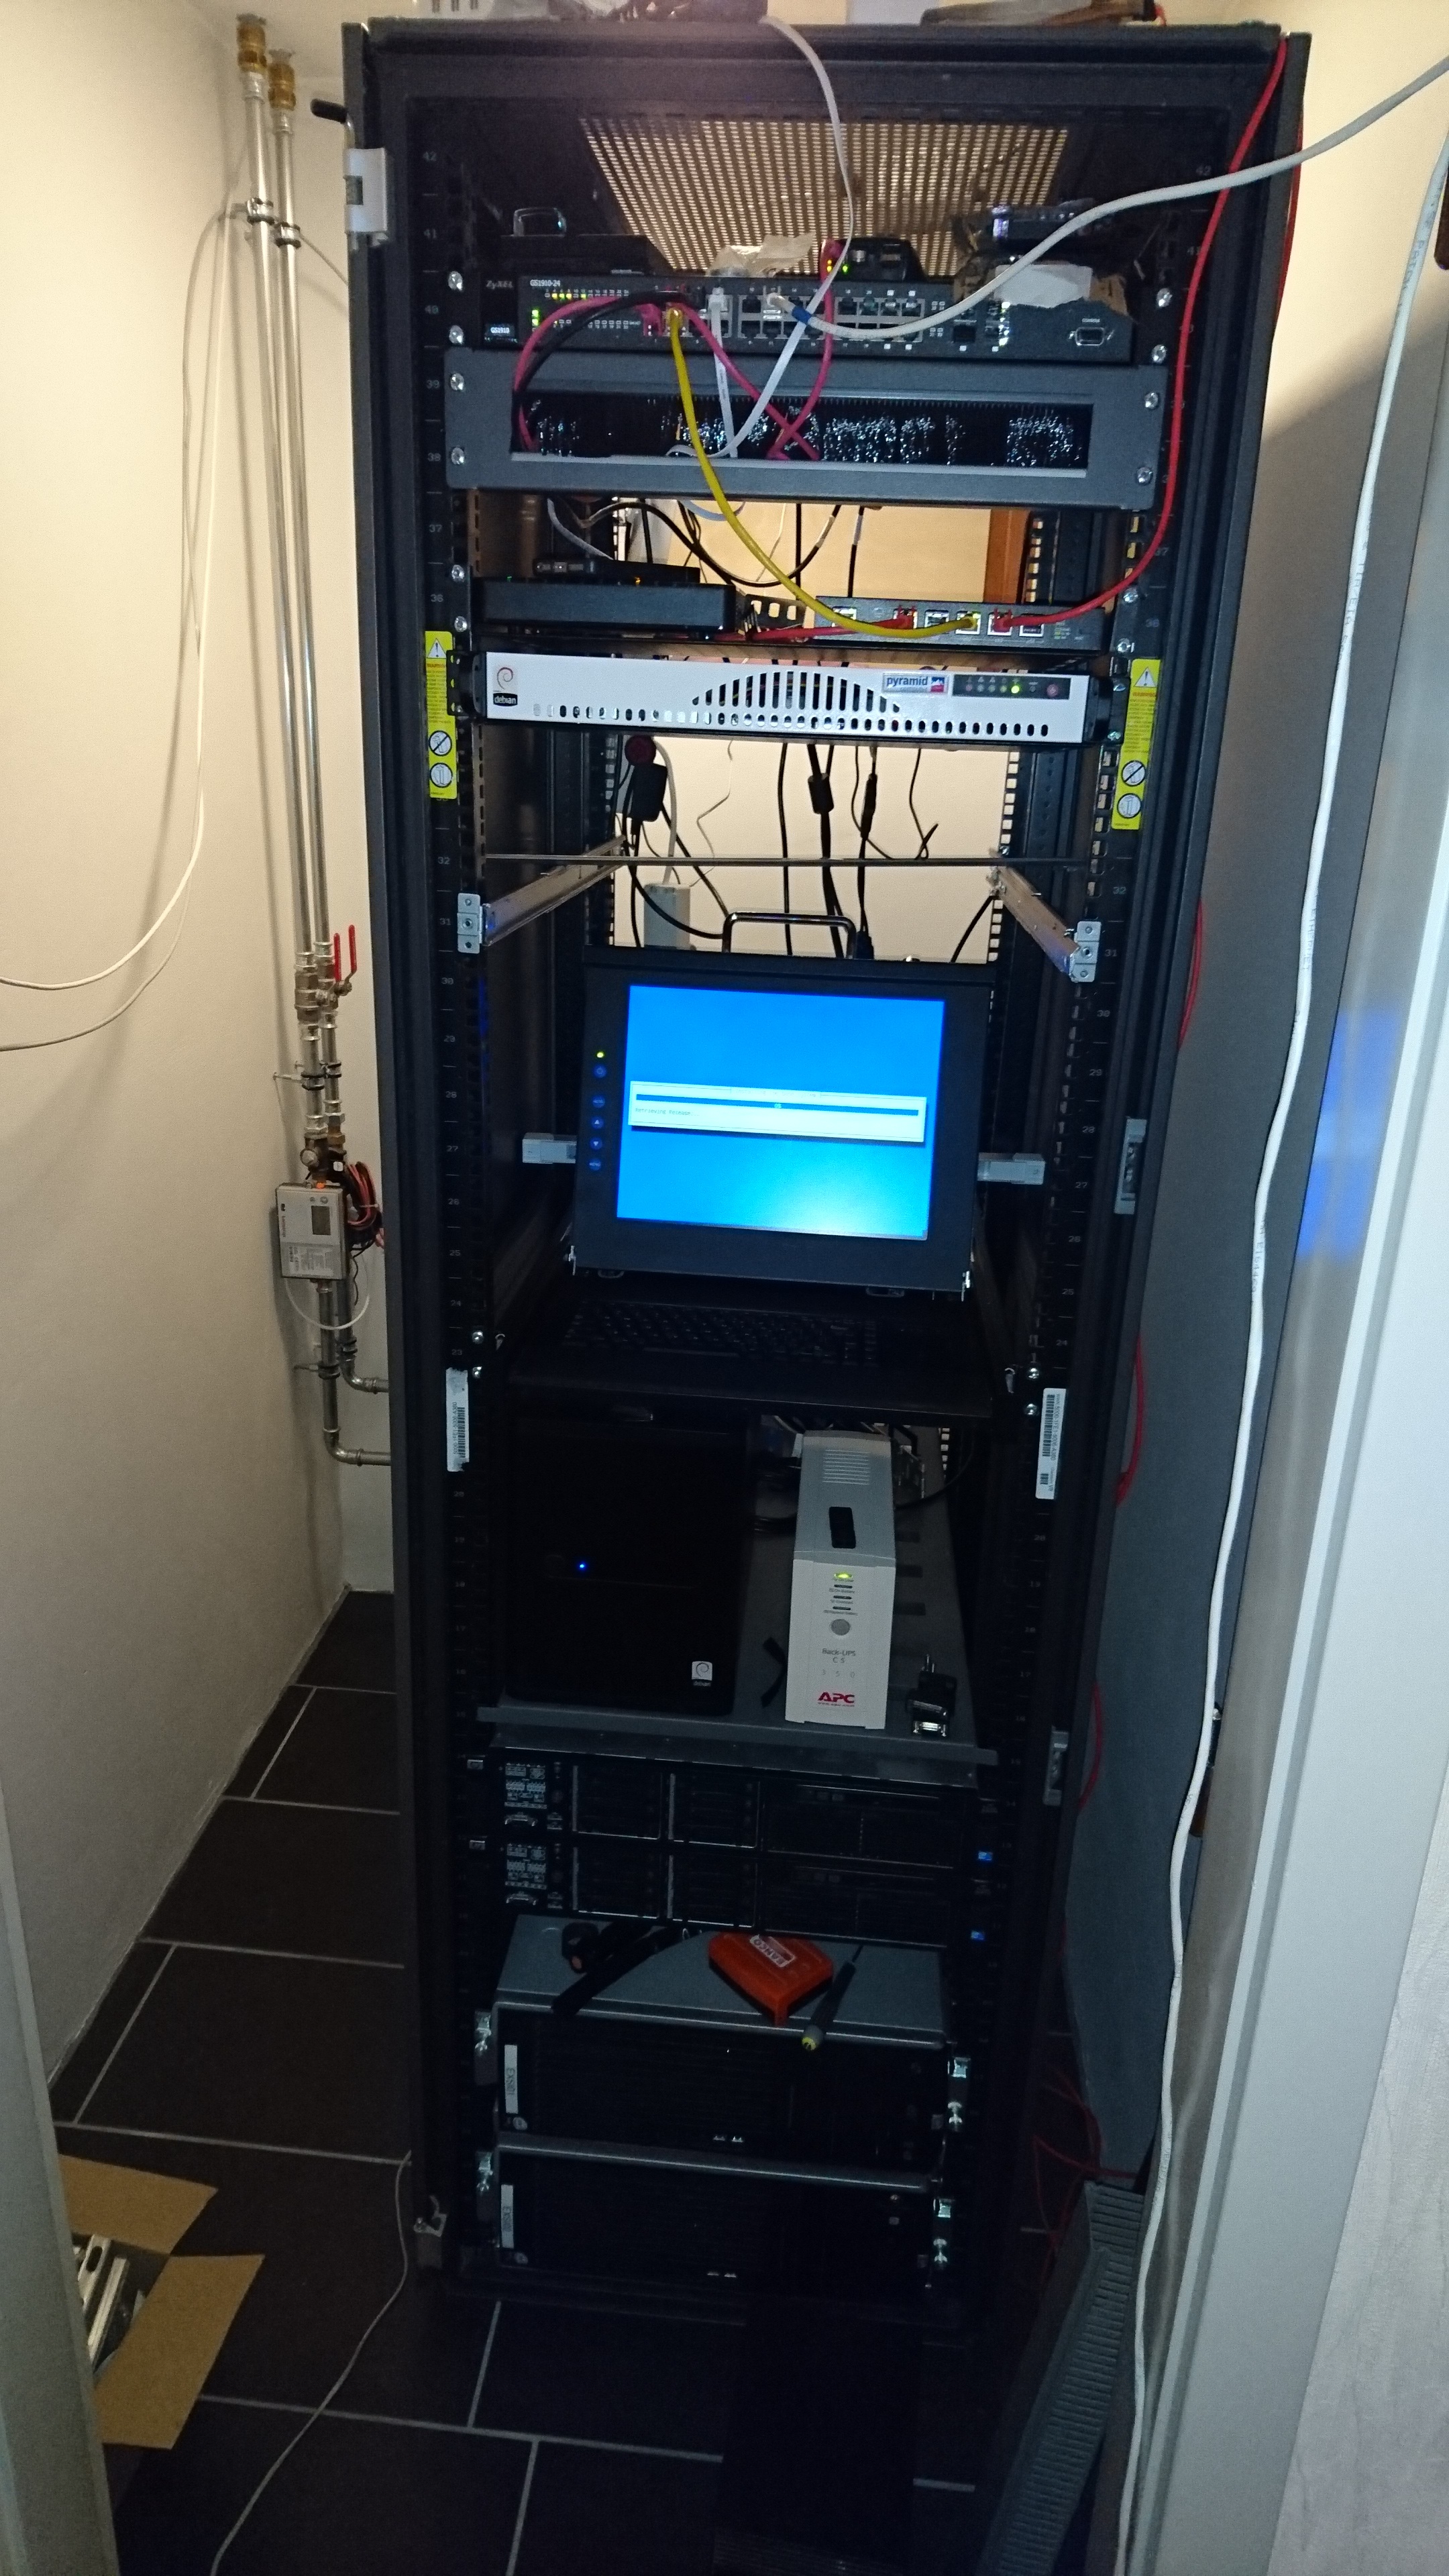
30/3-2017: Time to get some equipment in the rack (I know the cabling is an mess but i needed to get things up and running again.

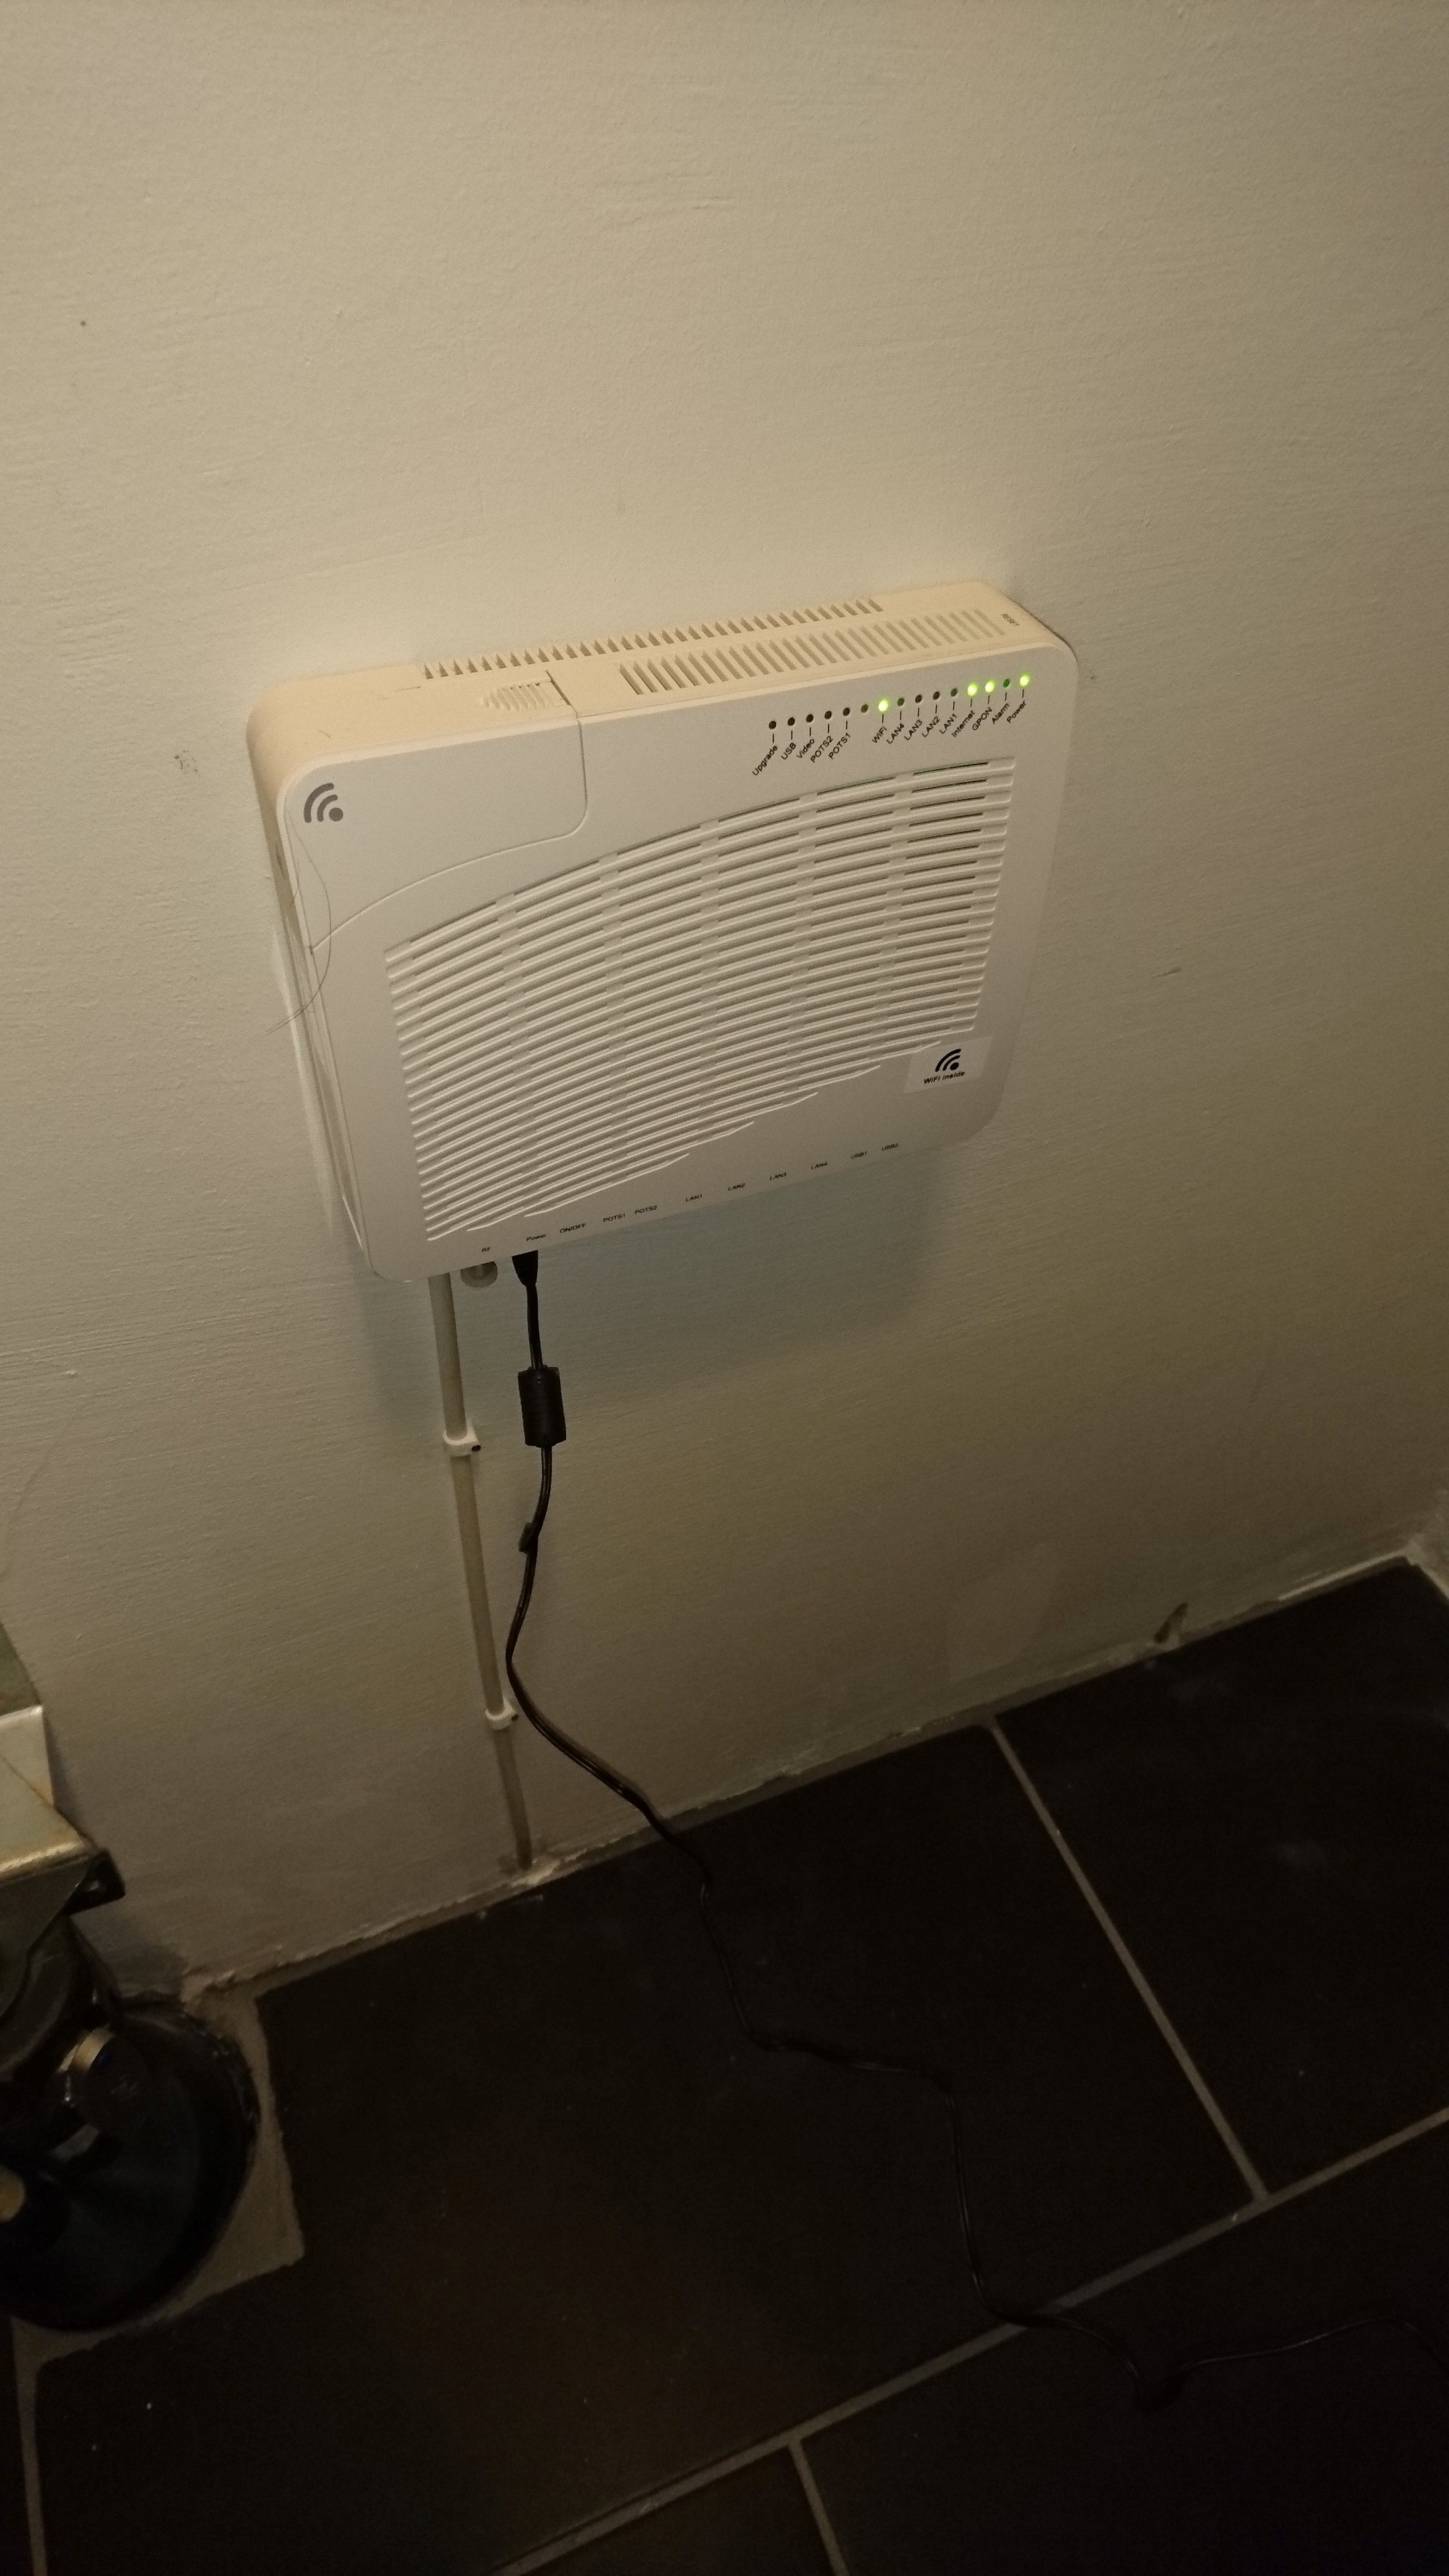
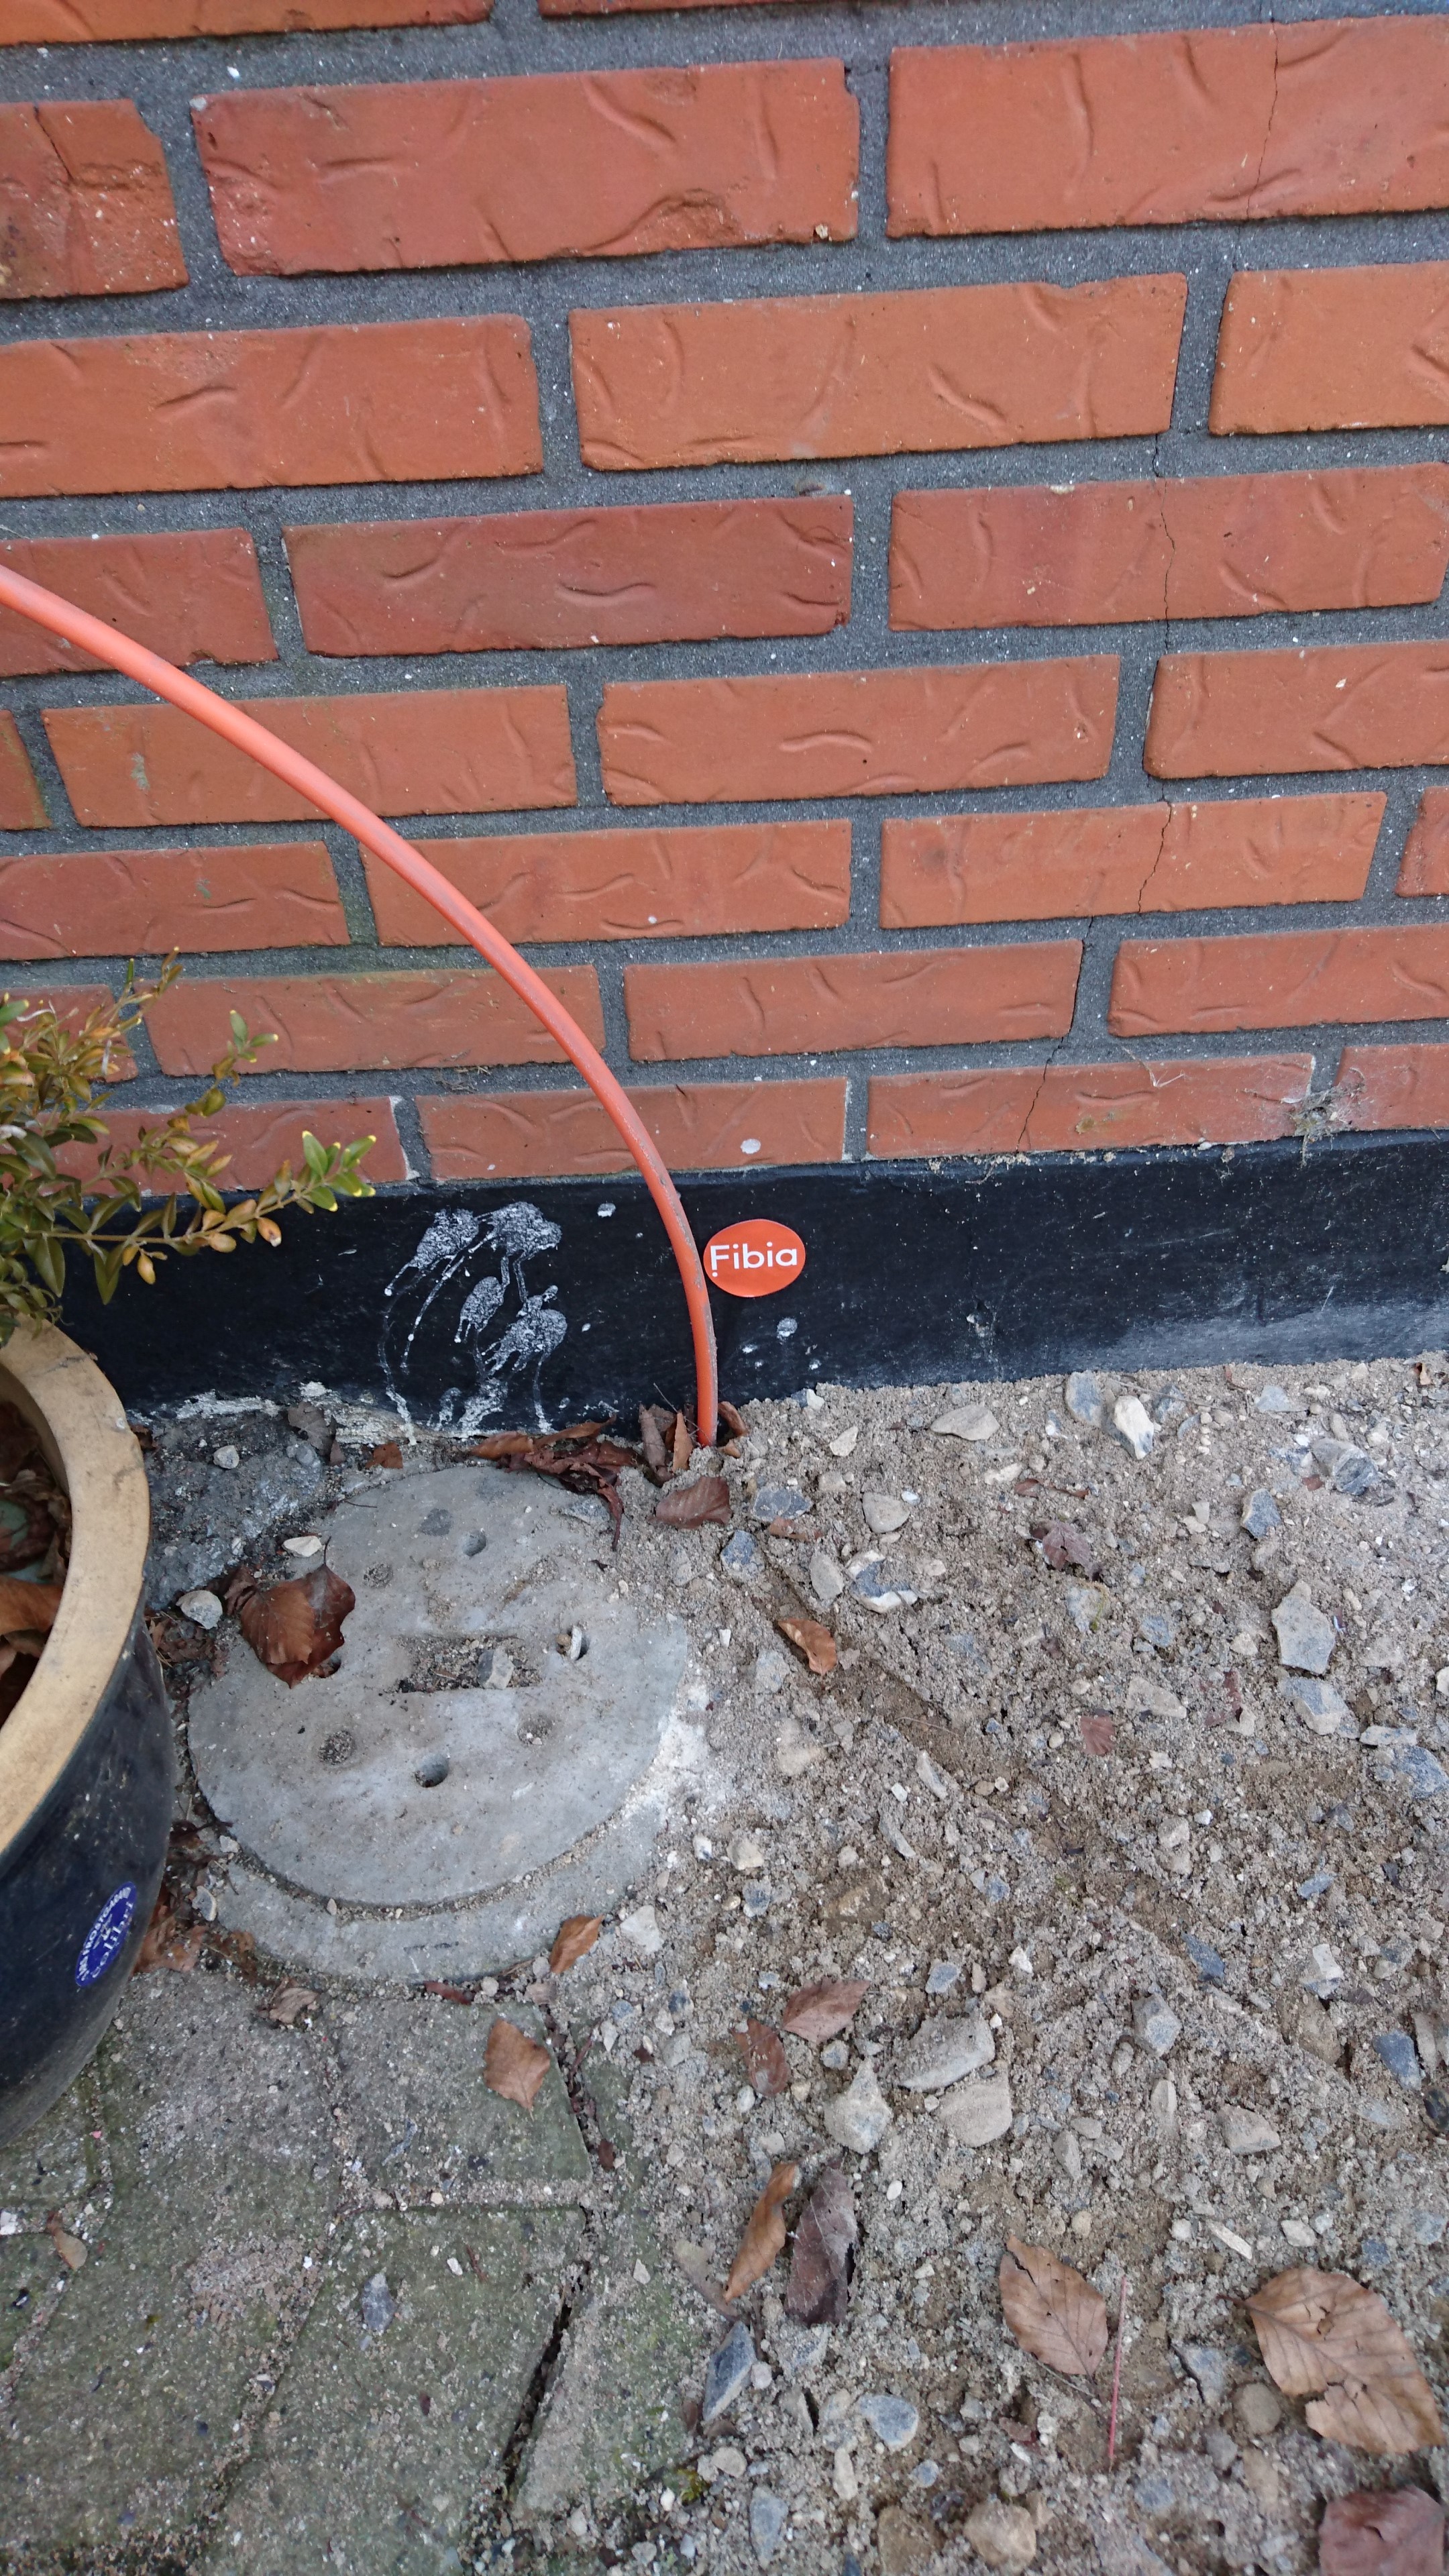
2/5-2017: Had my new 100/100Mbit FTTH installed today, my secondary line is an VDSL2 (40/12Mbit)

27/5-2017: my cousin installed the new door 🙂 starting to look more finished then ever, still need to do the wiring inside the room and rack.

30/7-2017: Decided to install cable trays in the ceiling like the normal trays used in the data centers that i do work in.

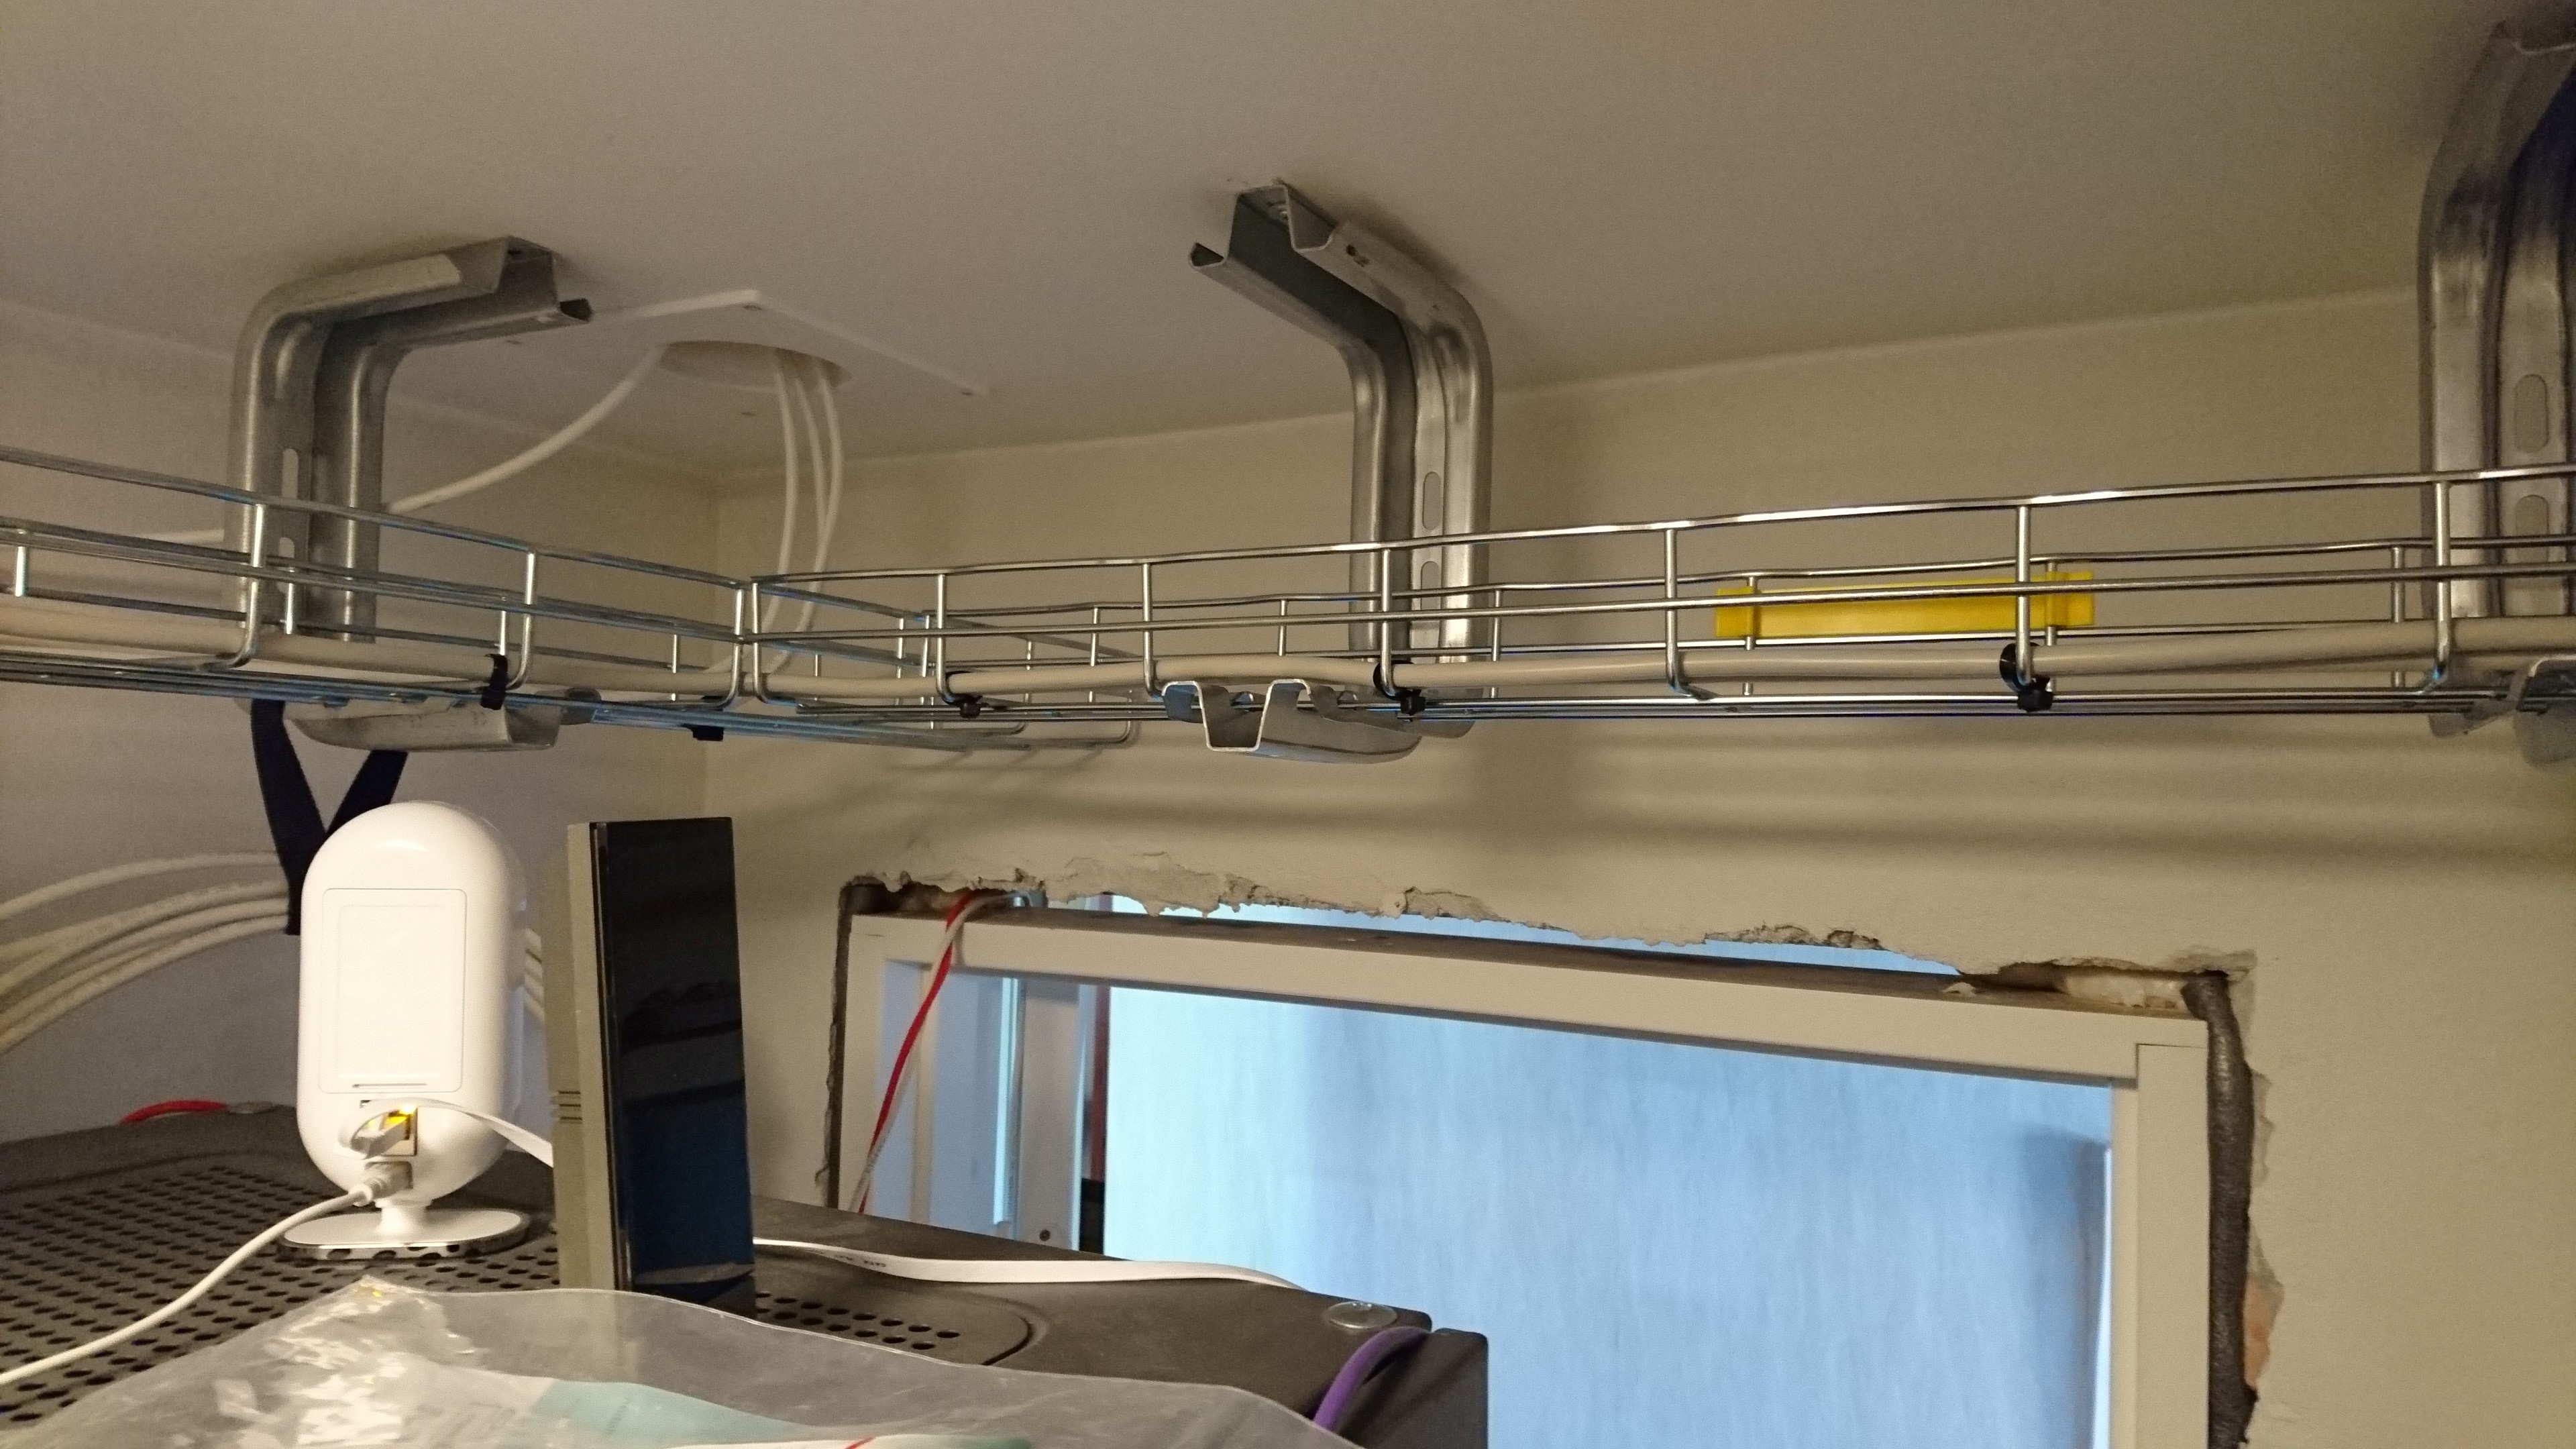
Just missing one power outlet, and mounting of the telephone jack, on the cable tray.

Power distrubution panel (each phase has it’s own RCD and automatic fuse):

31/12-2017: replaced my Ubiquiti Edgerouters and my Zyxel switch, with an USG-PRO-4 Router and 2 switches (US-16-150W and a US‑24) this way i can power my AP’s and further security cameras, the US-24 will mostly do networking for alle the rooms, where i don’t need  POE.

list package after size in Debian/Ubuntu

I had a Ubuntu system where the root drive almost was full i suspected it was some packages that apt-get autoremove couldn’t remove, that was using the drive.

This small script will list the installed packages on your system ending with the biggest.

dpkg-query -W --showformat='${Installed-Size;10}\t${Package}\n' | sort -k1,1n

On my system this was a huge amount of old kernel images, and kernel sources that was installed.

to remove the packages i used:

apt-get remove --purge

to see the total amount of storage used and exclude the /mnt (all my discs are mounted here) use:

du -shc --exclude /mnt /*

Installing Apache::Gallery

This is a step by step guide for installing Apache::Gallery (libapache-gallery-perl) on Debian, this will possible also work for Ubuntu.

The system i did the installation on was a Debian 7 (Wheezy).

First lets install the basic packages:
first install Apache 2:

aptitude install apache2

Now for perl:

aptitude install libapache2-mod-perl2

now for Image::Imlib2:

aptitude install libimage-imlib2-perl

Finaly install Apache:Gallery:

aptitude install libapache-gallery-perl

now make the apache config for the new gallery site, in my case i addet a virtual host to my apache config:

i choose to use the /var/www/gallery as the place for my photos, feel free to use any other place.

Now for the apache config, this is straight forward, if in trouble look at this link: debian-administration.org

<VirtualHost *:80>
        ServerName   testserver01.some.com
        DocumentRoot /var/www/gallery/  #<----- make sure this directory is readable by www-data
        ErrorLog     /var/log/gallery-error_log
        TransferLog  /var/log/gallery-access_log
        PerlSetVar   GalleryTemplateDir '/usr/share/libapache-gallery-perl/templates/default'
        PerlSetVar   GalleryInfo 'Camera => Model, Picture Taken => DateTimeOriginal, Flash => Flash, ShutterSpeed => ShutterSpe$
        PerlSetVar   GallerySizes '640 1024 1600 2272'
        PerlSetVar   GalleryThumbnailSize '100x75'
        <Location />
            SetHandler  perl-script
            PerlHandler Apache::Gallery
        </Location>
</VirtualHost>

restart apache with:

/etc/init.d/apache2 restart

Apache:gallery will properly generate a error looking something like this (look at /var/log/gallery-error_log):

unable to writhe to /var/cache/www/testserver01.some.com

make the directory and make sure www-data have writing access.

Now for the gallery.css file.
Place gallery.css in the gallery root directory (in this example /var/www/gallery)

use this code for the css style:

body {
    background-color: #cccccc;
    font-family: Verdana, Lucida, Arial;
    font-size: 10px;
    margin-left: 10px;
    margin-top: 10px;
    text-align: center;
}
td {
    font-size: 10px;
}
table {
    margin-left: auto;
    margin-right: auto;
}
#menu {
    font-size: 11px;
    text-align: left;
    height: 30px;
}
#nav {
    font-size: 11px;
    text-align: left;
    height: 30px;
    text-align: right;
}
#directory {
    background-color: #ffffff;
    border: 1px solid #666666;
    padding: 20px;
    text-align: left;
    top: 0px;
}
#folder {
    float: left;
    height: 100px;
    padding: 2px;
    text-align: center;
    width: 120px;
}
#picture img {
    border: 1px solid #000000;
}
a {
    color: #5555aa;
}
a img {
    border: 2px solid #5555aa;
}
a:hover {
    color: #ff9400;
}
a:hover img {
    border: 2px solid #ff9400;
}
#folder img {
    border: 0px;
}
.info {
    background-color: #eeeeee;
    border: 1px dashed #888888;
    color: #666666;
    font-size: 10px;
    margin: 10px;
    padding: 5px;
}

make the following directory /usr/share/apache2/icons/gallery and copy the icons from /usr/share/libapache-gallery-perl/icons to the new directory

restart Apache.

there you have it there should be a working gallery now 🙂

remember to add some photos to the new gallery

more info can be found at http://apachegallery.dk/


Configuring Samba to be a WINS server

This is quite easy to do, and it makes browsing the smb network fast.

Configuring the server:
simply edit smb.conf (typically located at /etc/samba/smb.conf)
locate the the wins support and enable it.:

# Windows Internet Name Serving Support Section:
# WINS Support - Tells the NMBD component of Samba to enable it's WINS Server
wins support = yes

setup the way samba should resolve the hosts:

# What naming service and in what order should we use to resolve host names
# to IP addresses
#   name resolve order = lmhosts host wins bcast
   name resolve order = host wins bcast

The following option should be addet to the linux DHCP server (if you use linux as a DHCP server):

option netbios-name-servers x.x.x.x;

where x.x.x.x is the IP of the WINS server

If you use a normal router, sometimes they support pushing out the wins server, if you use a router running dd-wrt
go tothe  basic setup and add the WINS server IP, there.

If this fails you can add the WINS server manually to windows:
go to the control panel, and press the View network status and tasks, then press the change adapter setting
right click the network interface and select properties, select the TCP/IP (for windows 7 select TCP/IPv4)
and press properties again click advanced and select the WINS  and add the IP of the WINS server and you are ready to go

WINS_server_win7

For linux clients simply edit the smb.conf and add the following:

# WINS Server - Tells the NMBD components of Samba to be a WINS Client
# Note: Samba can be either a WINS Server, or a WINS Client, but NOT both
   wins server = x.x.x.x

replace x.x.x.x with the IP of the WINS server

Happy smb surfing 🙂

The philosophy of naming computers

I always liked the idea of having a naming scheme for naming computers, from the days when i worked at the university they gave servers, names after planets like Uranus and Neptune, when i later started setting up computers at home i went on with my own naming scheme i selected the Norse mythology, later on i started using the different elements for machines outside my network. i seen people using many different naming schemes like, movie stars, diary products.

it gives the machines something personal meaning and it’s funny when people ask why they are named the way they are, no matter what, it’s a good ice breaker :).

Even the laptop I’m using for writing this post is named Njord :).

Here’s a list of possible naming schemes that i like:

if you want more possible naming schemes take a look at namingschemes.com there should be a scheme for everybody :).

Happy naming.